Need some help with accessiBe?
Find your answers here!
How can I register multiple websites for accessWidget at once?
You can ensure accessibility across multiple websites using one of the following options:
Register websites directly through the Customer Portal
- On the accessiBe homepage, select Login in the top right corner, and log in to your account.
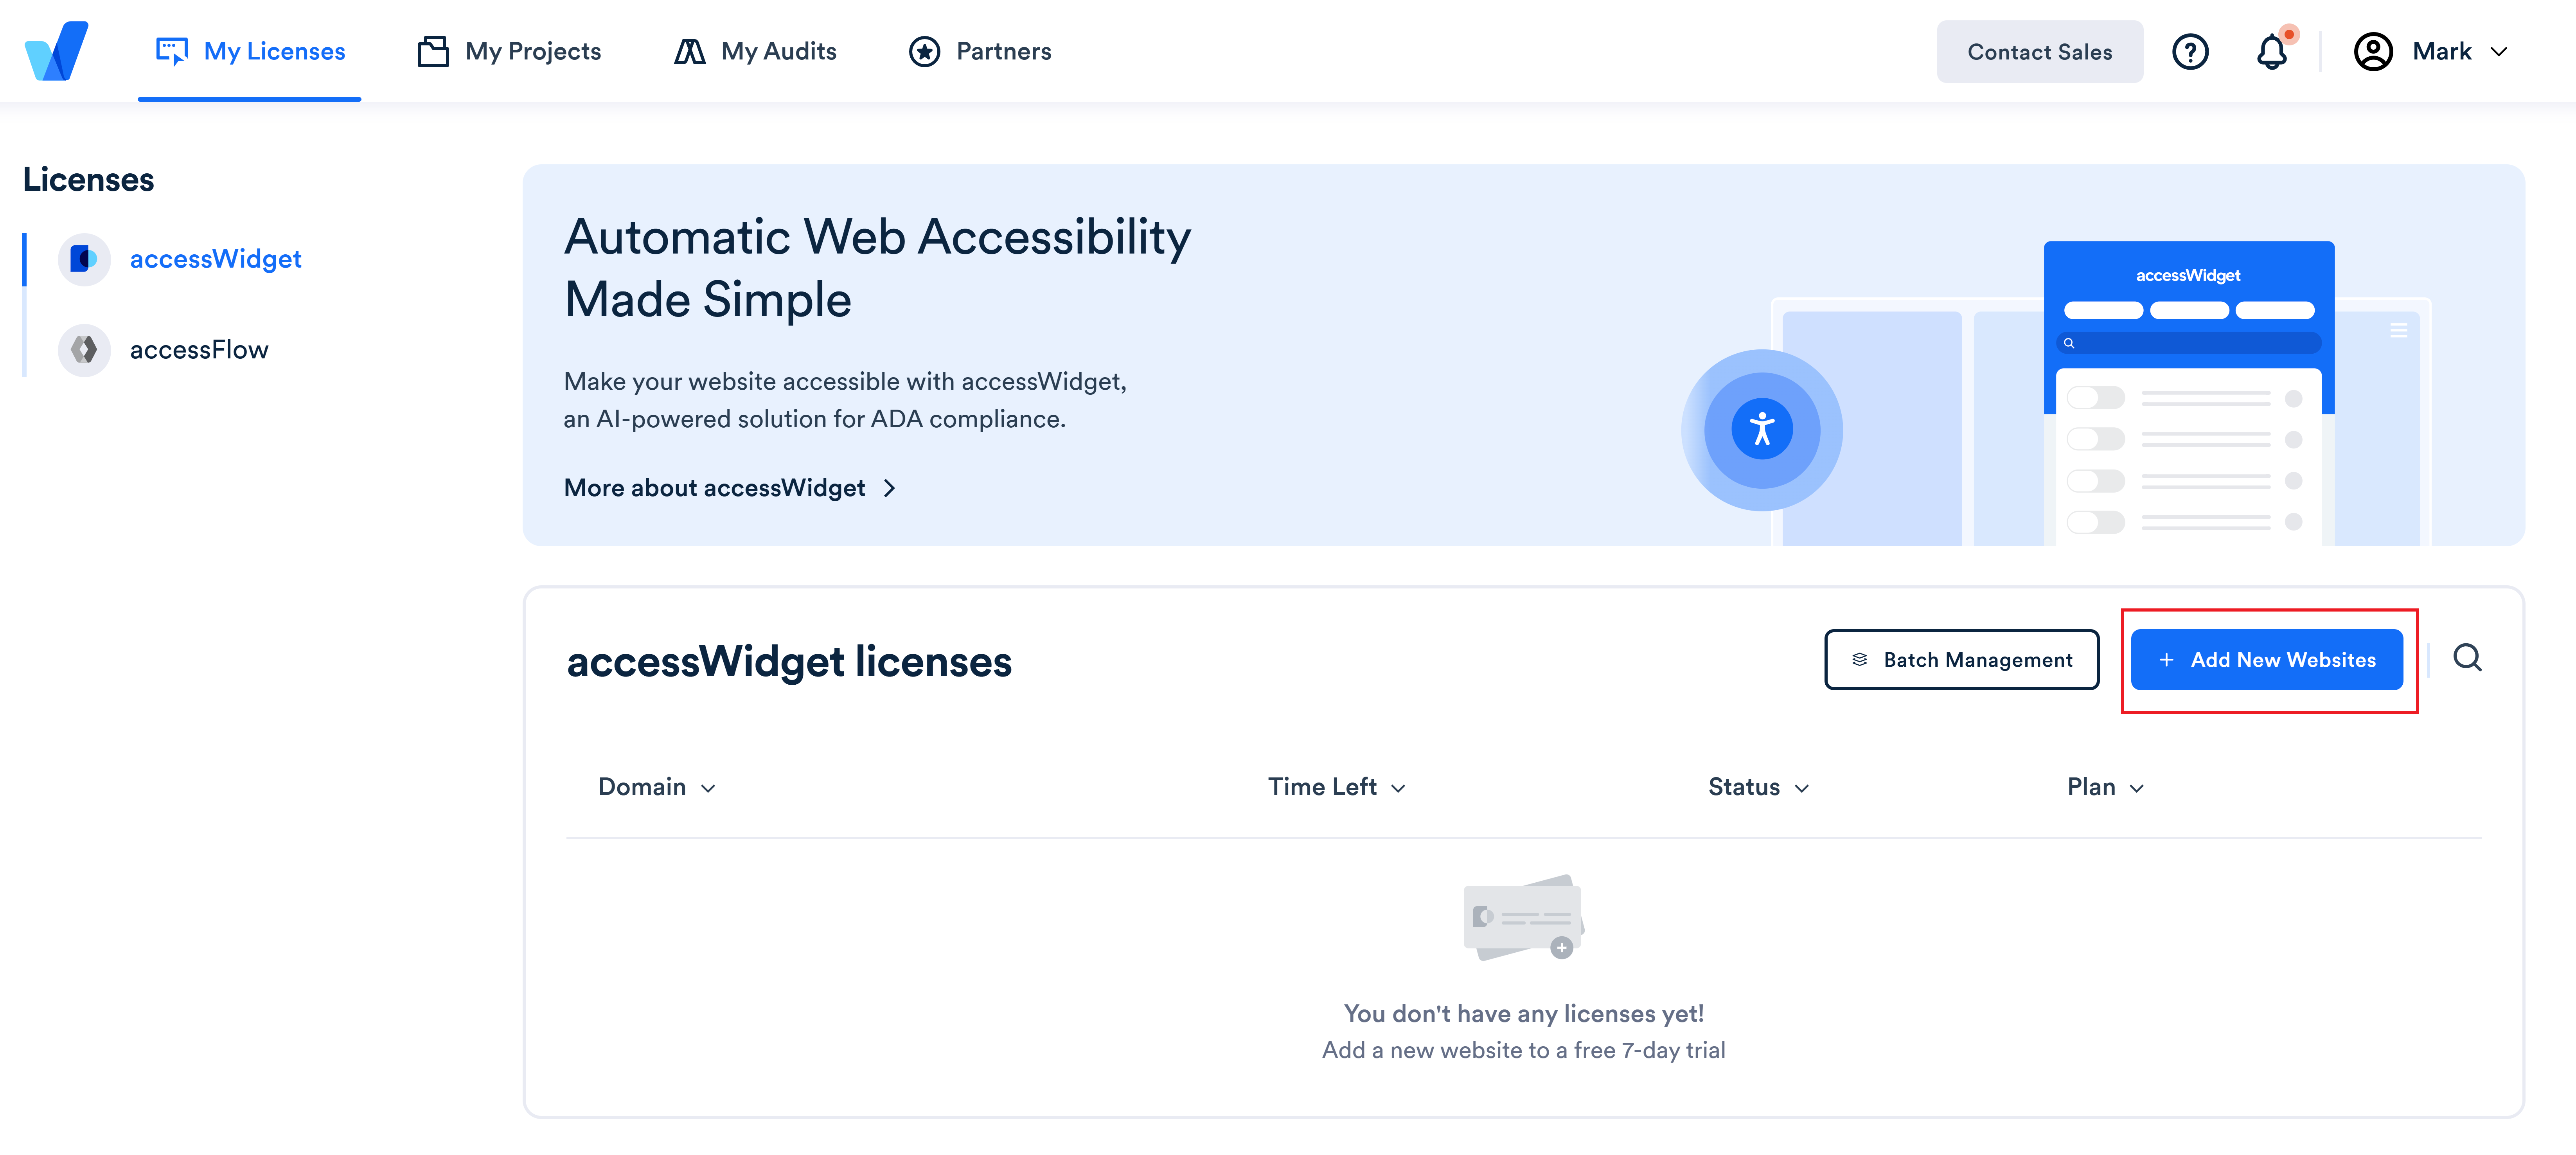
- Go to My Licenses on the top menu. Here you will find a list of all the websites that you have registered for an accessWidget license.
- Select +Add New Websites.
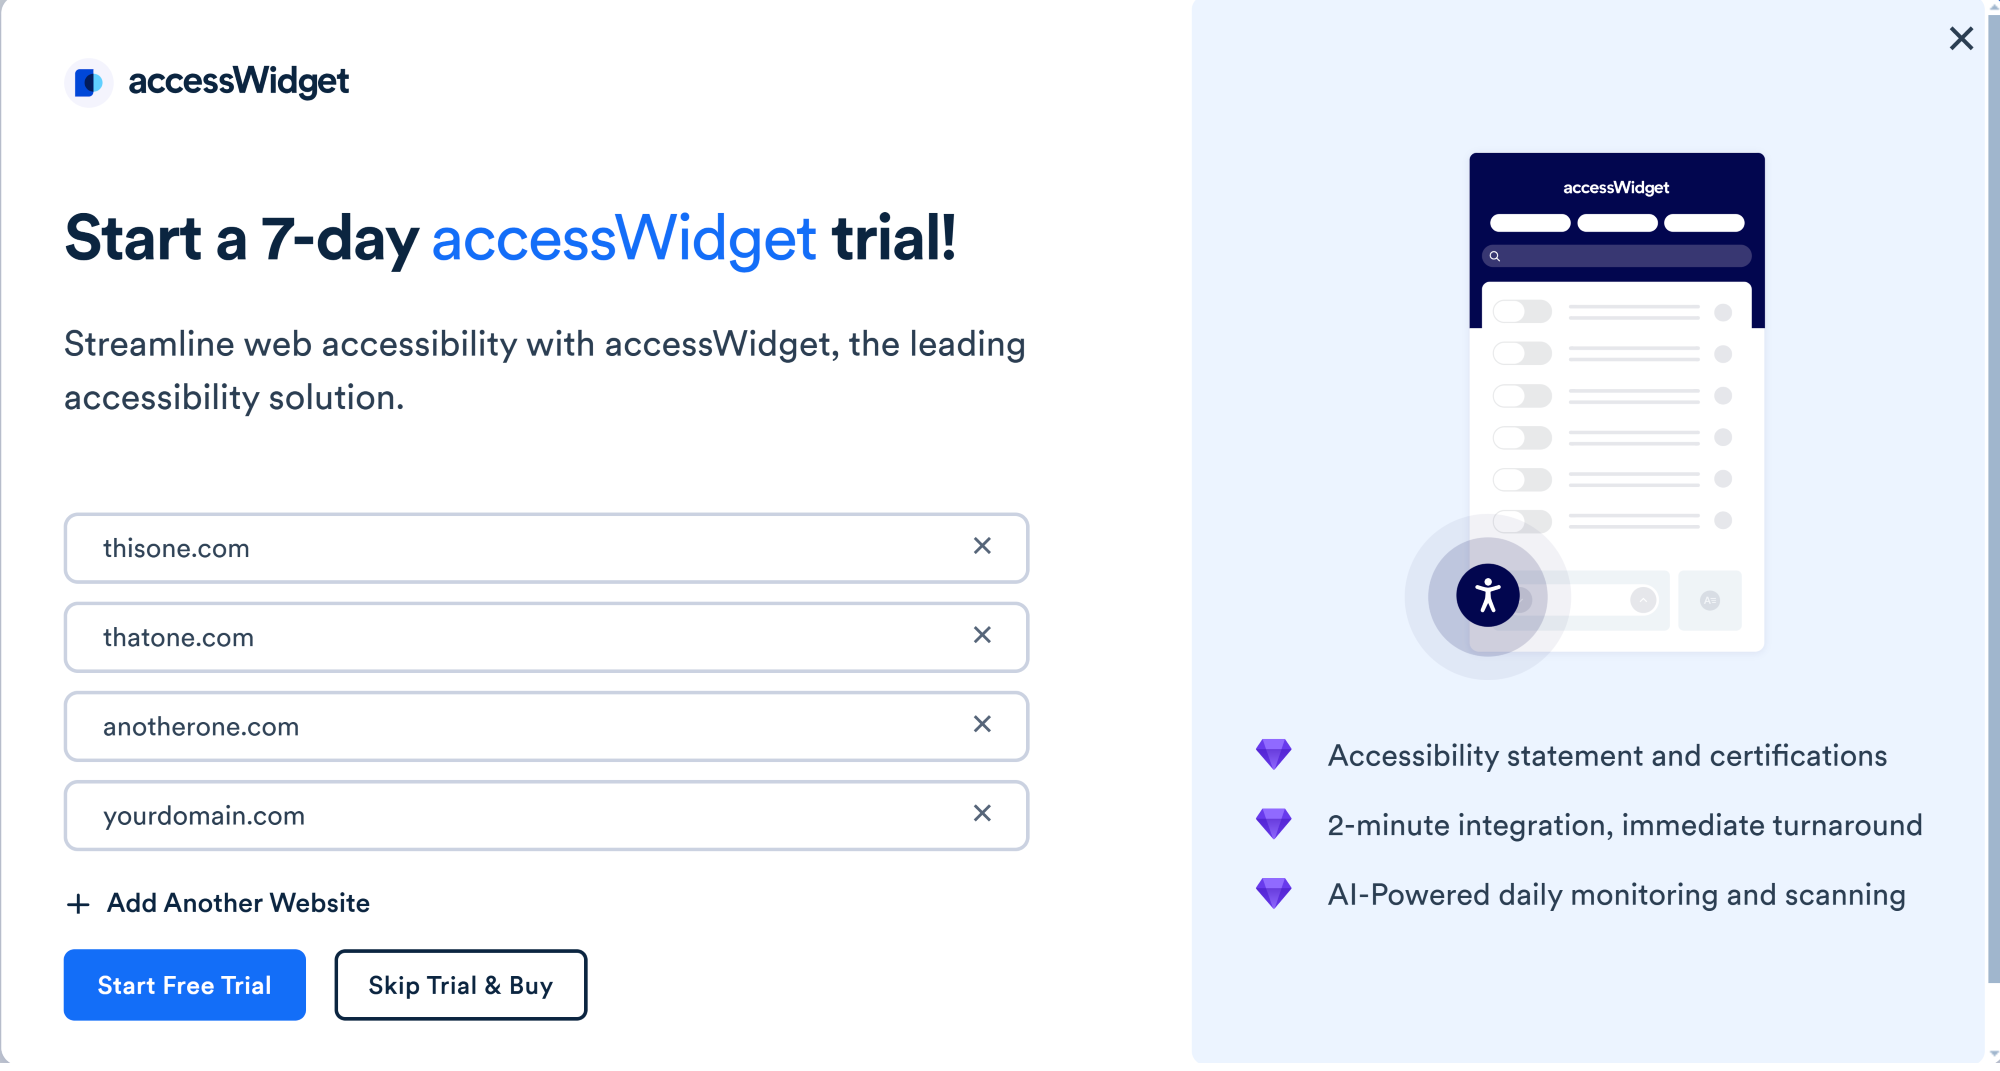
- Enter multiple websites and then select Skip trial & buy or Start free trial.
- If you selected Skip trial & buy then select the websites to register.
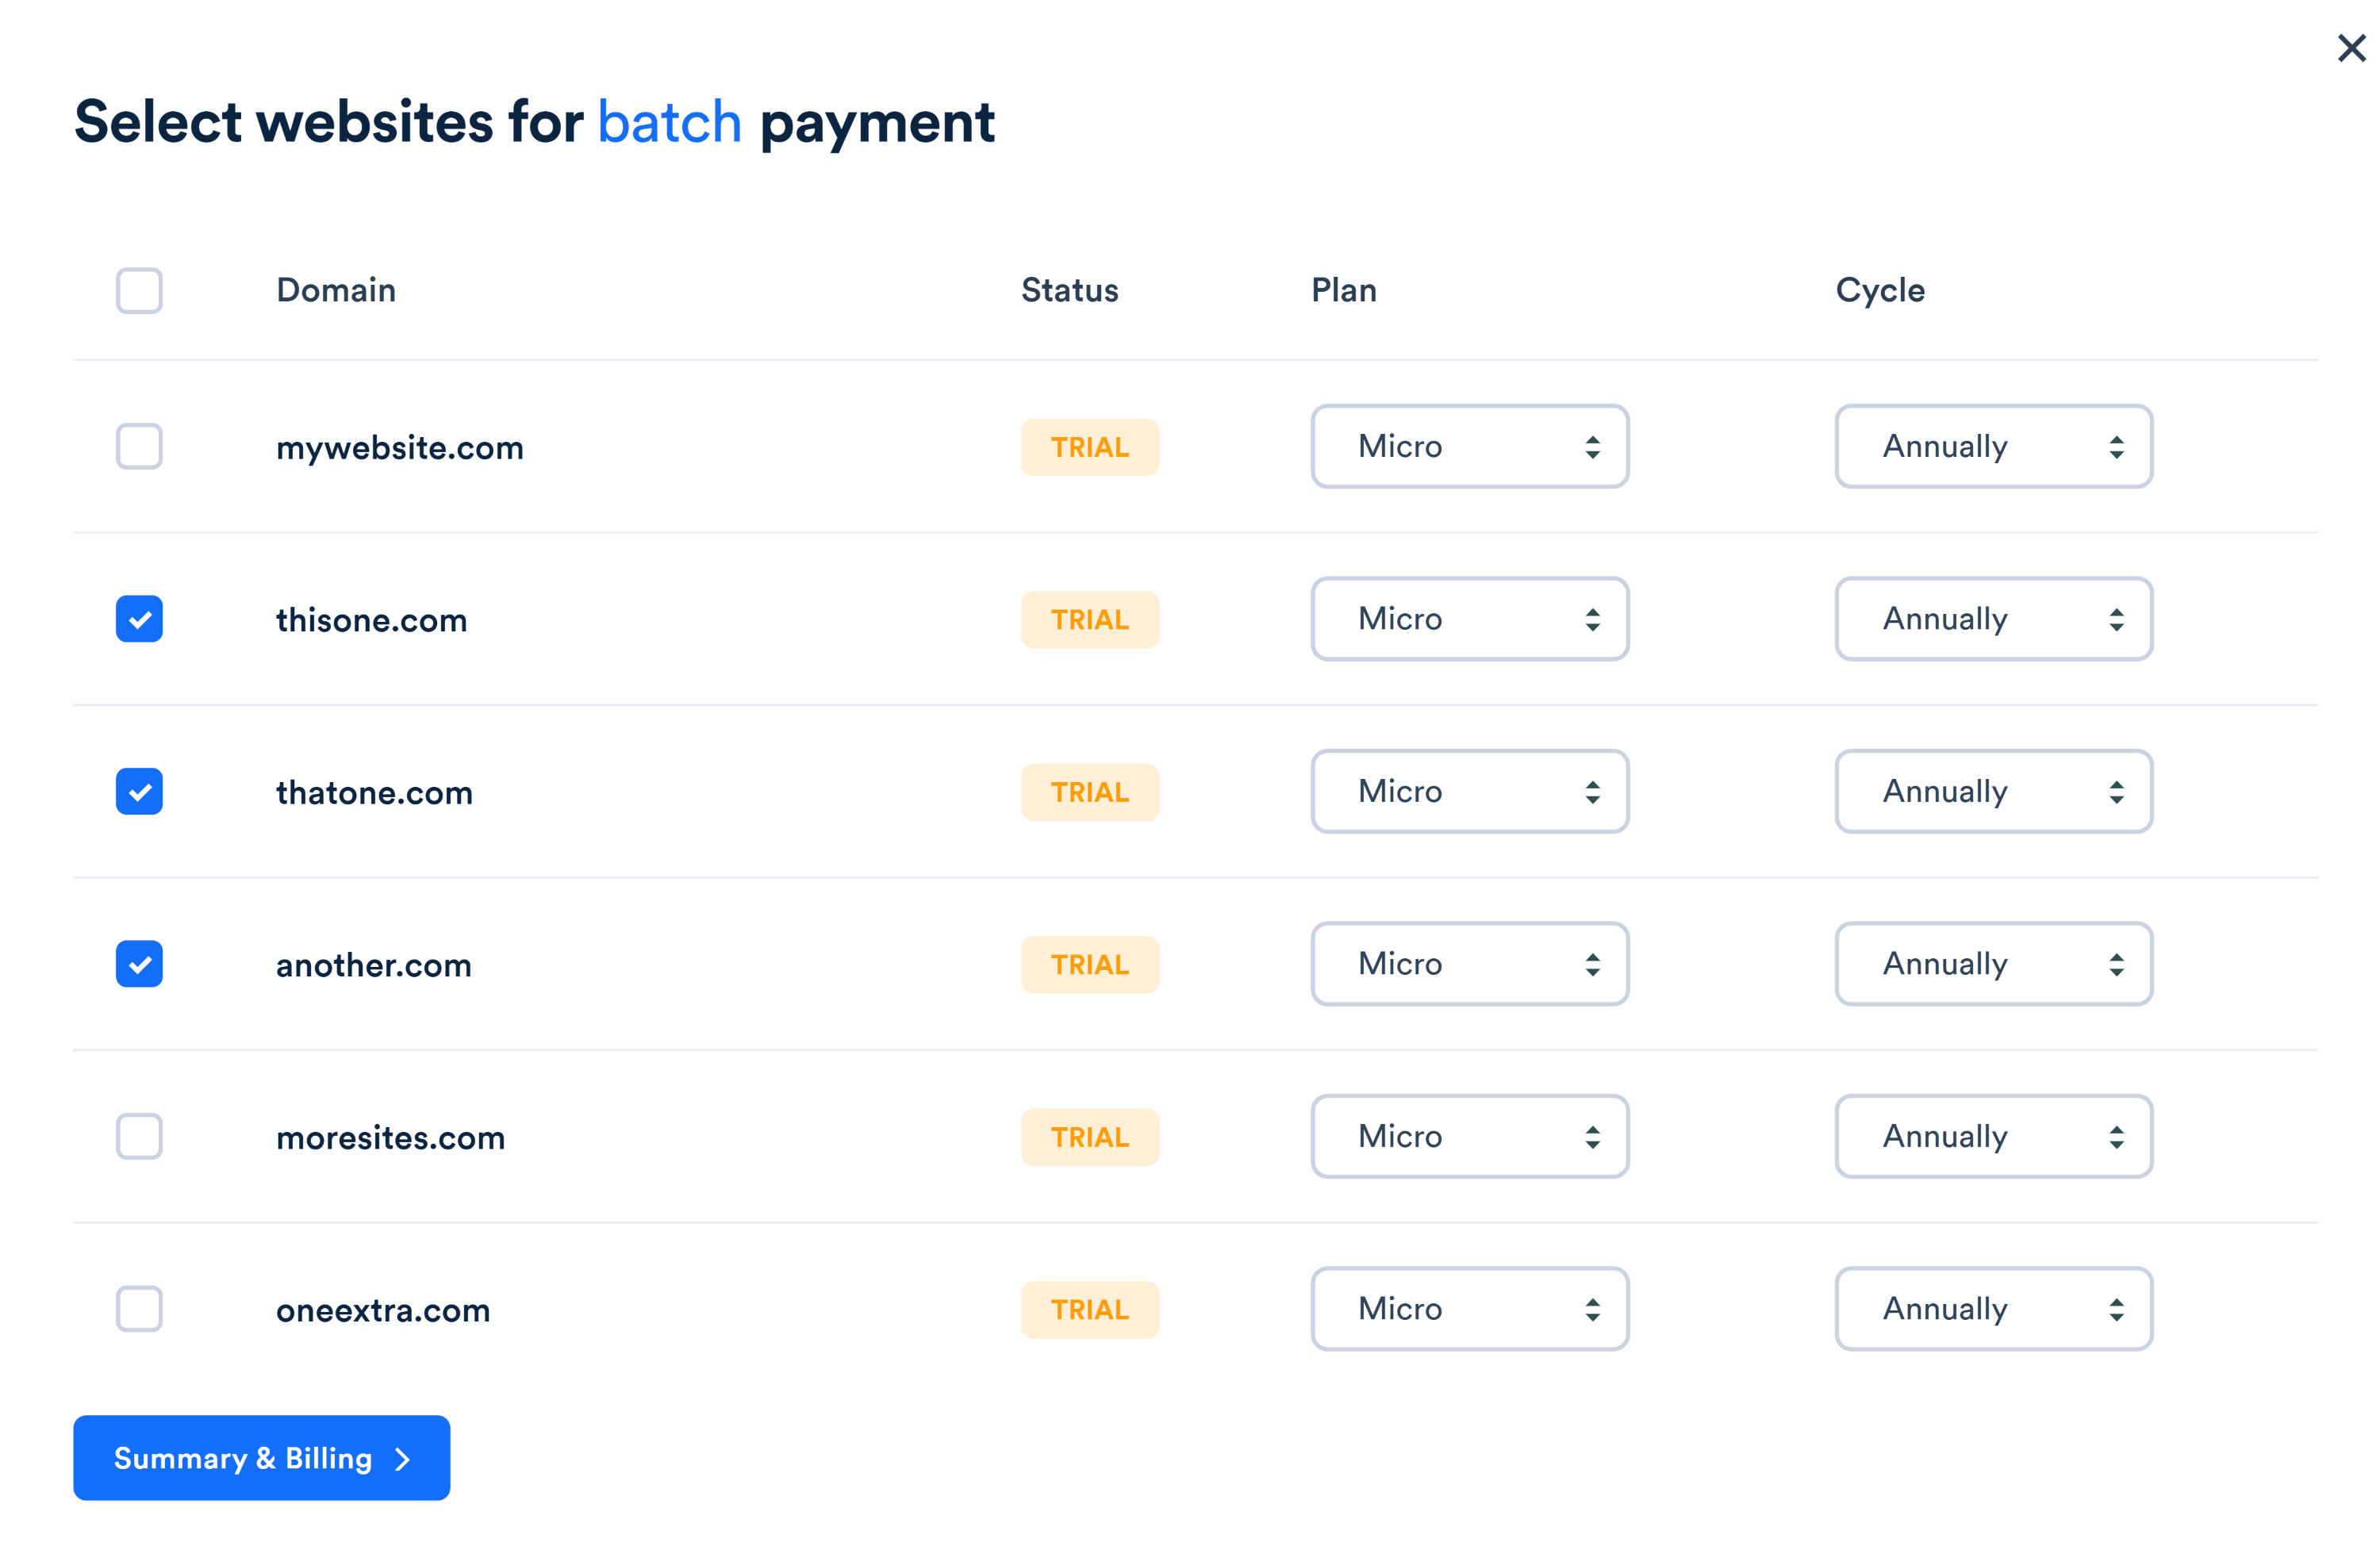
- Select the plan and billing cycle for each license and then select Summary & Billing.
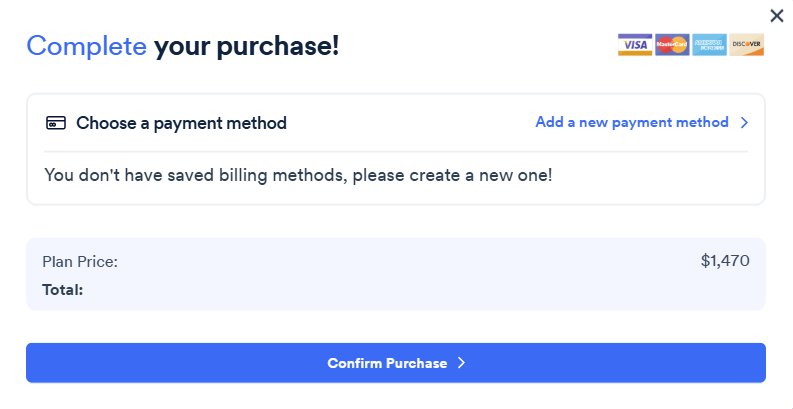
- Select a payment method and then select Confirm Purchase.
Upload a CSV file with a list of domains
Make sure the first row in the CSV file has the required columns. Learn more about the fields to include.
Each row below the first row is a single license subscription, with fields corresponding to the columns.
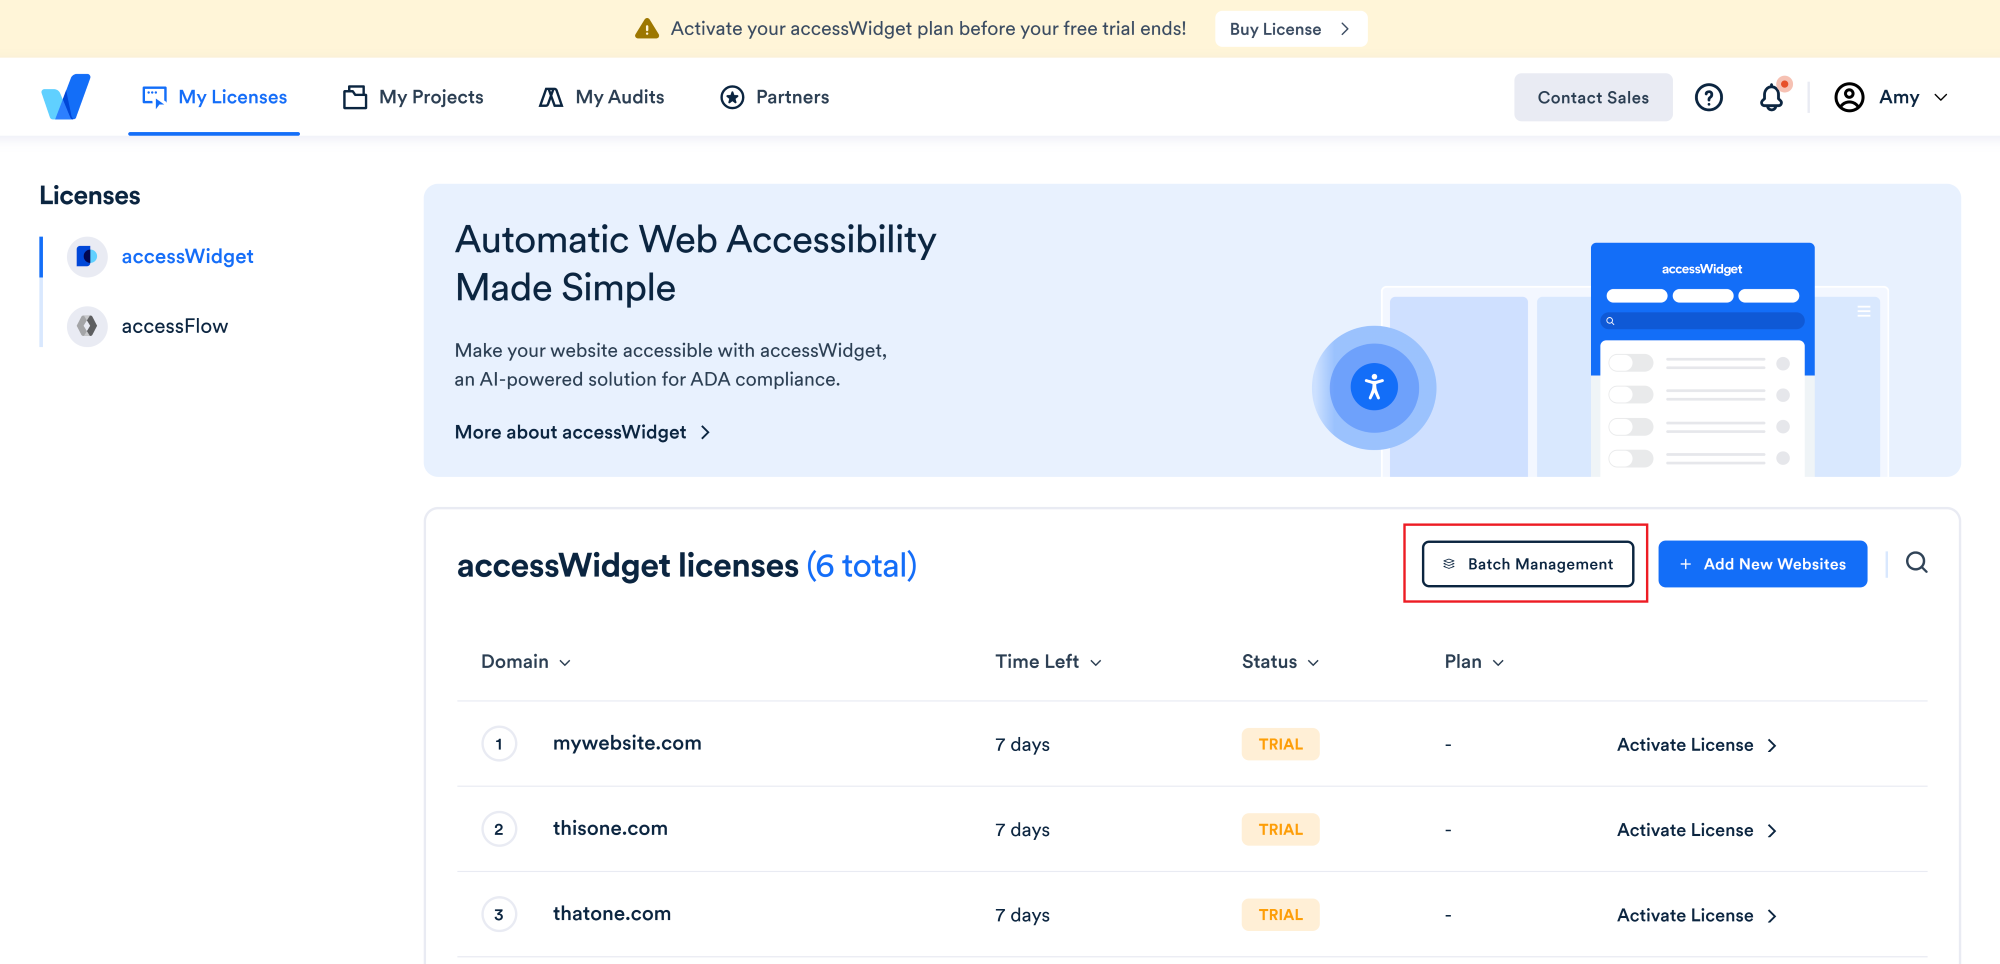
- On the accessiBe homepage, select Login in the top right corner, and log in to your account.
- Go to My Licenses on the top menu. Here you will find a list of all the websites that you have registered for an accessWidget license.
- Select Batch Management.
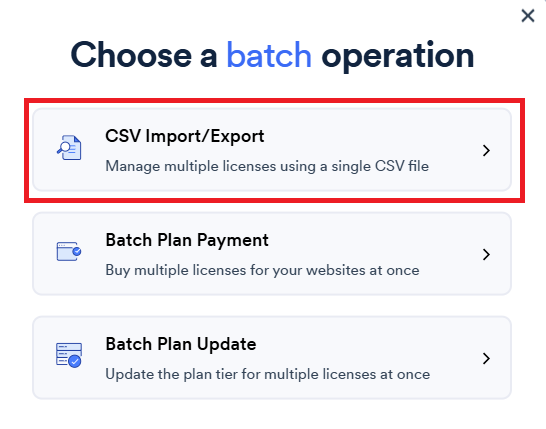
- Select CSV Import/Export.
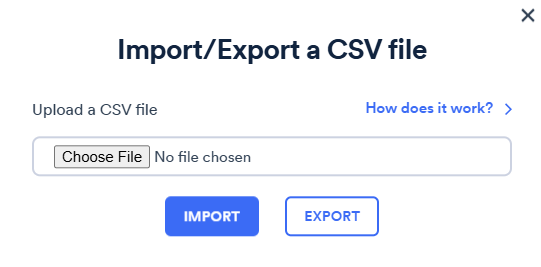
- Choose your source CSV file and select Import.
Note: If the import fails, check that your entries in the CSV file are formatted correctly. For example, check that the email is a valid address. Fix the entries and re-import the CSV. Learn more about the fields to include.
Which fields to include in the CSV file or API request
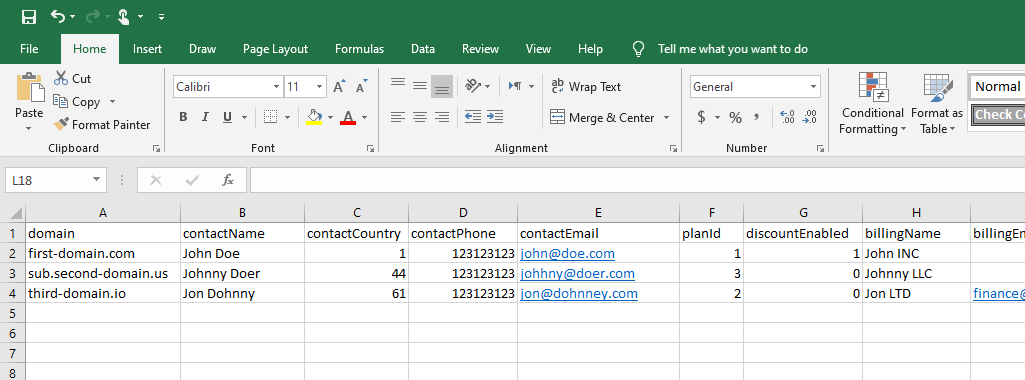
- domain – The domain name to add. Note: Uploading a row with a domain that already exists will edit the existing fields. This way you can modify subscription details. Make sure your domain is formatted as follows: domain.com / sub.domain.com (no HTTP/S protocol nor www).
- newDomain – To edit a domain license, add the new domain name in this field, and the domain to edit in the “domain” field above. This field requires special permission from accessiBe and a special “transferKey” from us. Follow the same format as the “domain” field.
- planId - A number representing the desired plan: 21 = Micro | 22 = Growth | 23 = Scale (for the legacy pricing structure 1 = Standard | 5 = Advanced | 2 = Advanced Plus)
- contactName – The full name of the website owner (this is a compliance requirement for the accessibility statement). For example, John Doe.
- contactPhone – The phone number of the website owner without the country code (this is a compliance requirement for the accessibility statement). 9-10 digits only, without special characters, spaces or hyphens.
- contactCountry – The country code of the website owner’s phone number (this is a compliance requirement for the accessibility statement). For example, “+1” for U.S and Canada.
- contactEmail – The email of the website owner (this is a compliance requirement for the accessibility statement).
- discountEnabled – Optional. If you are entitled to a discount and you DON’T want the field to be populated for a specific license subscription (for example, you prefer a commission instead of a discount) type 0 in the field.
- transferKey – Optional. A key that allows editing domain licenses. This requires a special partnership deal with accessiBe. Otherwise leave this field blank.
- activationKey – Optional. A key that allows license subscriptions to be activated automatically without payment. This is for payments being done offline (wire transfer, etc.).
- disableKey - Optional. A key that allows license subscriptions to be deactivated automatically.