Need some help with accessiBe?
Find your answers here!
How to install accessWidget on a Shopify store
Install the accessiBe app, accessWidget on your Shopify store to make your store accessible for everyone. The app can be integrated seamlessly into your Shopify stores with just a few clicks.
To install accessWidget on Shopify
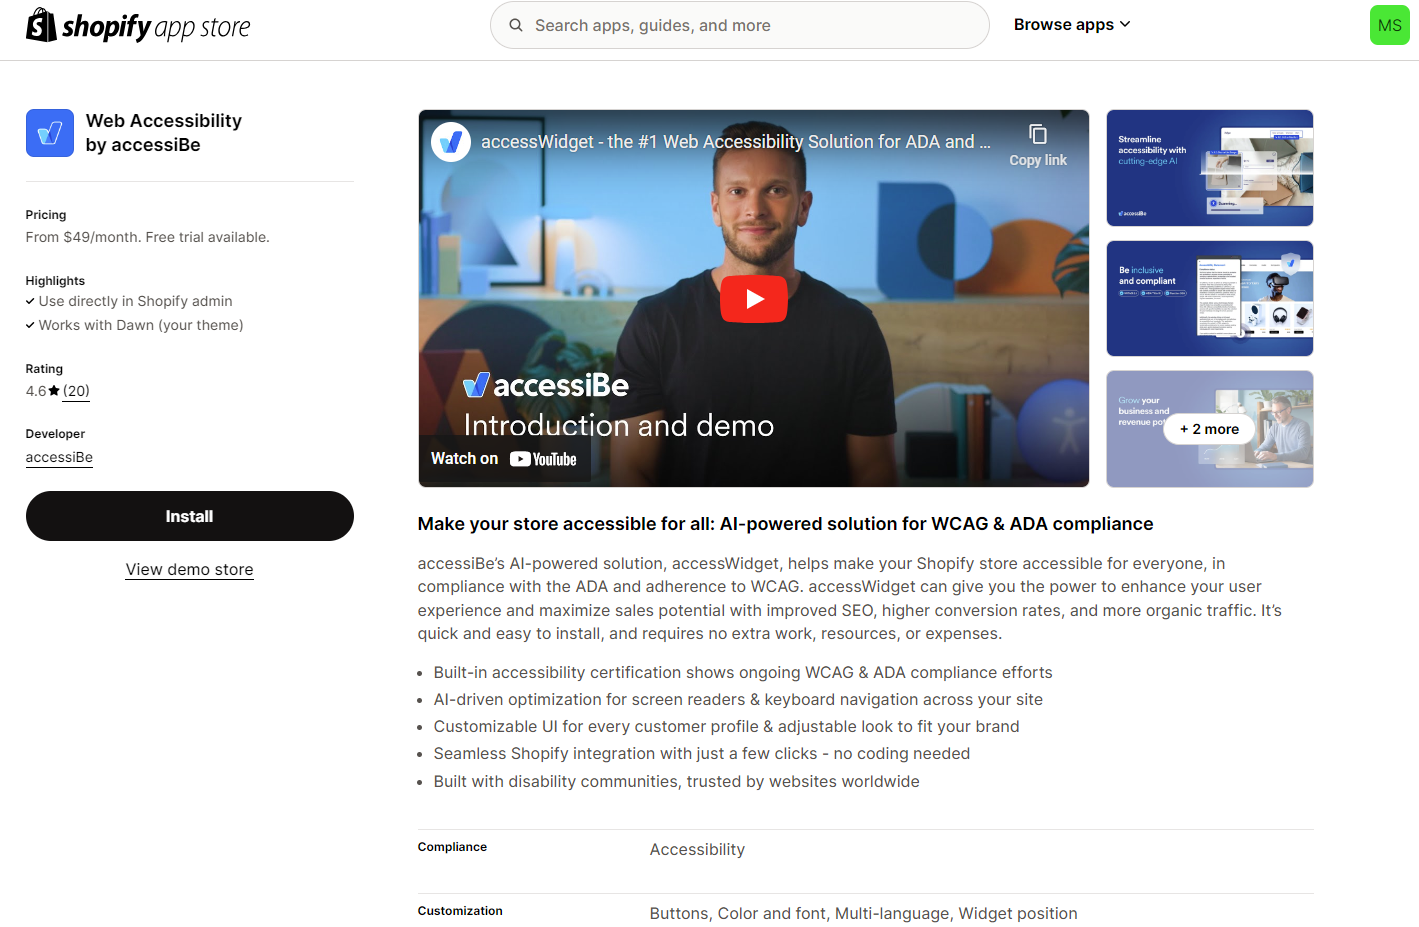
- In the Shopify app store search for Web Accessibility by accessiBe.
- Select Install.
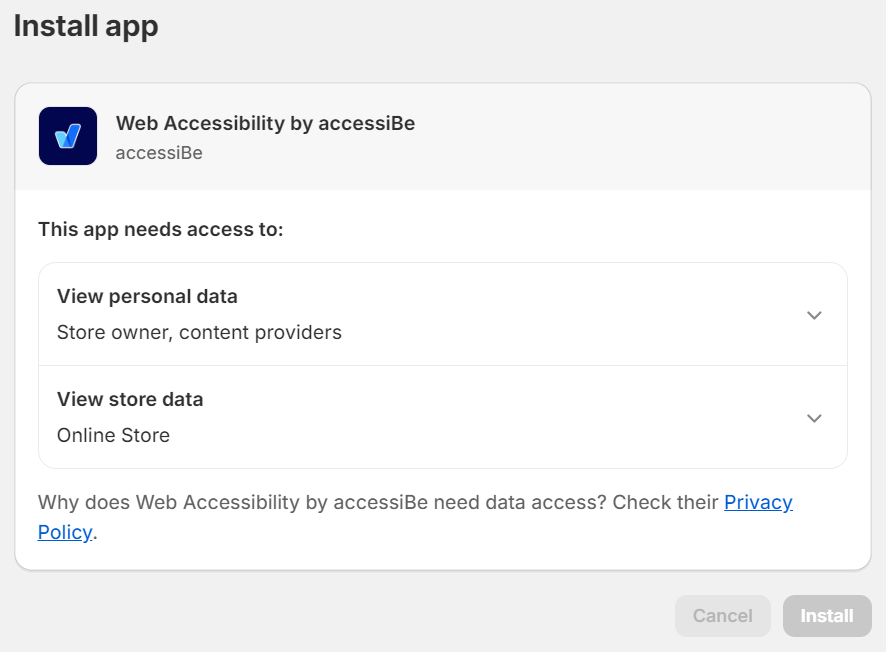
- In the Install app window select Install.
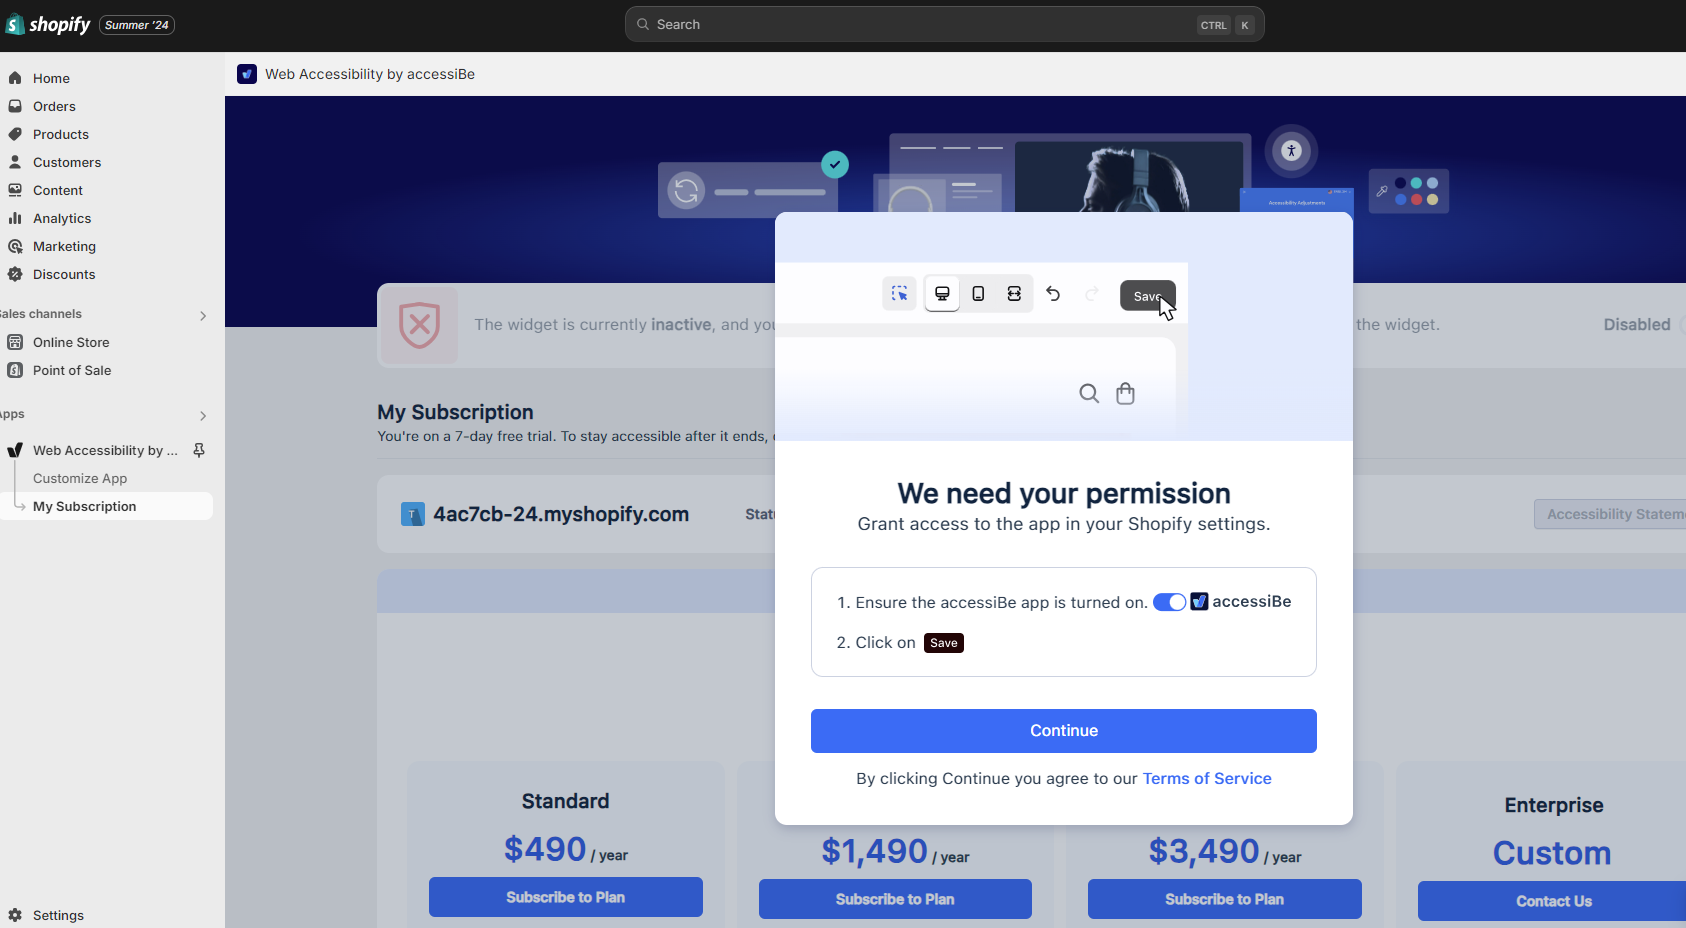
- Select Continue to grant access to the app in your Shopify settings.
Good work! You've installed accessWidget, making your shop accessible.
For more information see our Website Onboarding Guide and follow the instructions to ensure proper installation and performance.