Need some help with accessiBe?
Find your answers here!
How to install accessWidget on a Squarespace website
Install the accessiBe plugin, accessWidget, using custom code to help make your Squarespace site accessible.
Note: At the time of writing this guide, this feature is only available on Squarespace’s Business and Commerce Plans.
- Log into Squarespace and in the Dashboard select your website.

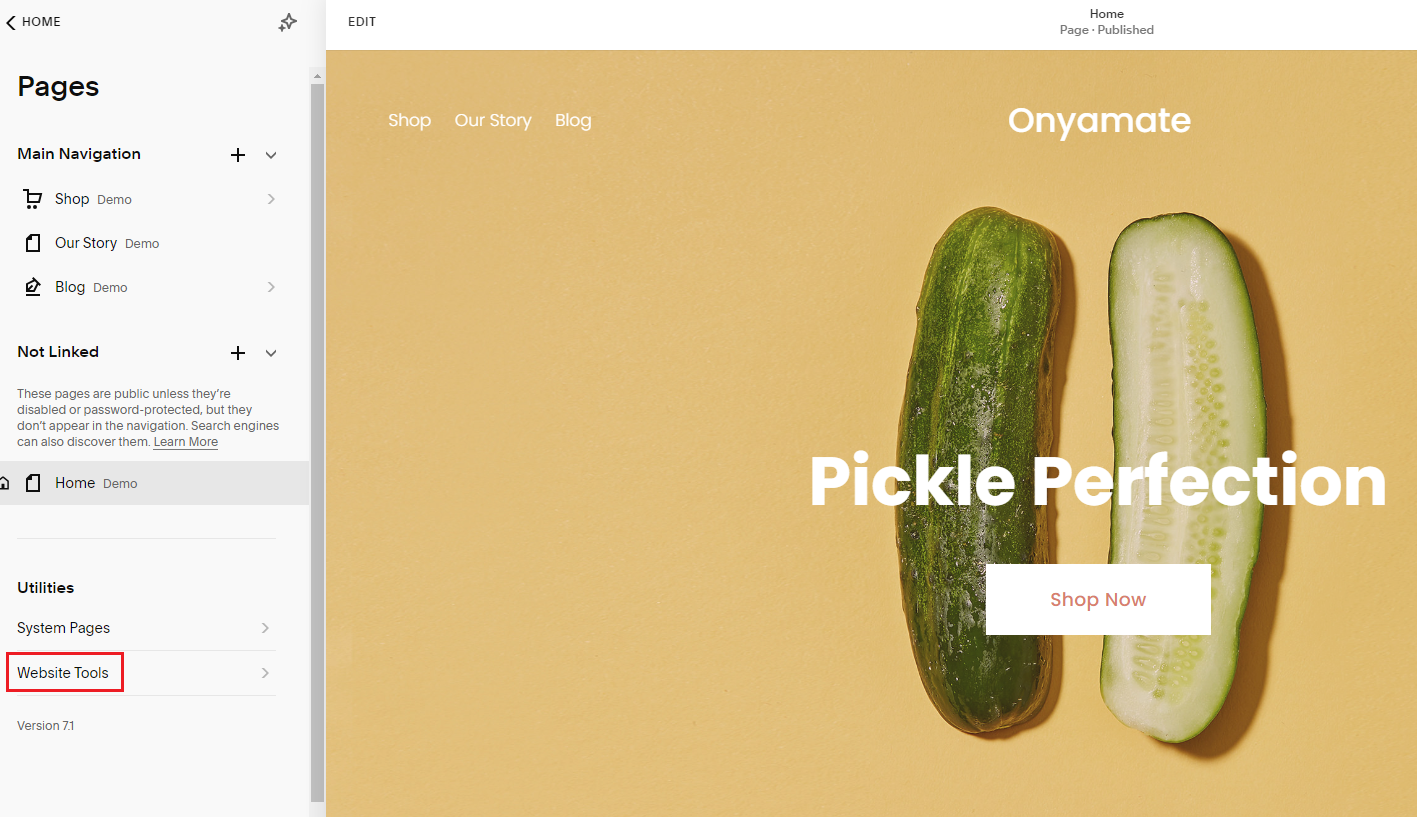
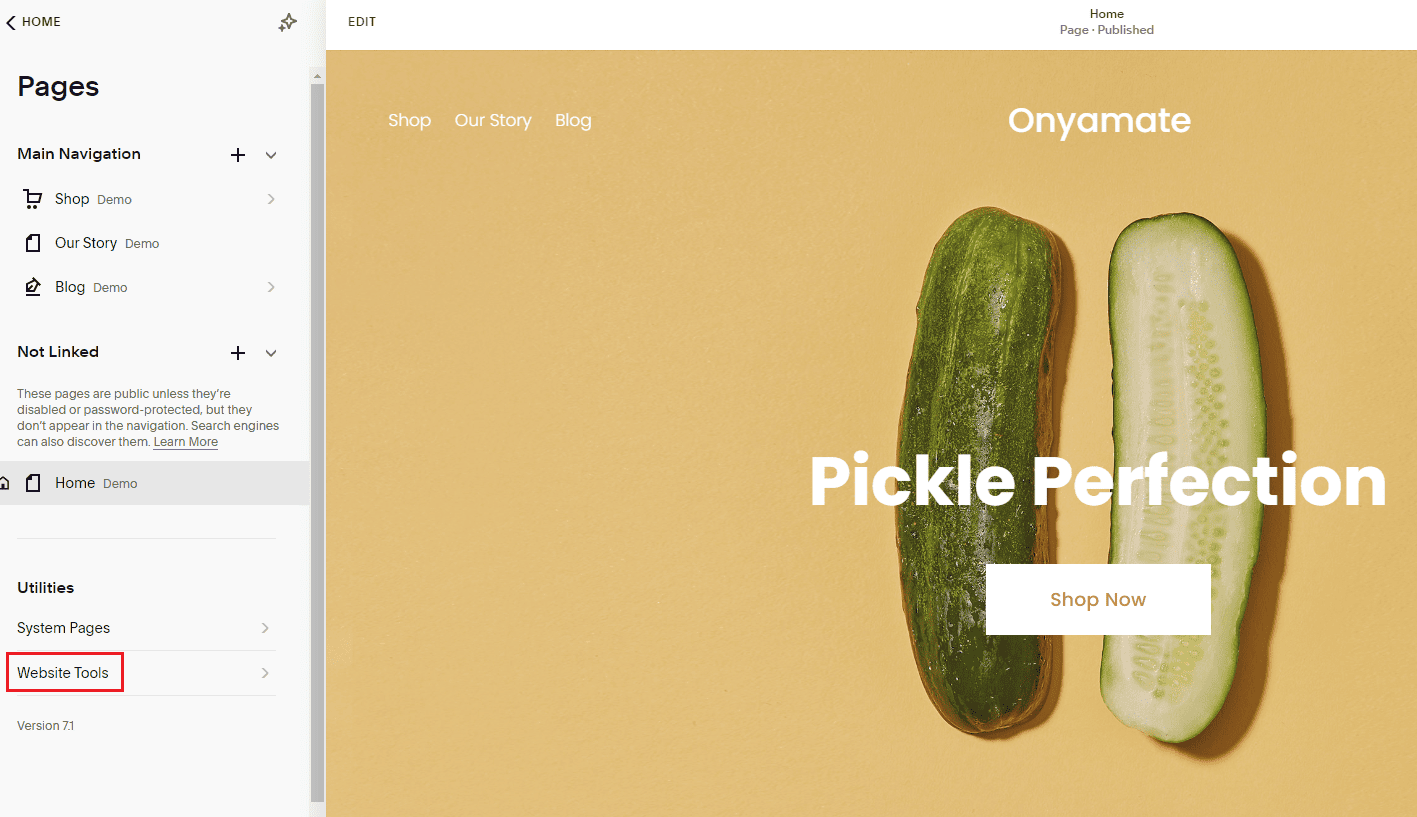
- In the menu go to Website and then select Website Tools.

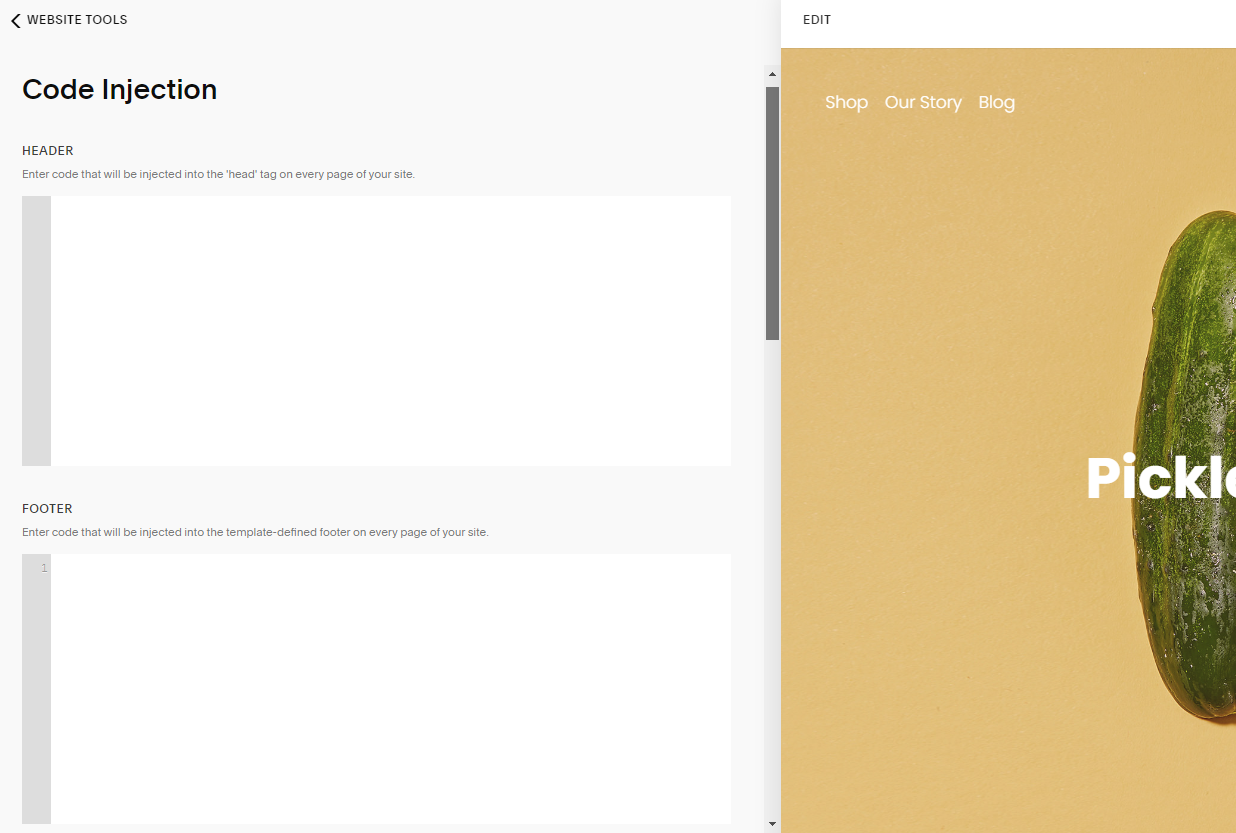
- Select Code Injection.

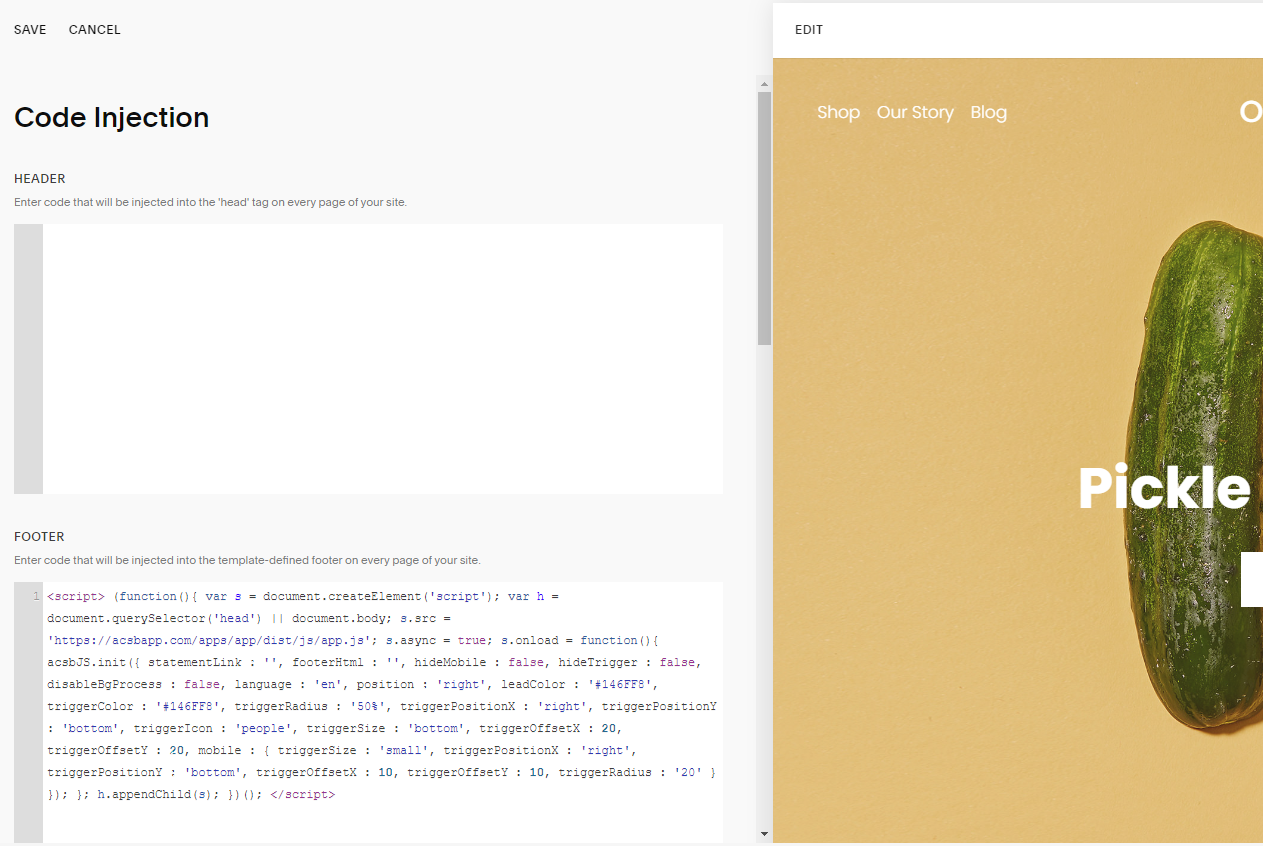
- In the Footer text box, paste the installation code that you received from us when you registered your site for our service in the text box. If you don't have the installation code:
- On the accessiBe homepage, select Login in the top right corner, and log in to your account.
- Select My Licenses and select the specific license where you want to install accessWidget.
- Select Install and customize widget.
- Under Quick installation, select Copy to Clipboard to copy the installation code.

- After pasting the code, select Save in the upper left.

- Customize your installation to match your website and brand.
Good work! You've installed accessWidget, helping to make your site accessible.
For more information see our Website Onboarding Guide and follow the instructions to ensure proper installation and performance.

