Need some help with accessiBe?
Find your answers here!
How to install accessWidget on a WordPress website
Install the accessiBe app, accessWidget on your Wordpress site to make it accessible for everyone. The app can be integrated seamlessly into your Wordpress site with just a few clicks.
To install accessWidget on Wordpress.com
- Search for accessibility in the Wordpress Plugins Marketplace and select Web Accessibility by accessiBe.
- Select Install and Activate.
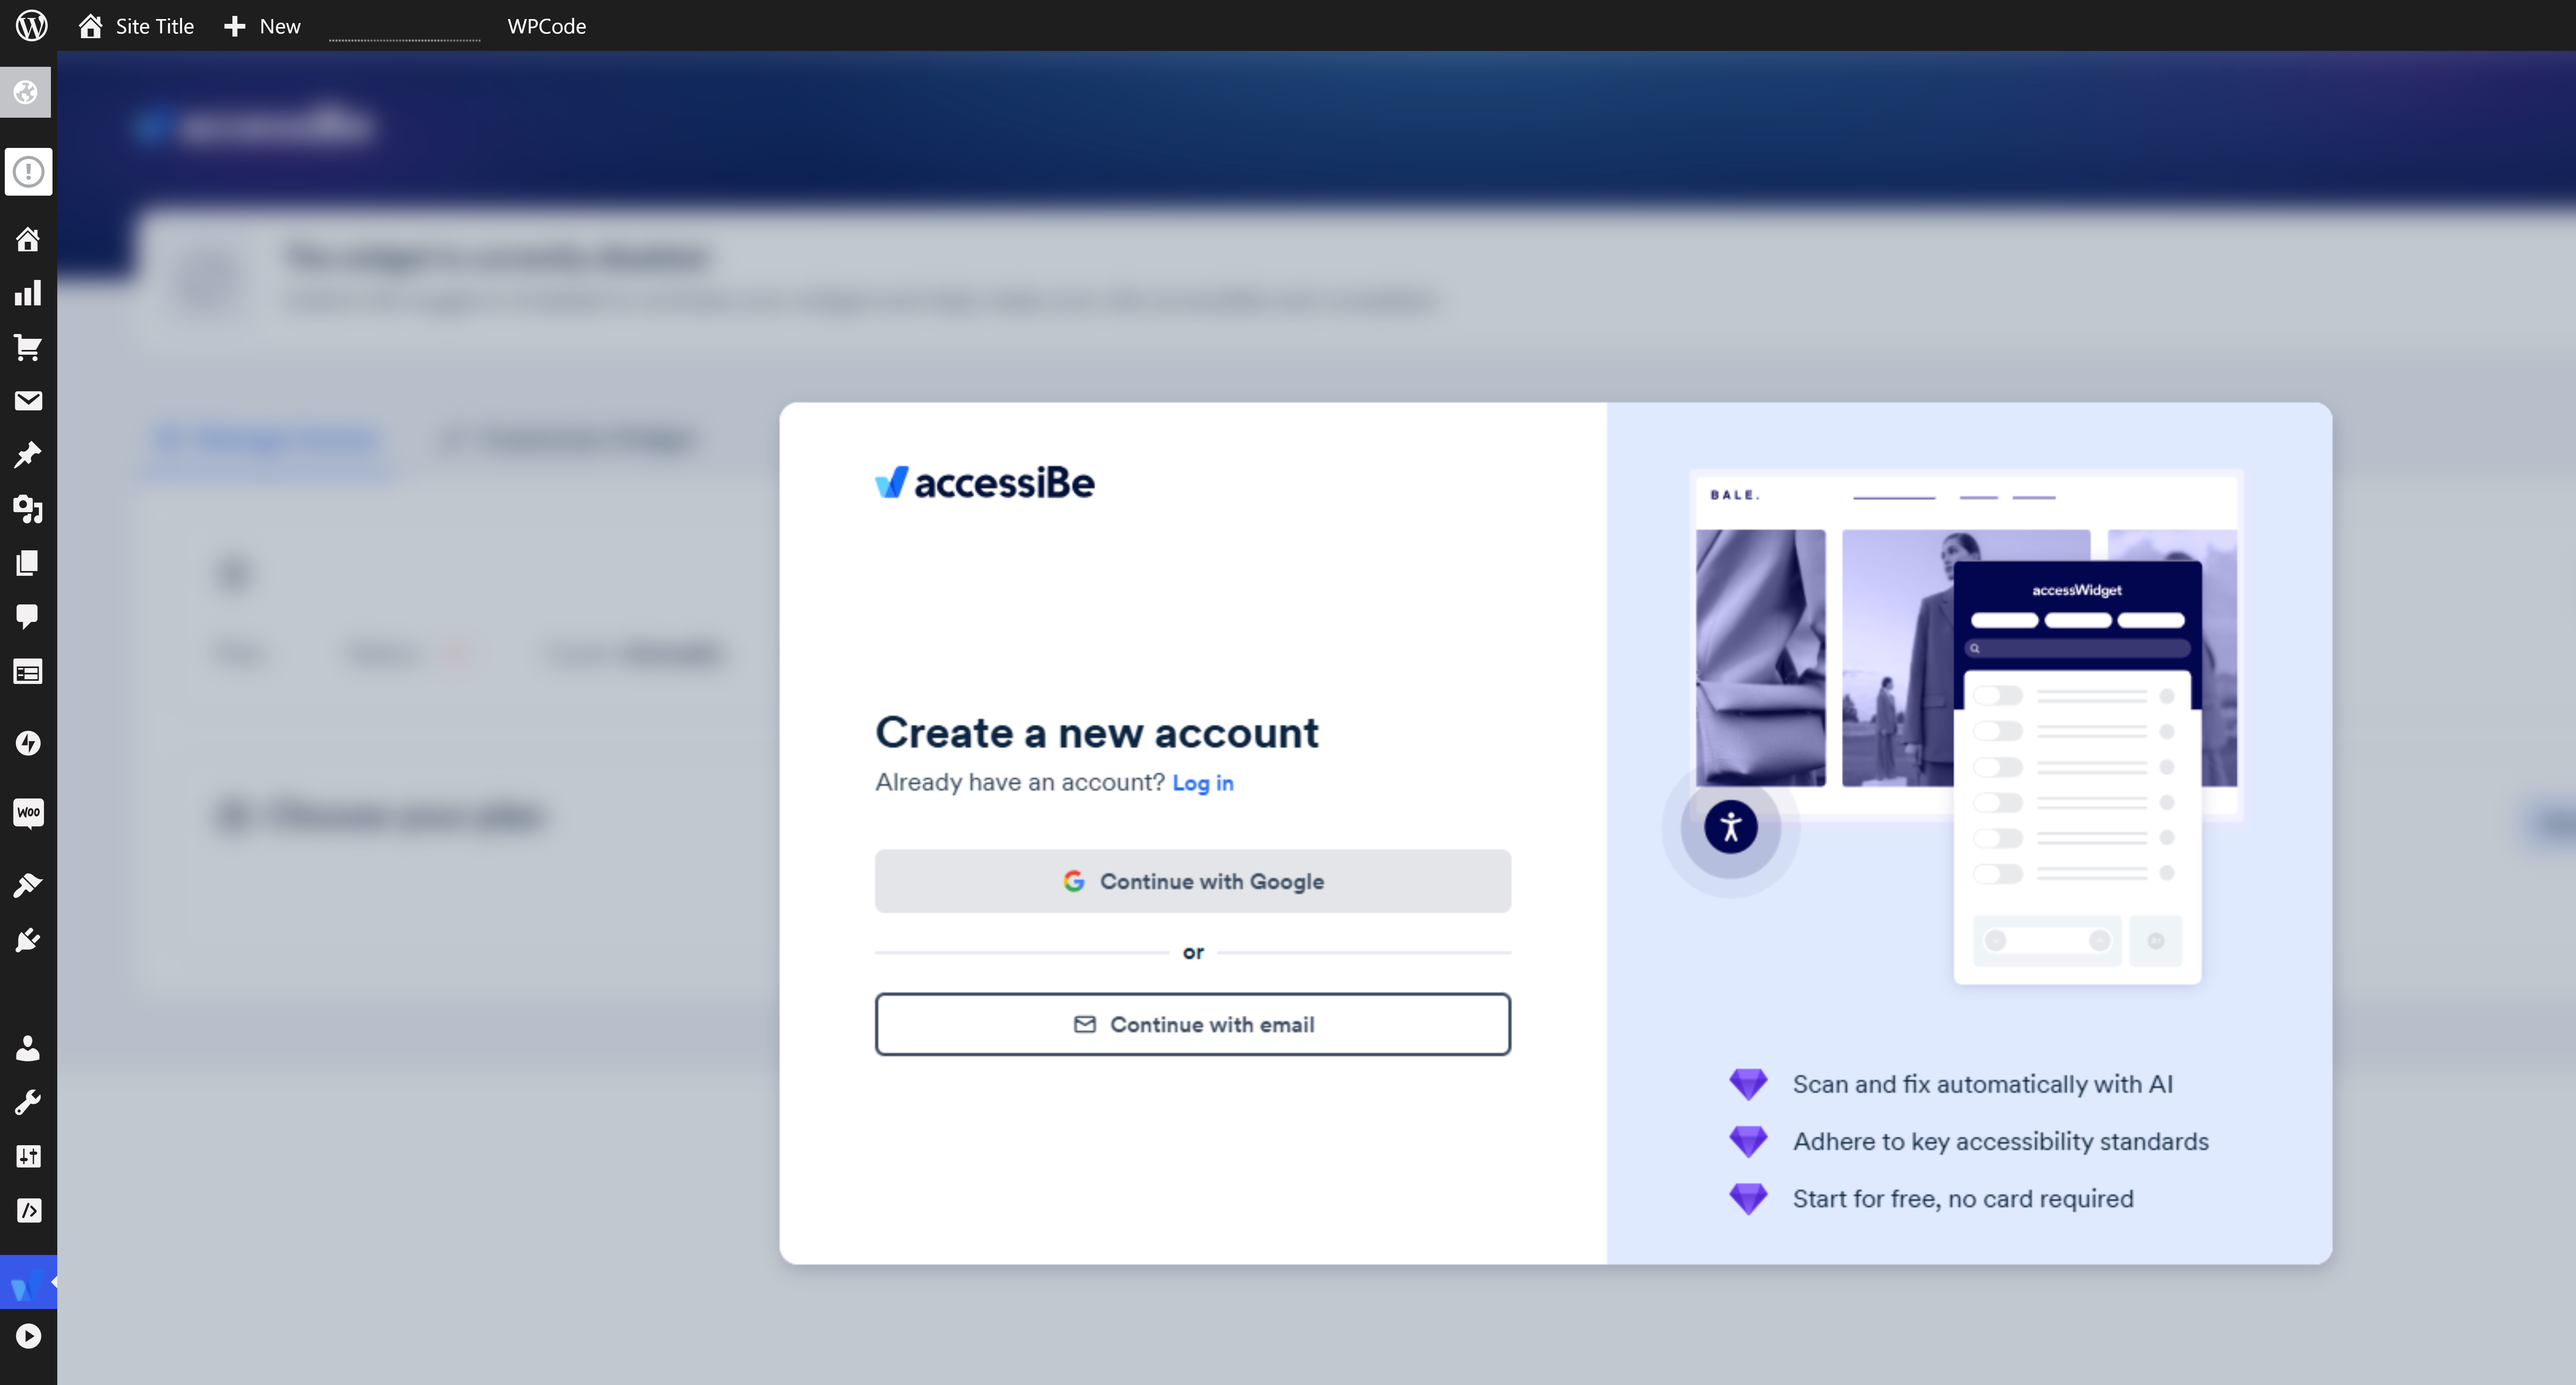
- Create a new accessiBe account. Select Continue with Google to sign up with your Google account or select Continue with email. If you already have an account with accessiBe, select Log in.
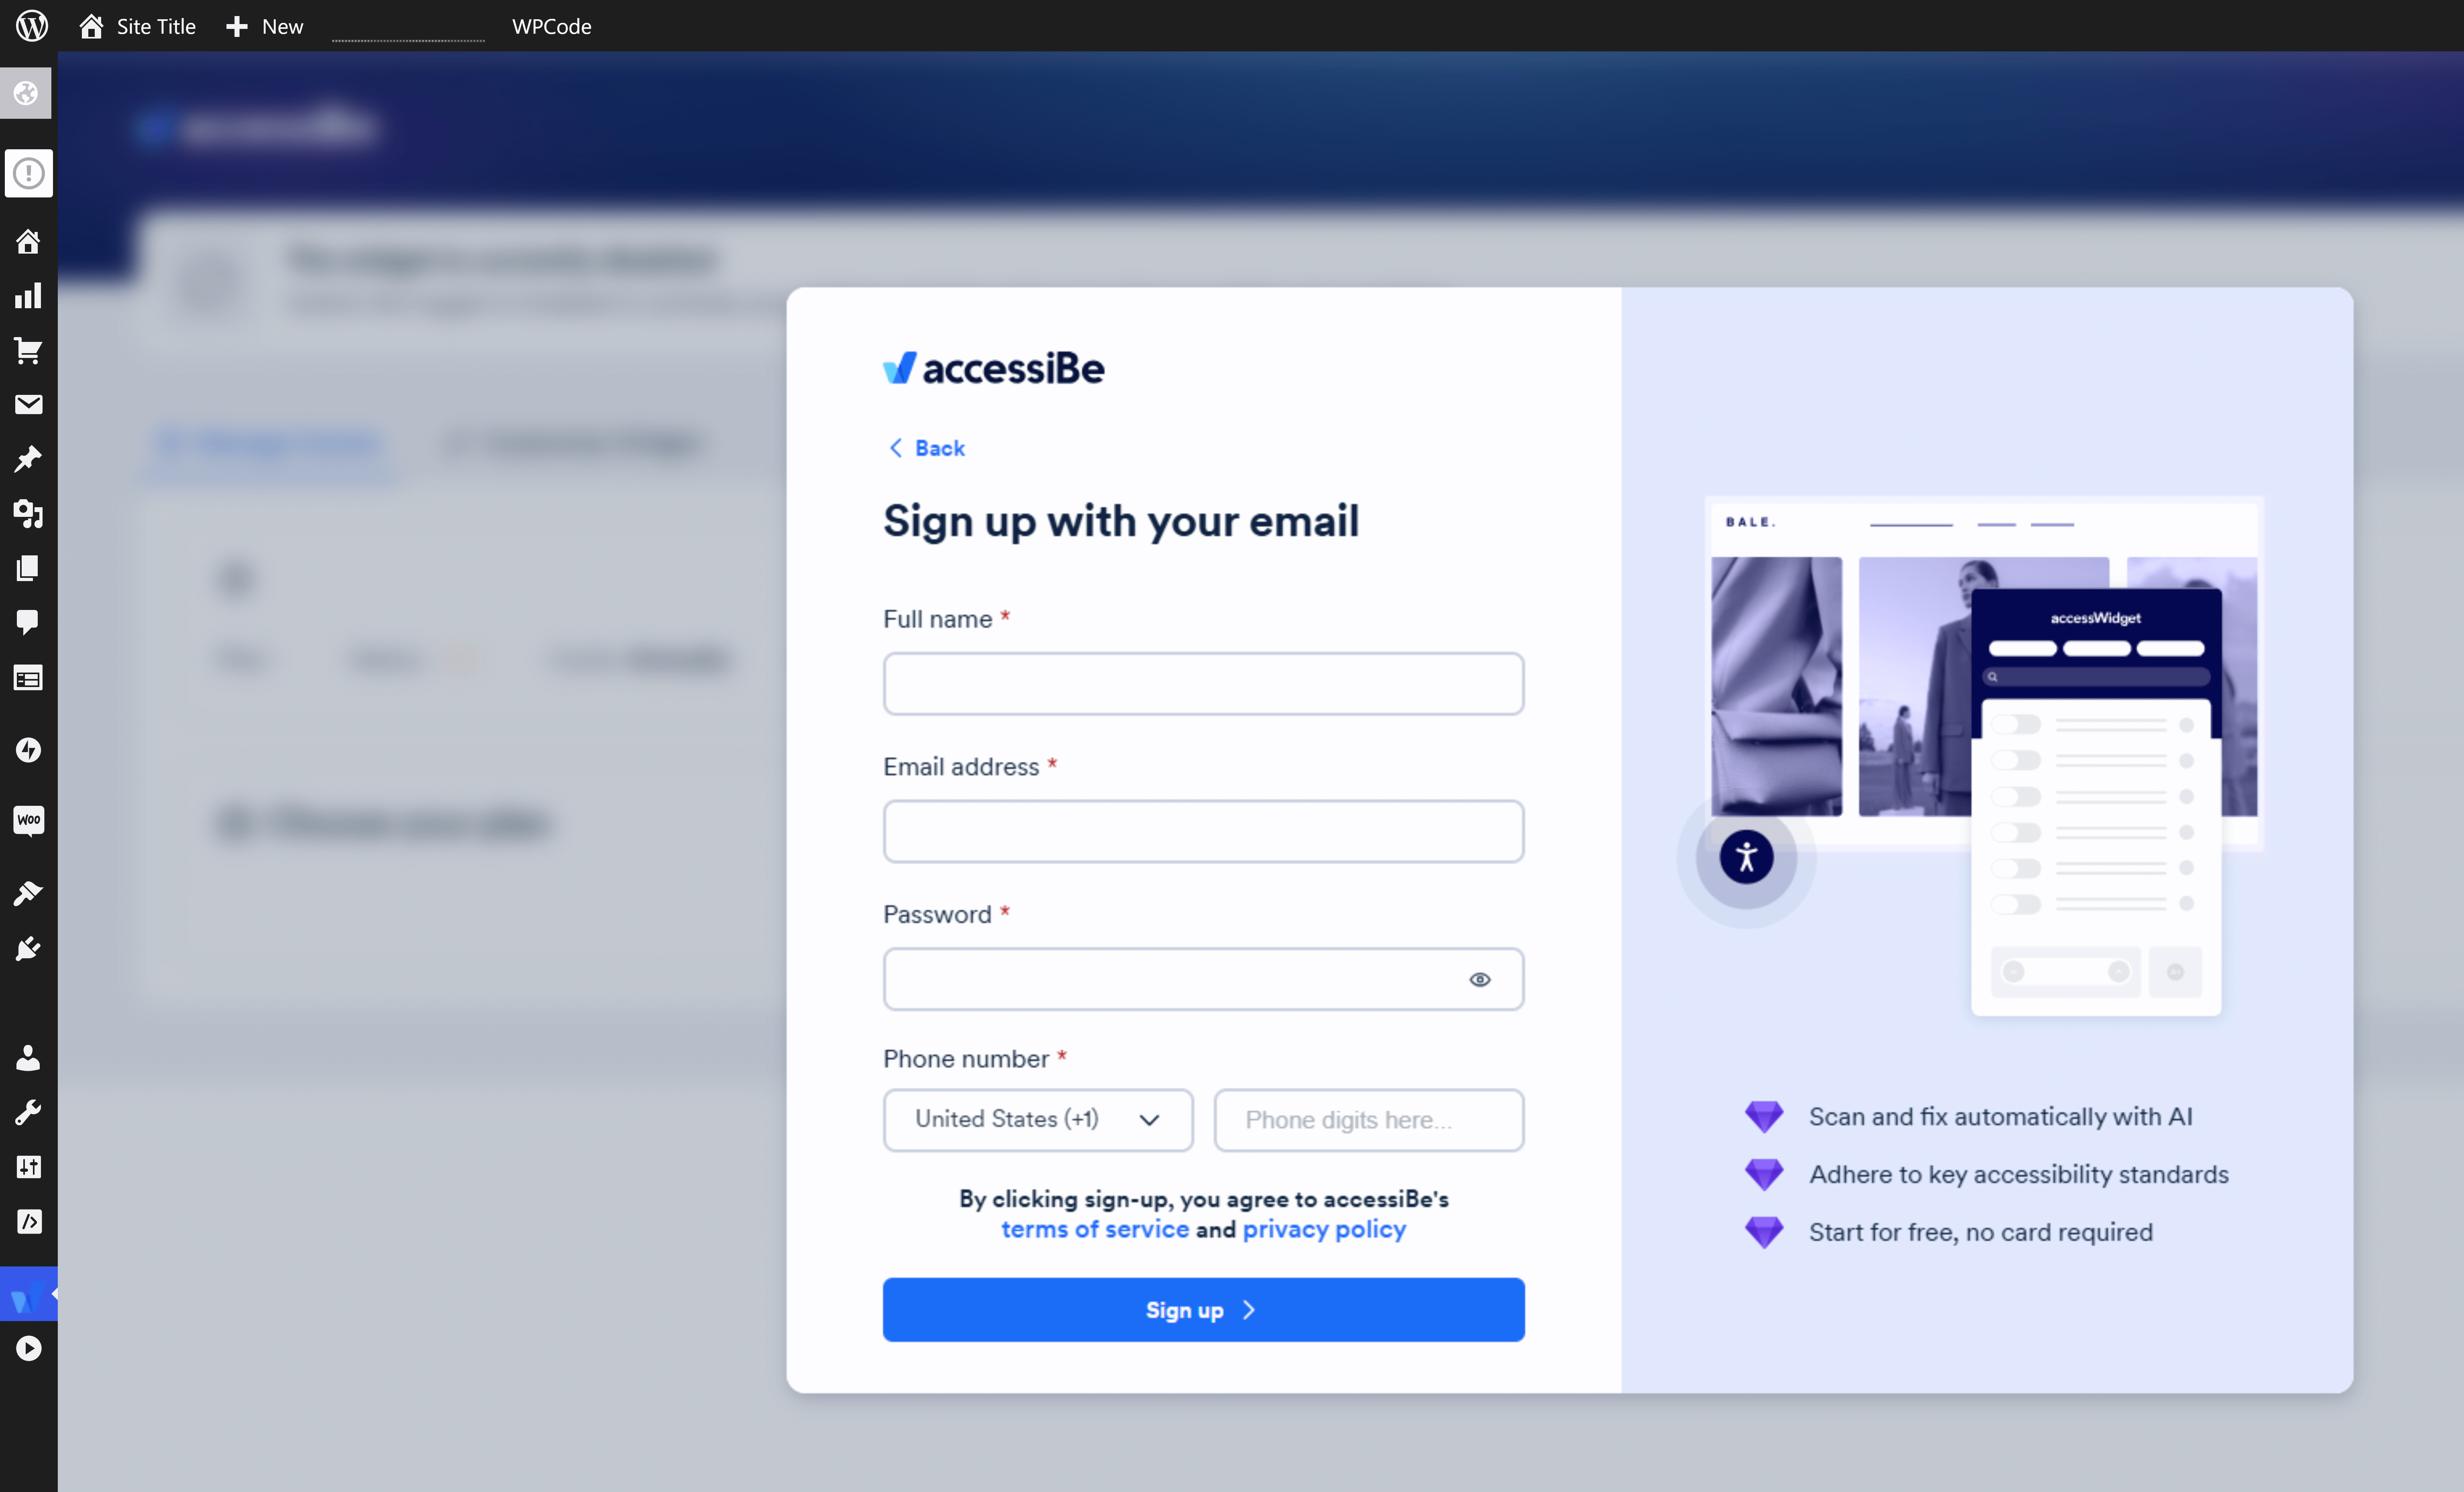
- Enter your details to create an account and select Sign up.
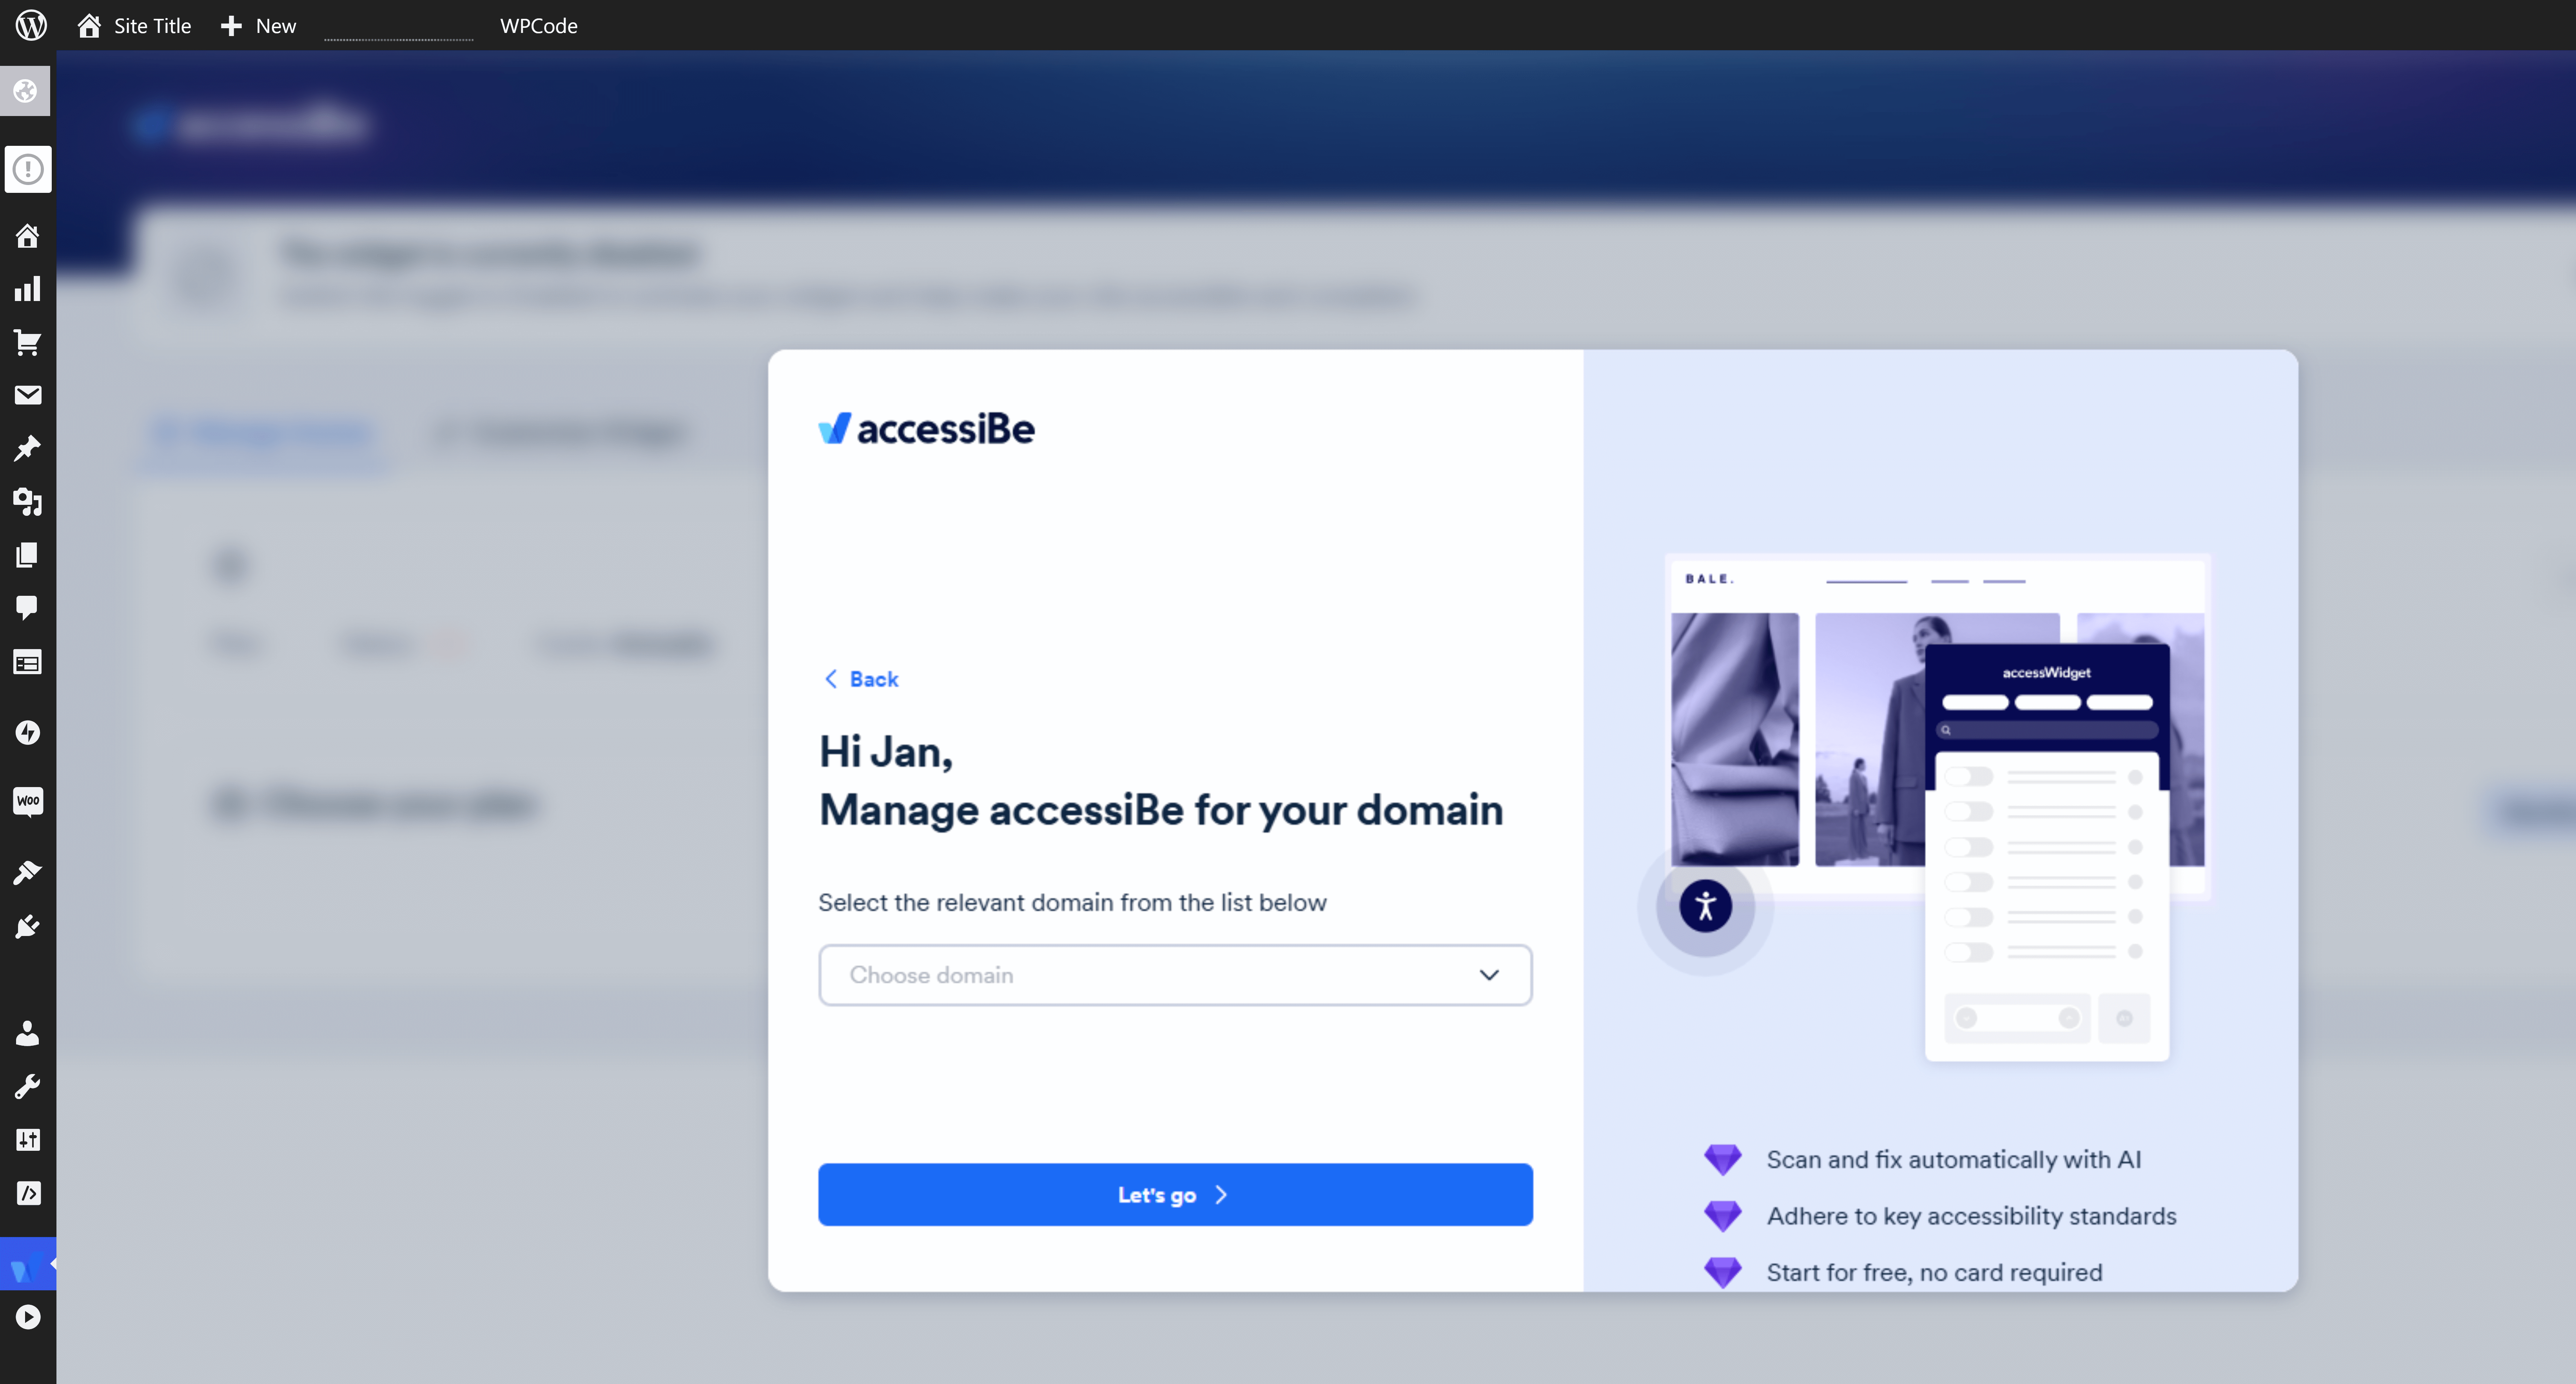
- Select the domain in Wordpress to install the accessWidget plugin and then select Let's go.
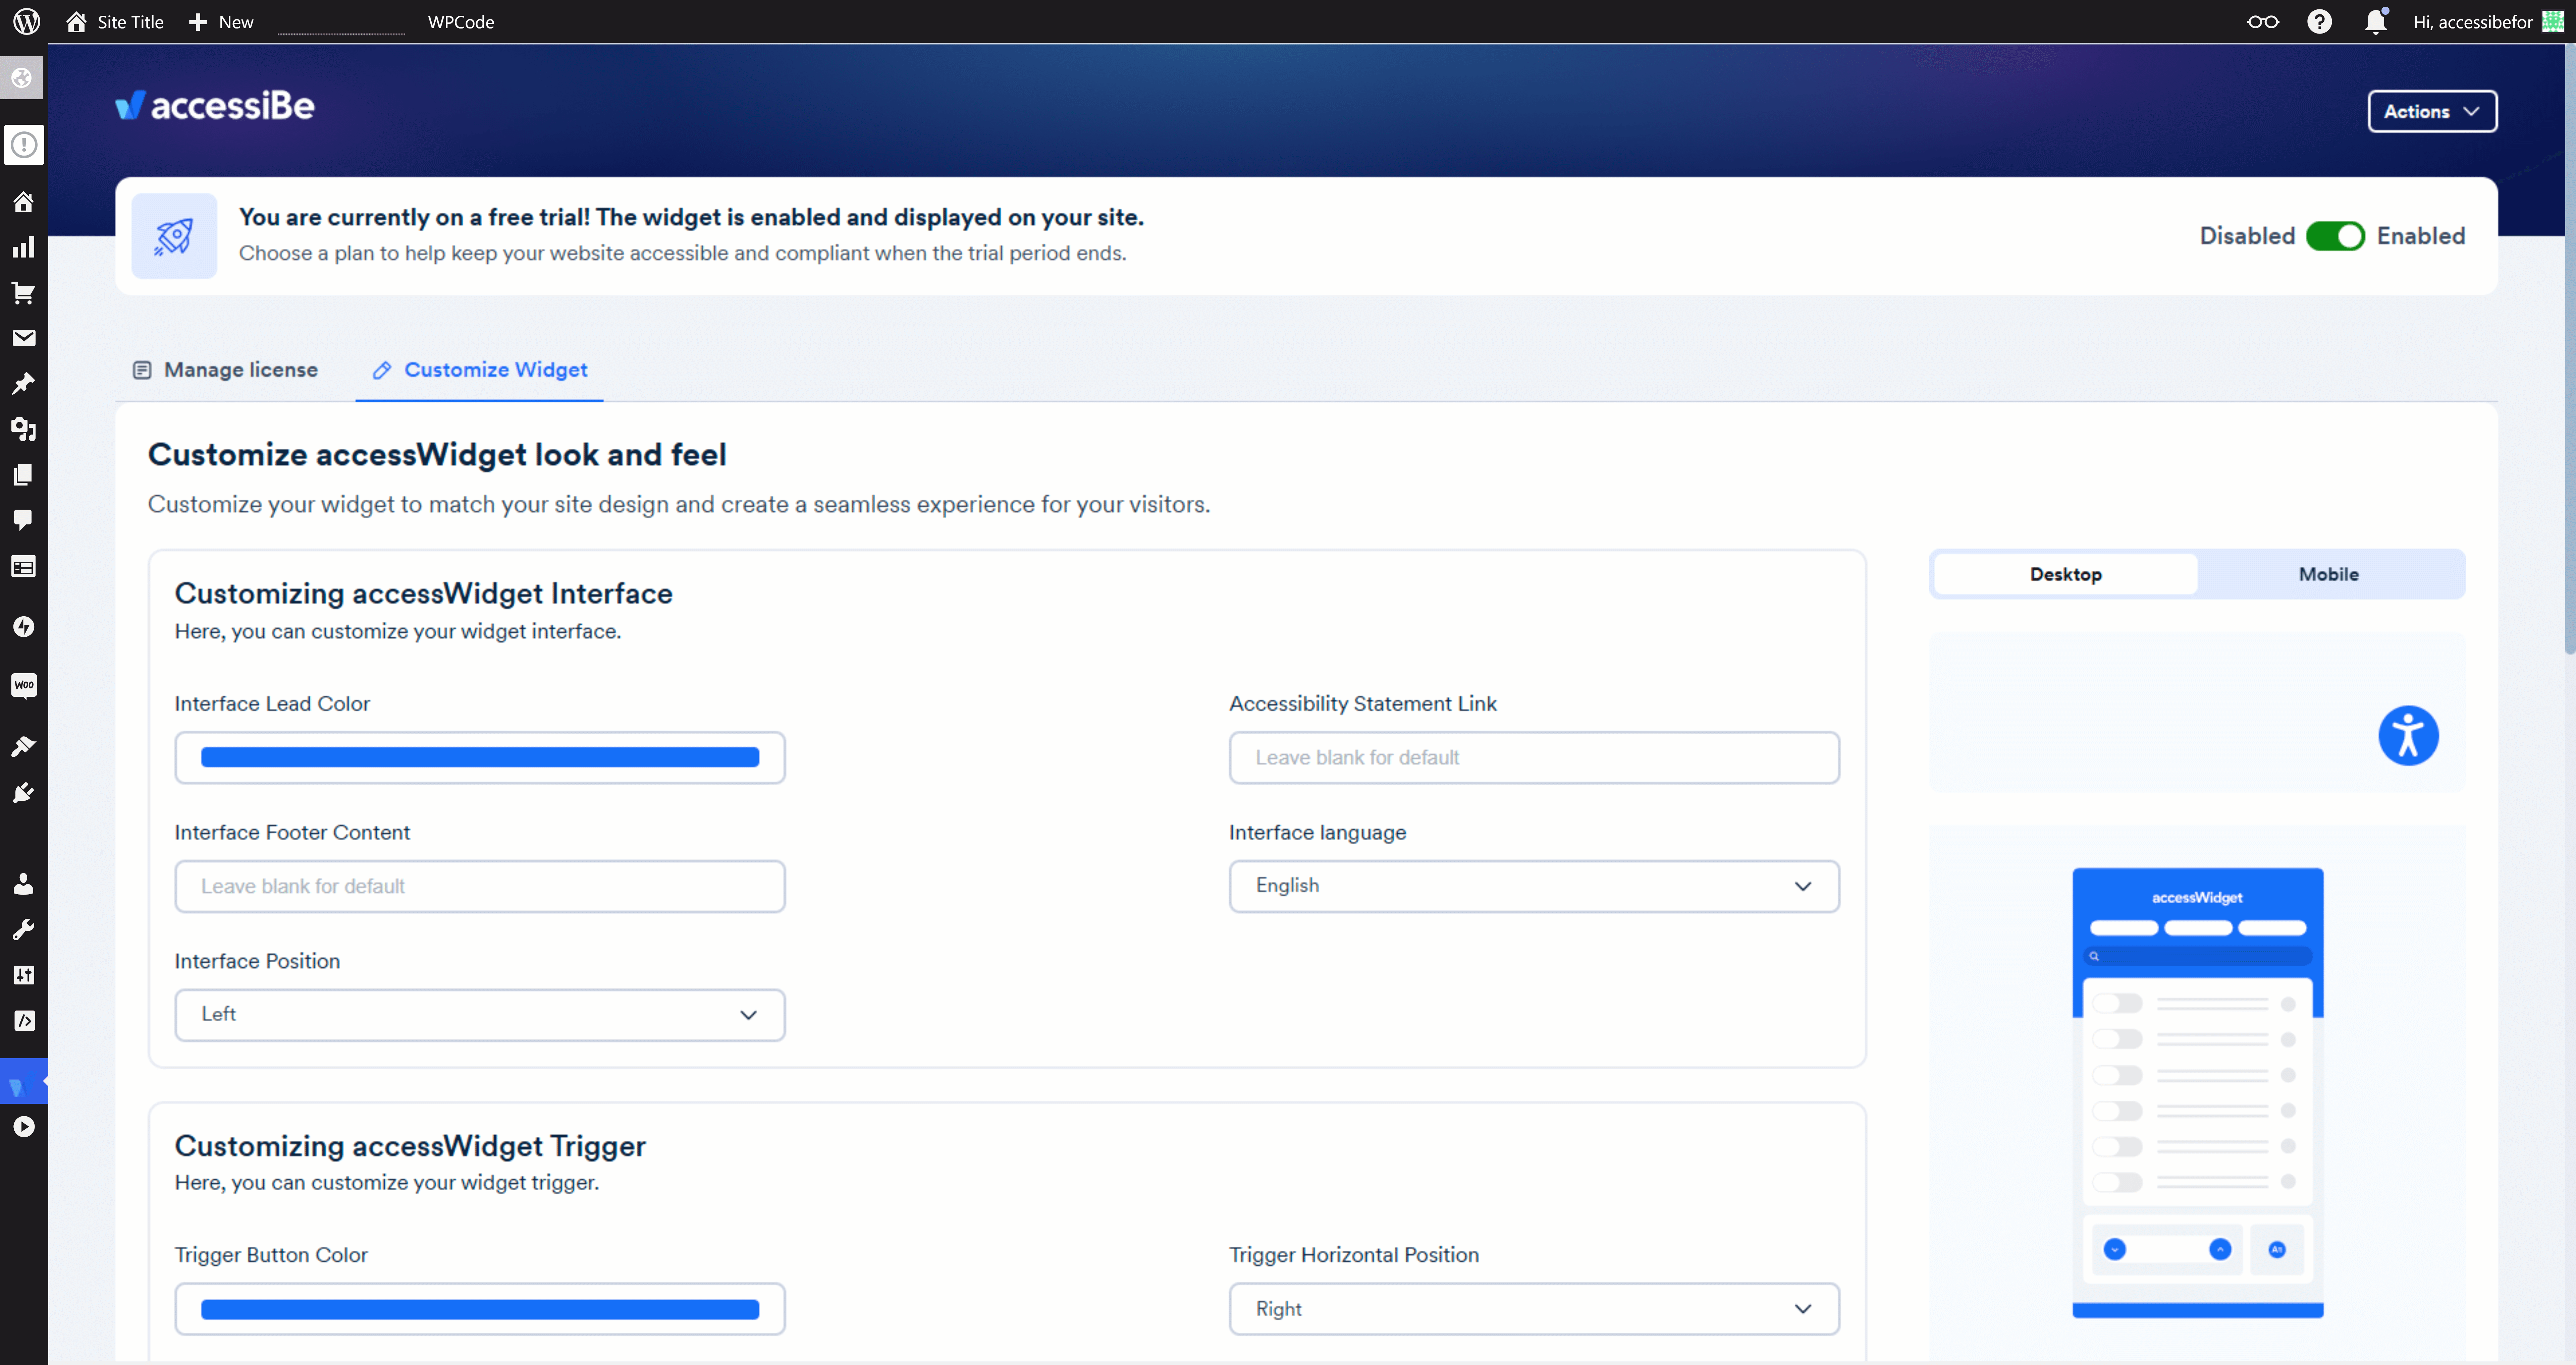
accessWidget is now installed on your site making it accessible and your 7 day free trial has started. - Choose a plan to help keep your website accessible and compliant when the trial period ends.
- Select Customize Widget to match your site design and create a seamless experience for your visitors.
To install accessWidget on Wordpress.org
- Download the .zip file from the accessiBe plugin page.
- In Wordpress go to WordPress Admin > Plugins > Add New > Upload Plugin and select the file you downloaded in the previous step.
- Select Install Now.
Once it’s installed, the Install Now button will change to Activate. - Select Activate.
- Sign up to accessiBe in the plugin. If you already have an account, select Log in.
- Select the domain to start your 7-day free trial.
For more information see our Website Onboarding Guide and follow the instructions to ensure proper installation and performance.