Need some help with accessiBe?
Find your answers here!
How to install accessWidget using Google Tag Manager
Install accessWidget using Google Tag Manager and make your website accessible.
To install accessWidget using Google Tag Manager
- Log in to your Google Tag Manager account at https://tagmanager.google.com with your account email address and password.
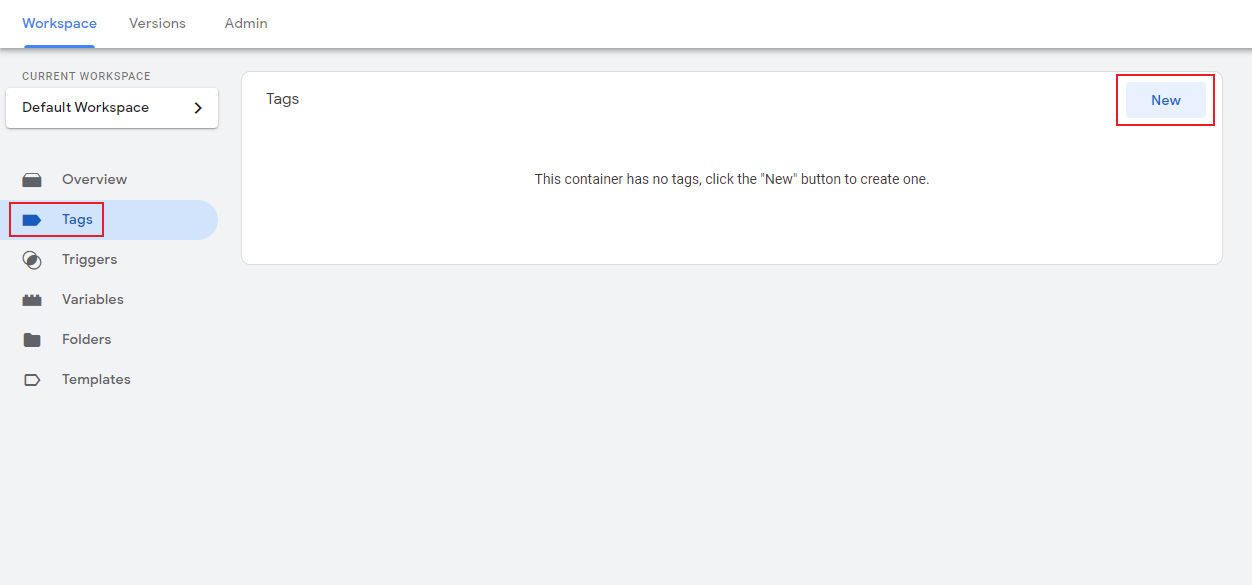
- In the menu go to Tags and select New.
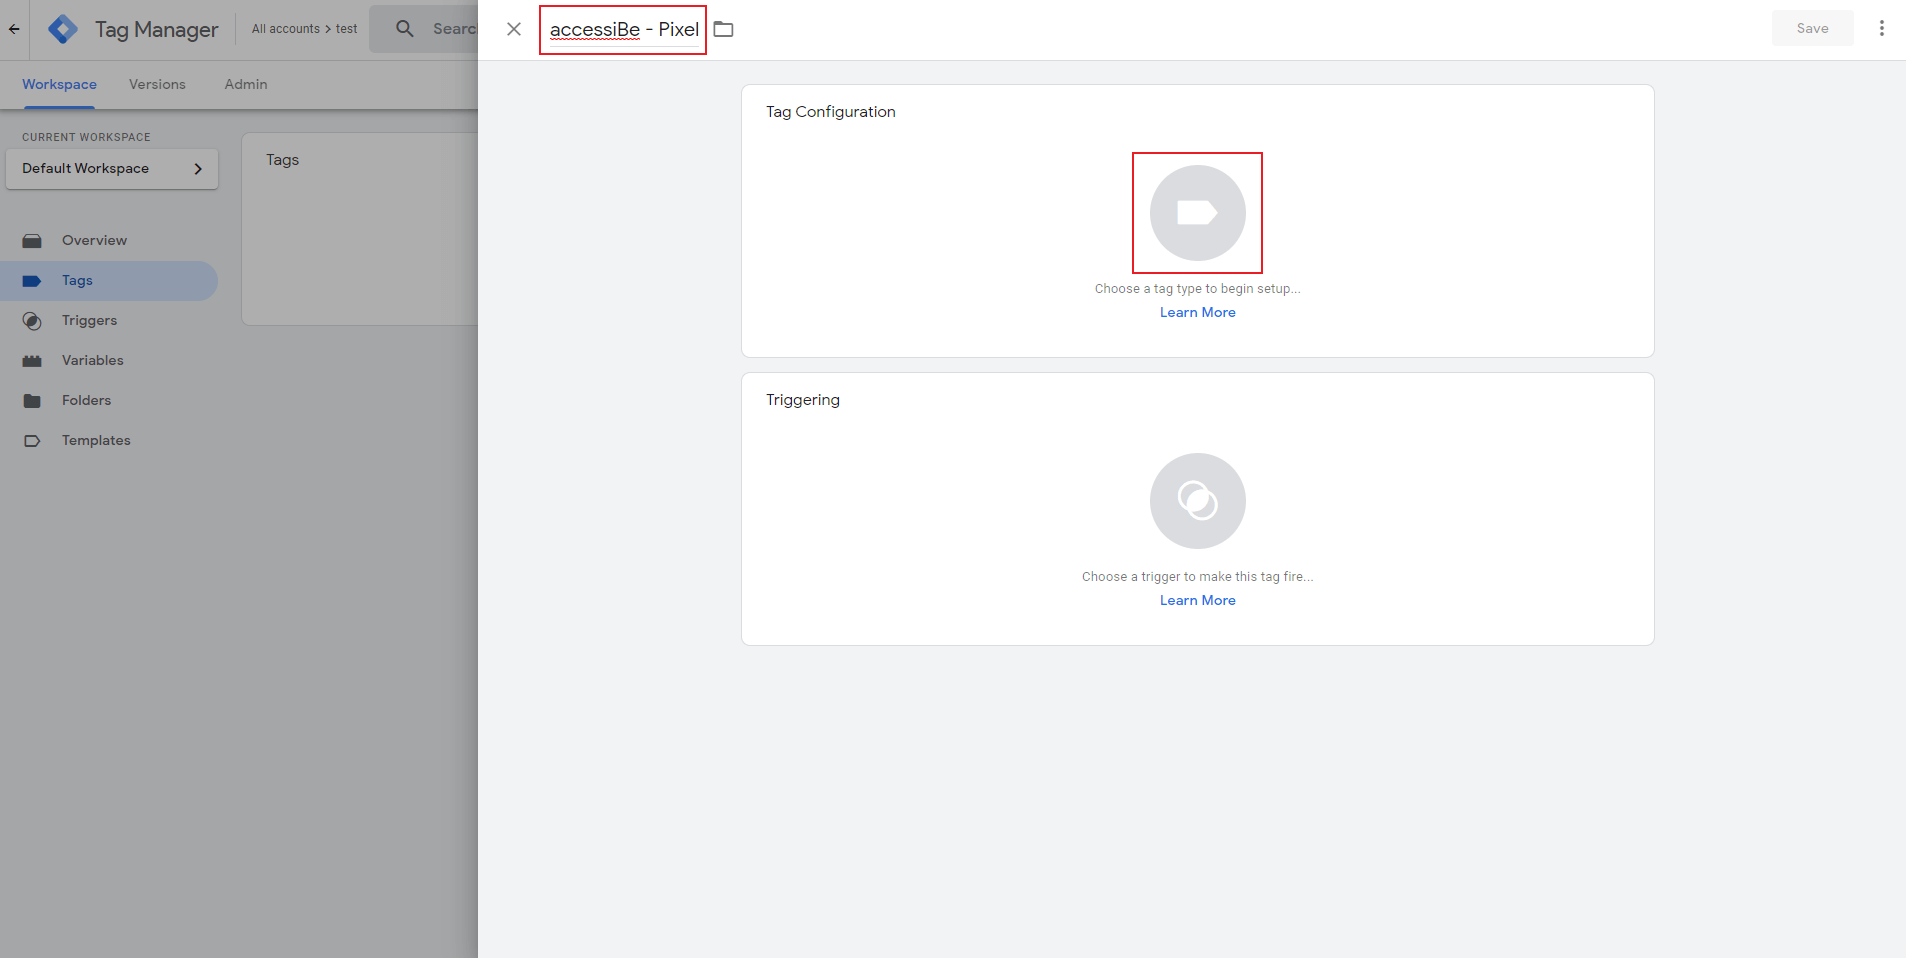
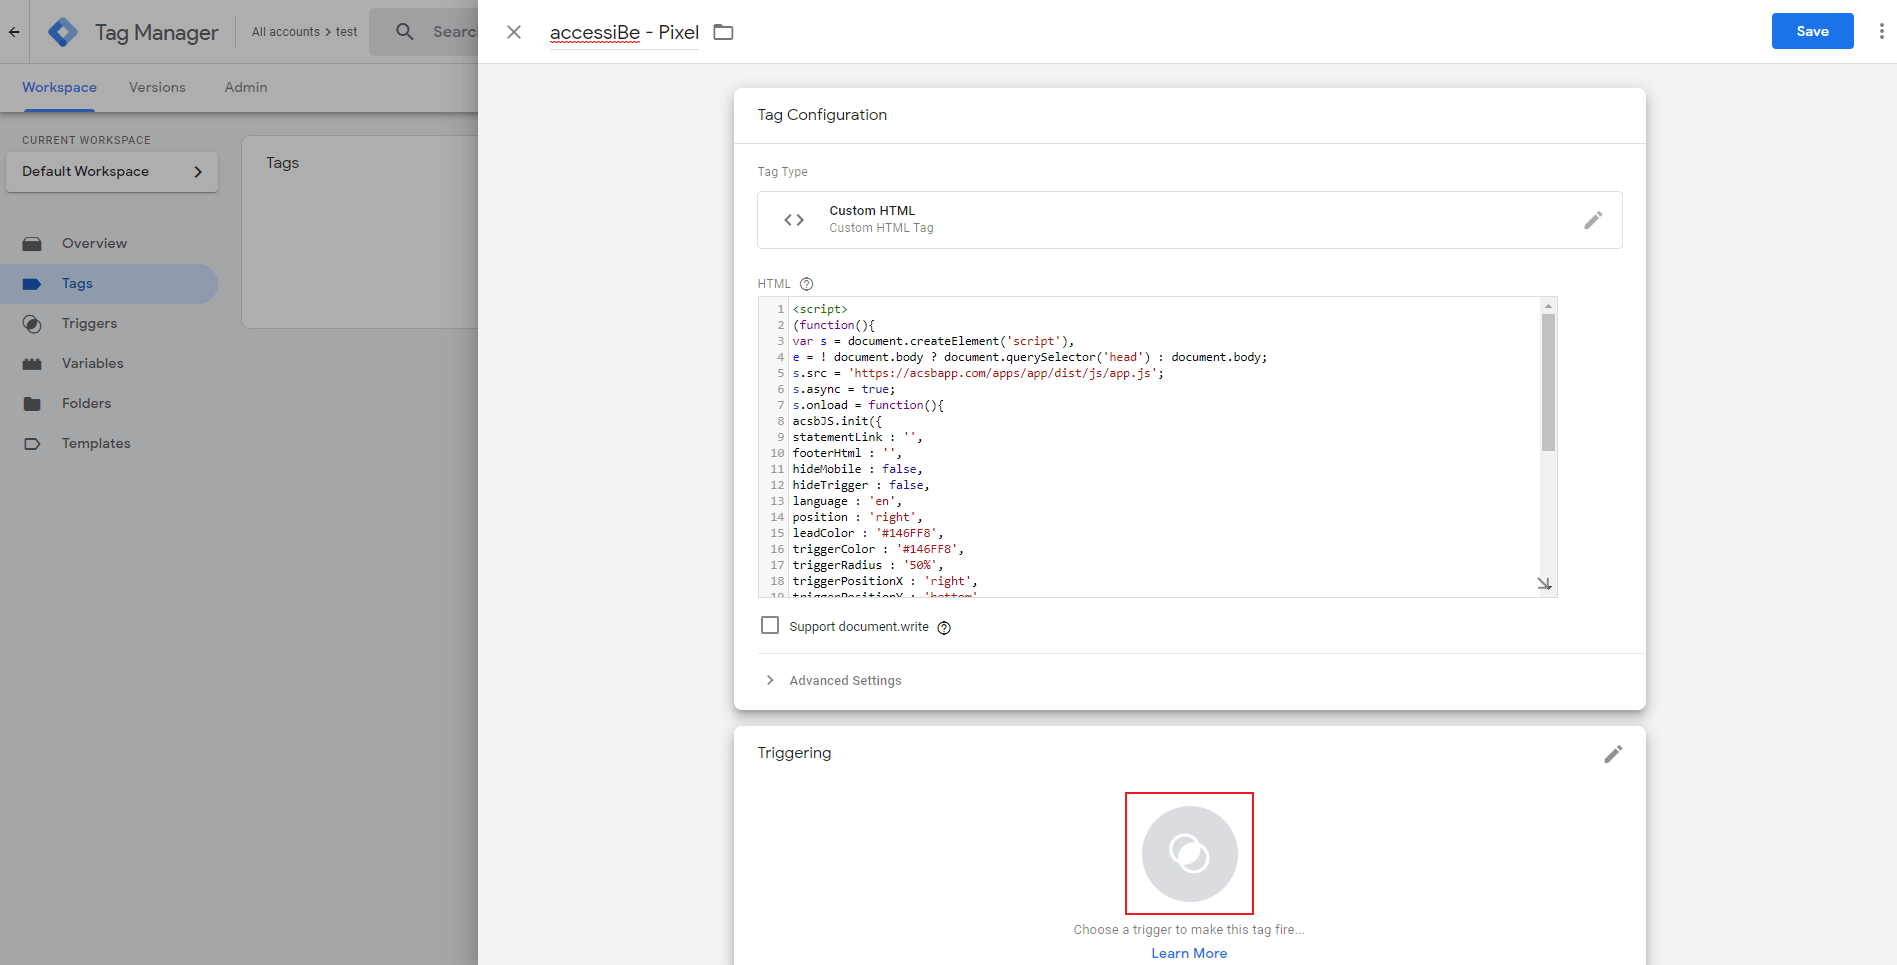
- Change the tag name to accessiBe - Pixel or a similar name and select Tag Configuration.
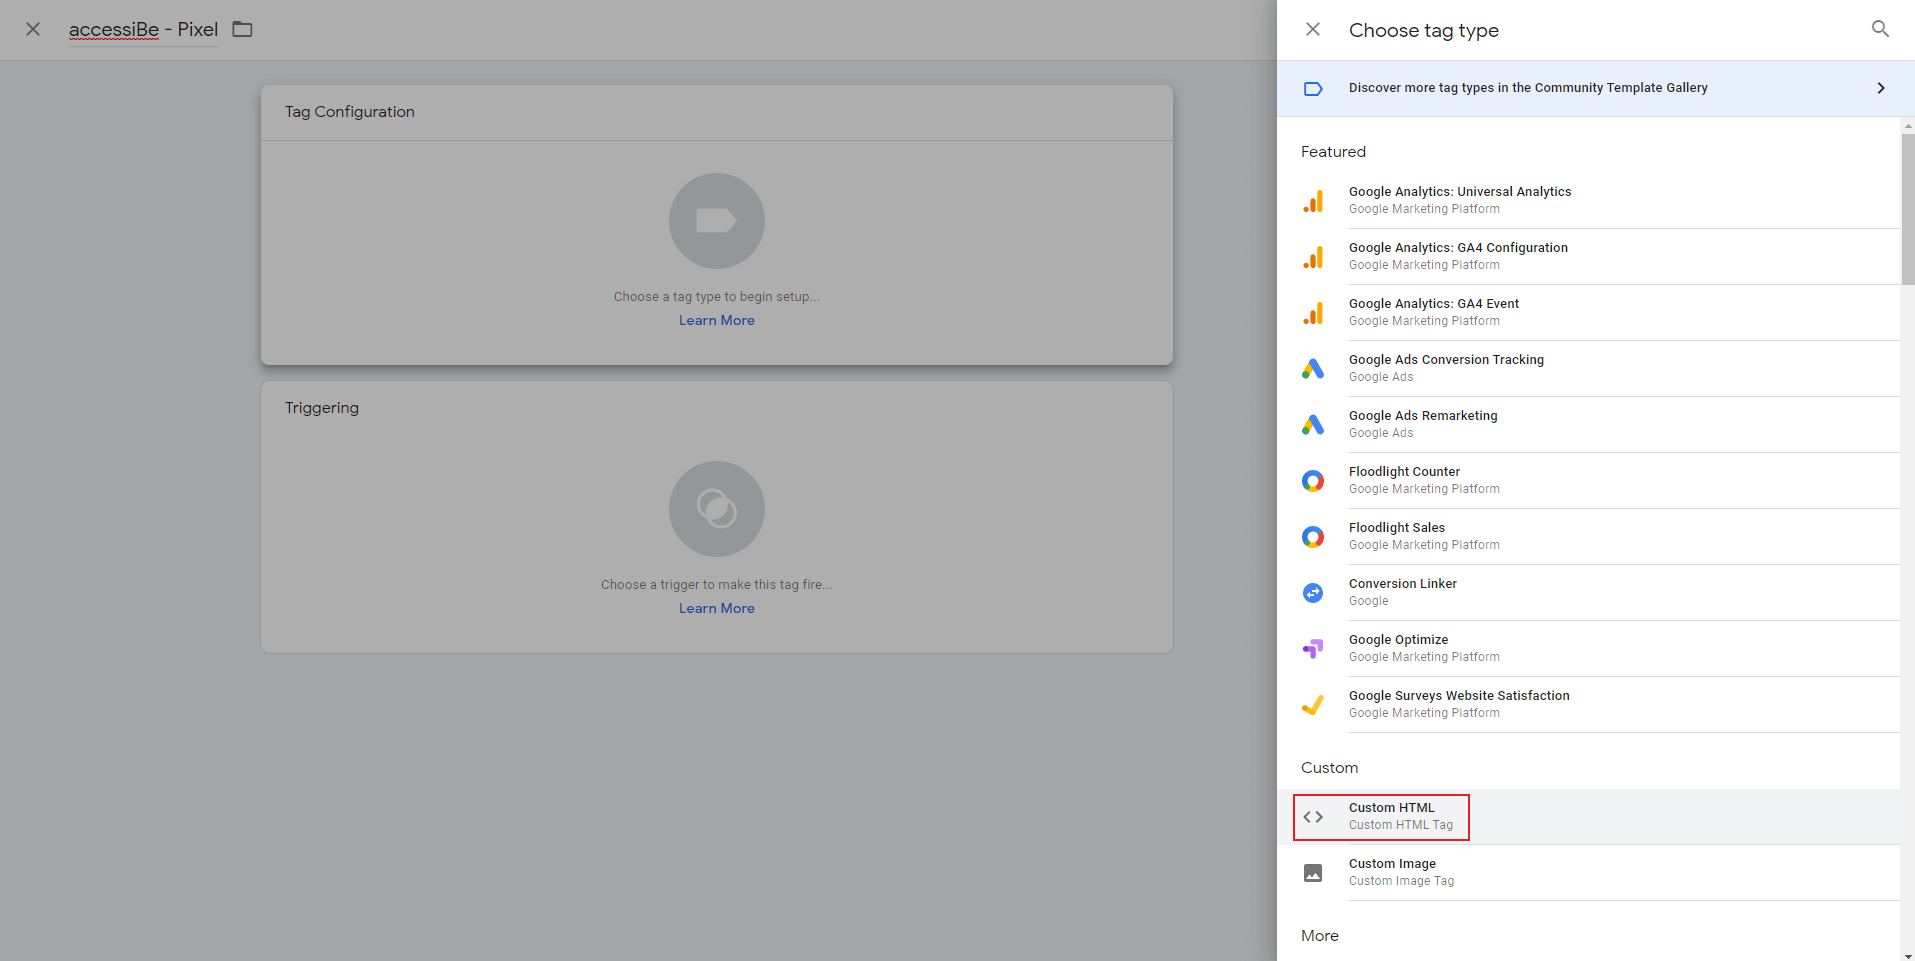
- Scroll down and select Custom HTML.
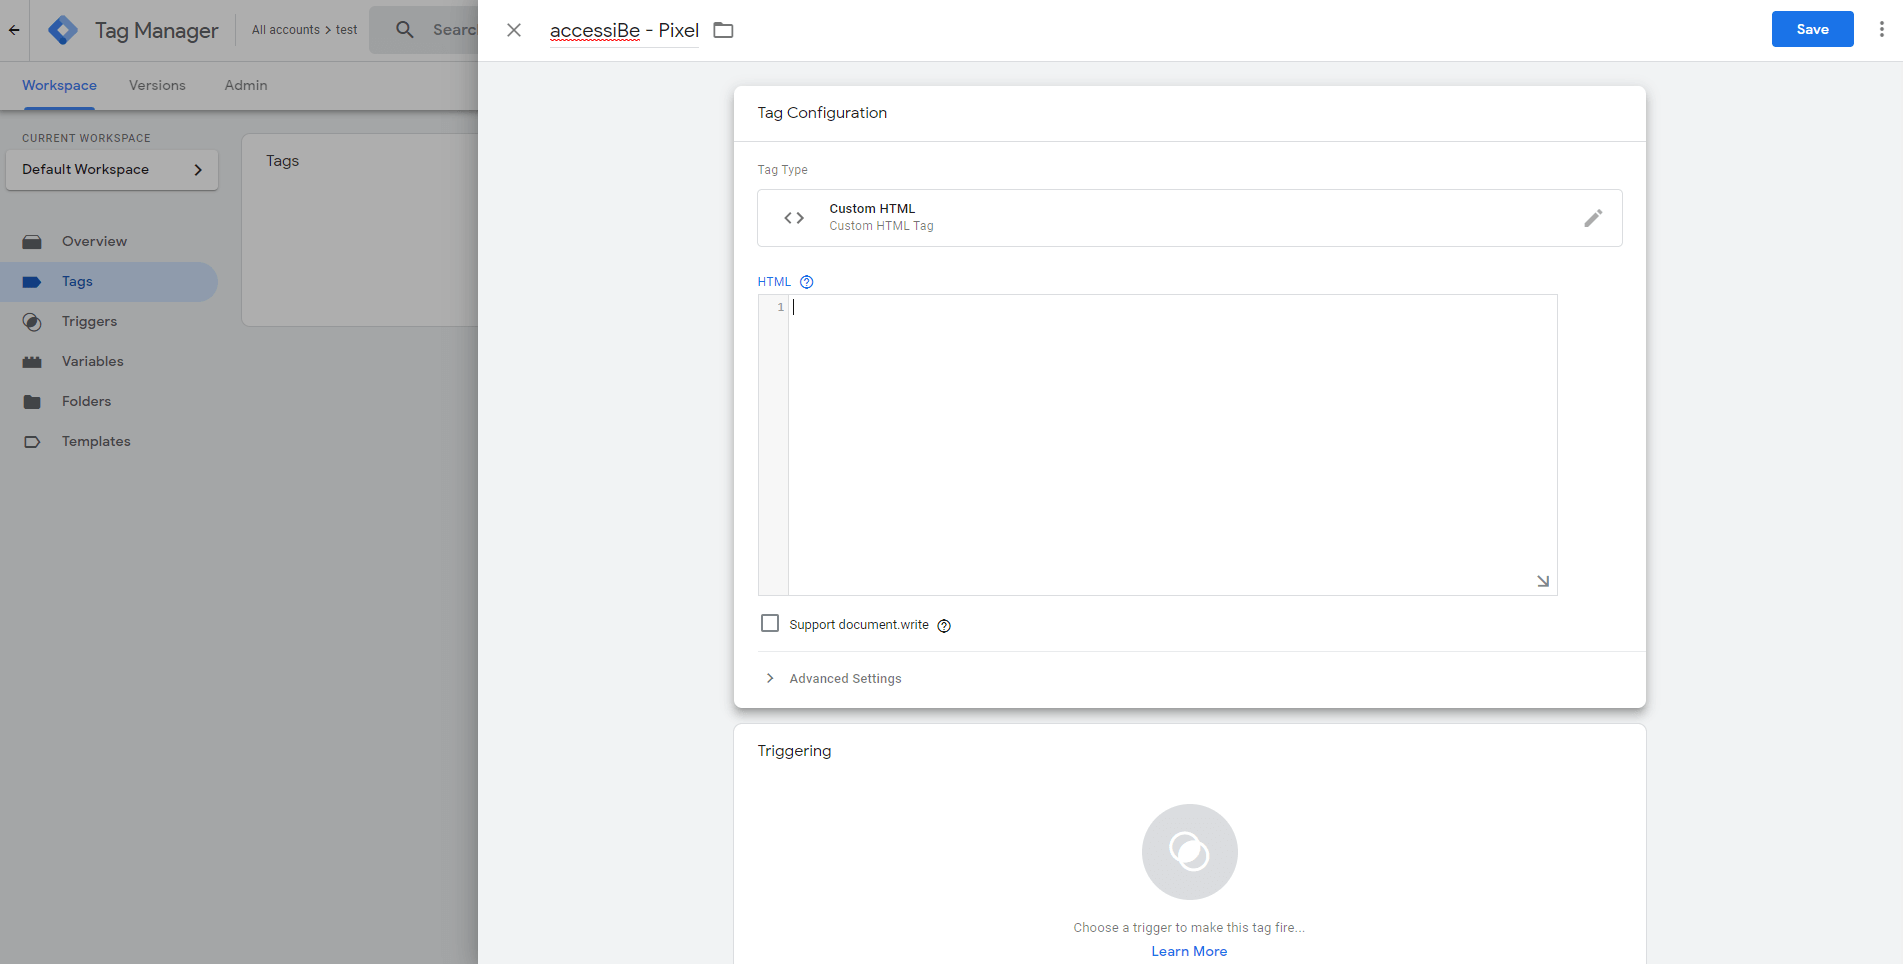
- In the blank HTML field, paste the installation code that you received from us when you registered your site for our service in the text box. If you don't have the installation code:
- On the accessiBe homepage, select Login in the top right corner, and log in to your account.
- Select My Licenses and select the specific license where you want to install accessWidget.
- Select Install and customize widget.
- Under Quick installation, select Copy to Clipboard to copy the installation code.
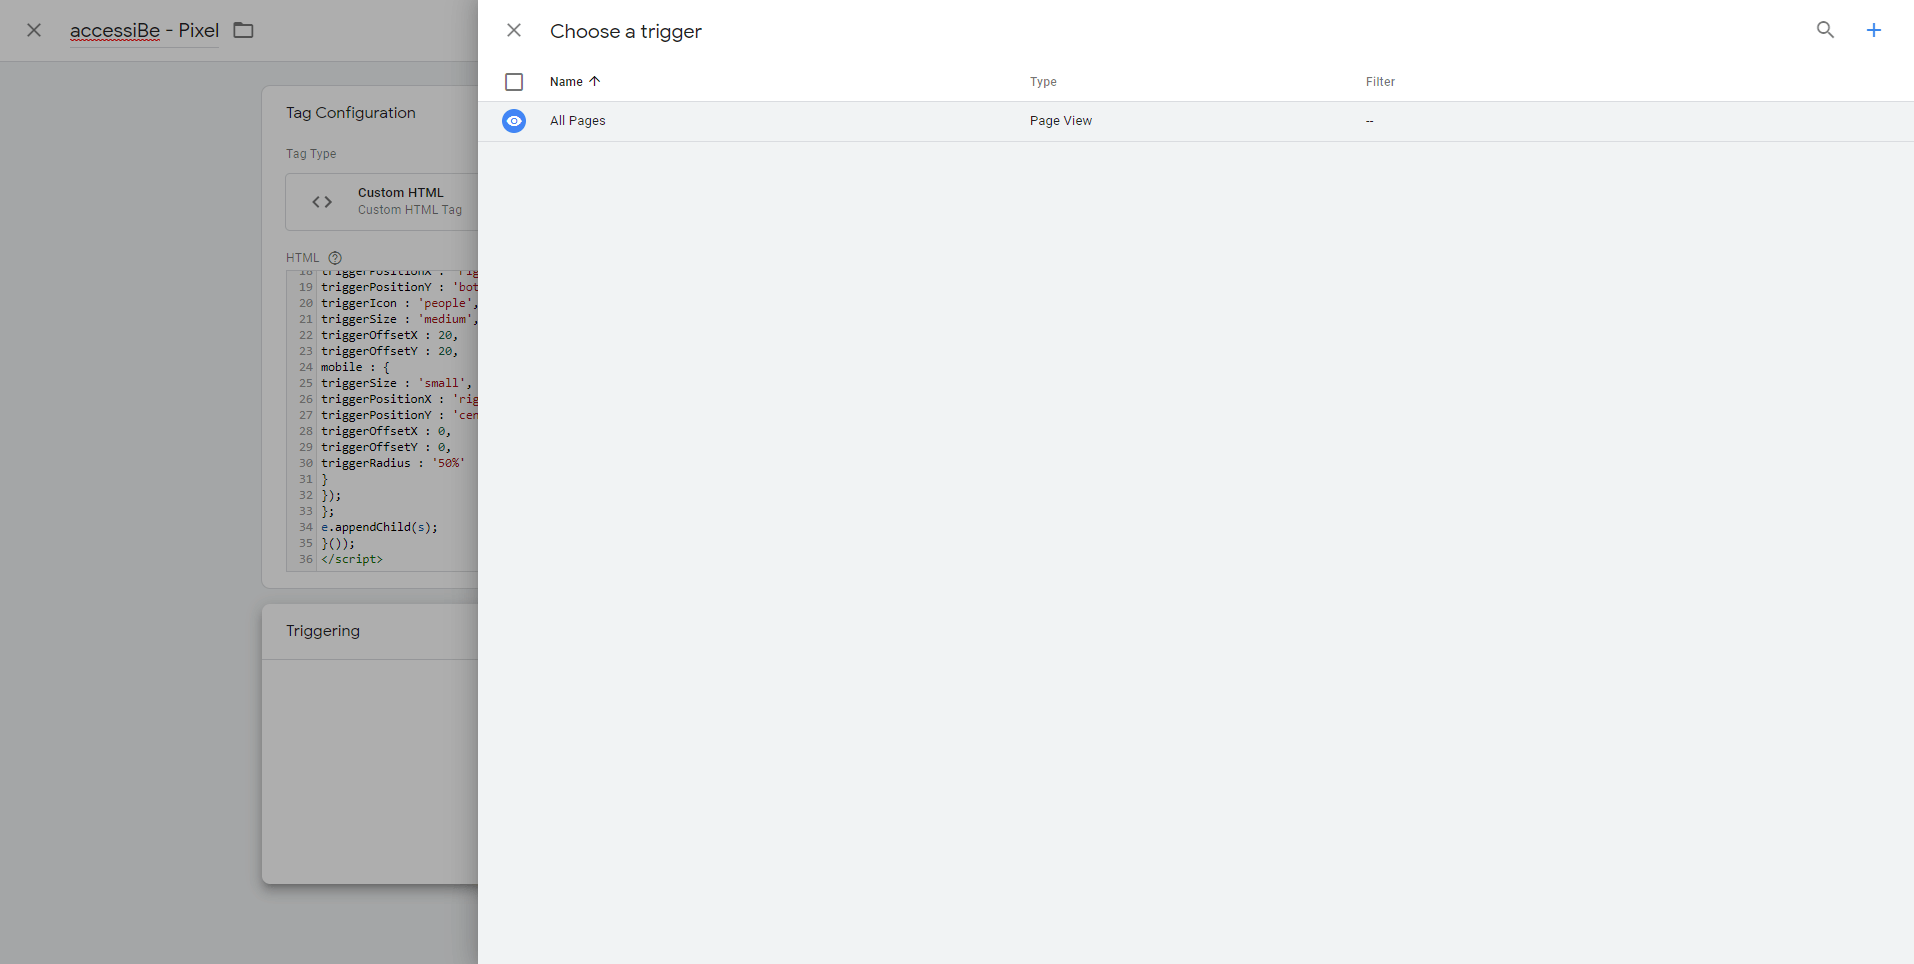
- Scroll down to the Triggering block and click it.
- In the Choose a trigger window select All Pages.
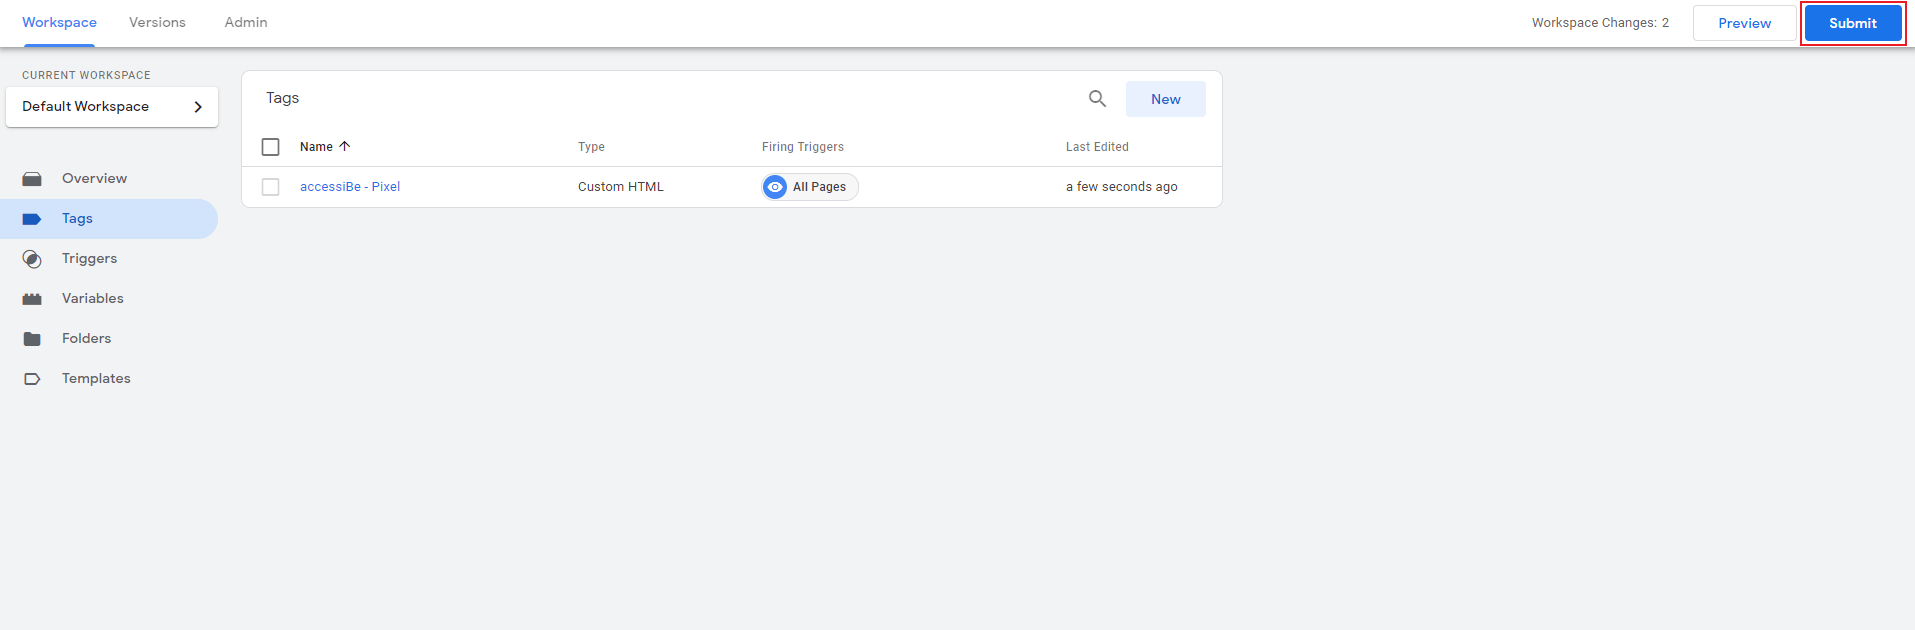
- Tag Manager will return you to the previous window. Select Save.

- Select Submit.
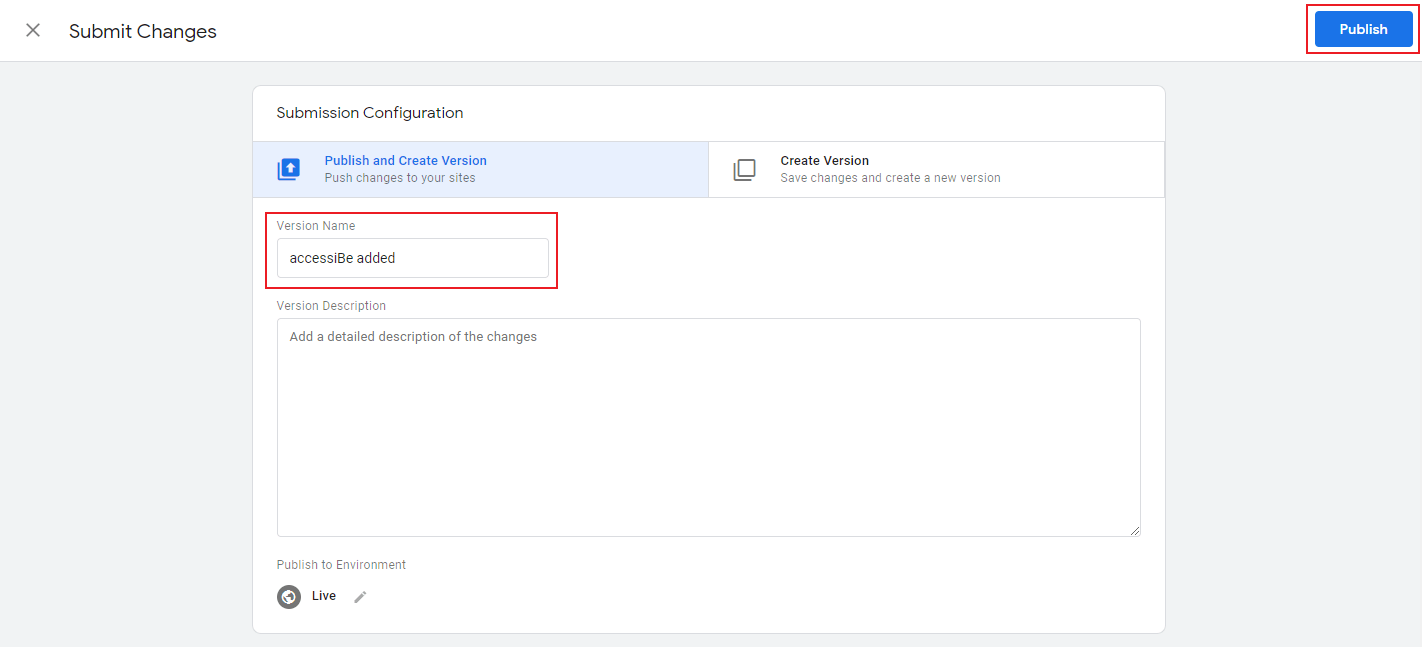
- Select Publish.
- Customize your installation to match your website and brand.
Good work! You've installed accessWidget, making your site accessible.
For more information see our Website Onboarding Guide and follow the instructions to ensure proper installation and performance.