Need some help with accessiBe?
Find your answers here!
Integrations: Connect to Jira Cloud
Sync accessFlow issues with tickets in your Jira Cloud project.
Integrations are available for Business and Enterprise plan customers.
Connect to Jira Cloud
You must be an Admin in Jira the necessary permissions for the relevant project.
Note: When setting up the connection to Jira Cloud, the URL must start with https://
To connect accessFlow to your Jira Cloud project
Requires a one-time setup to connect to the tool.
1. Go to Integrations and select the Jira Cloud card.
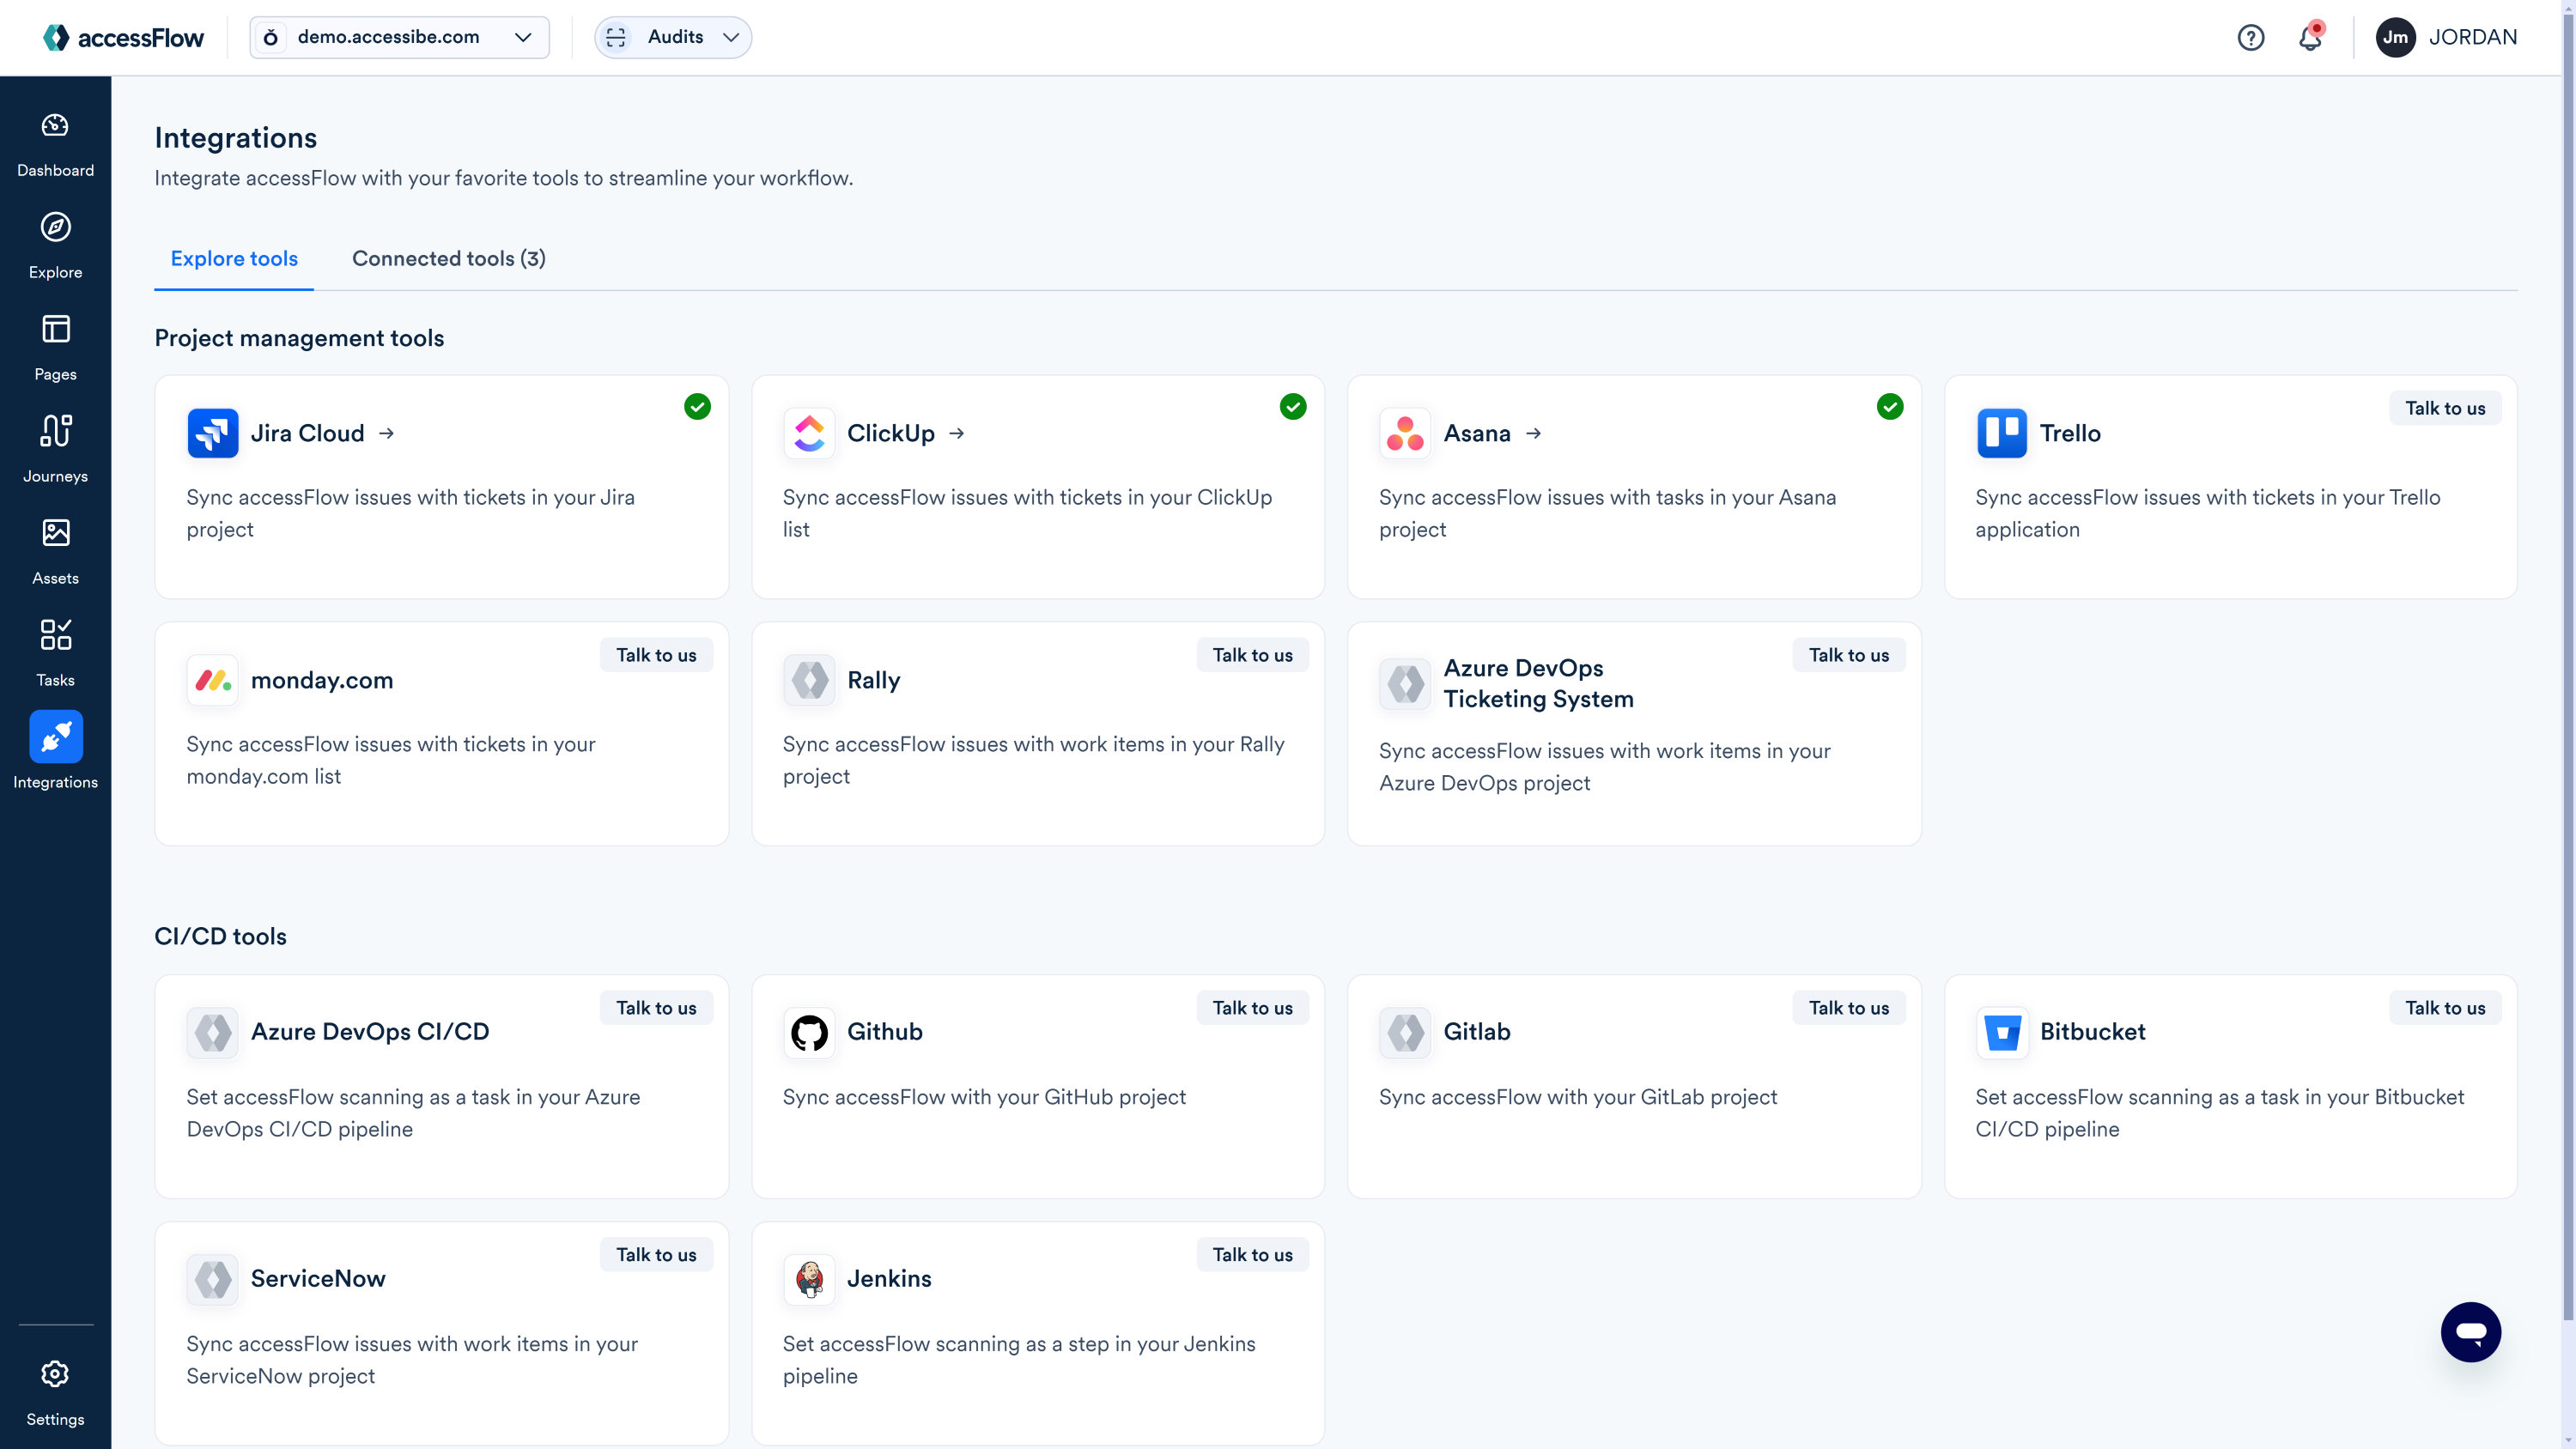
2. Select Connect to Jira Cloud.
3. Enter a name for the integration and select Next.
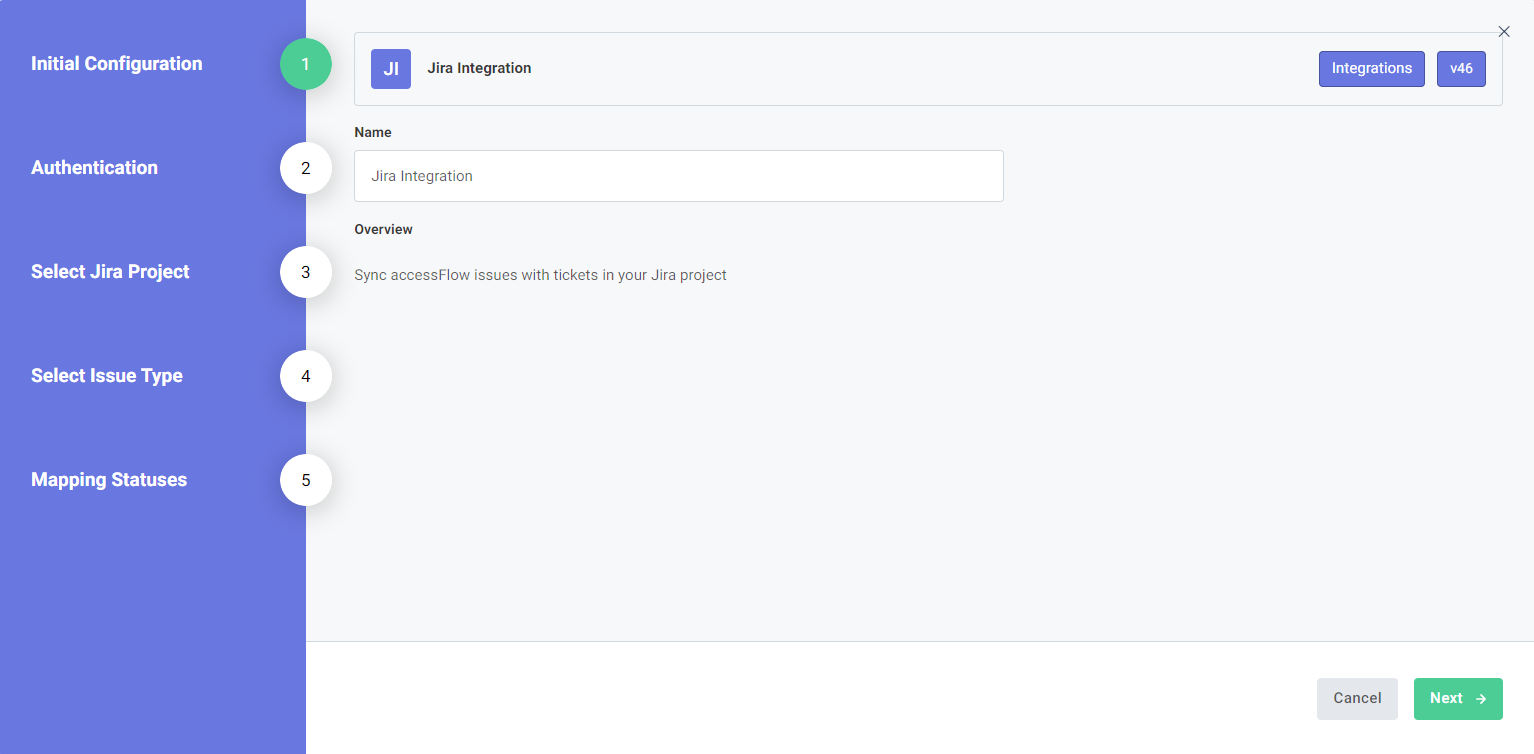
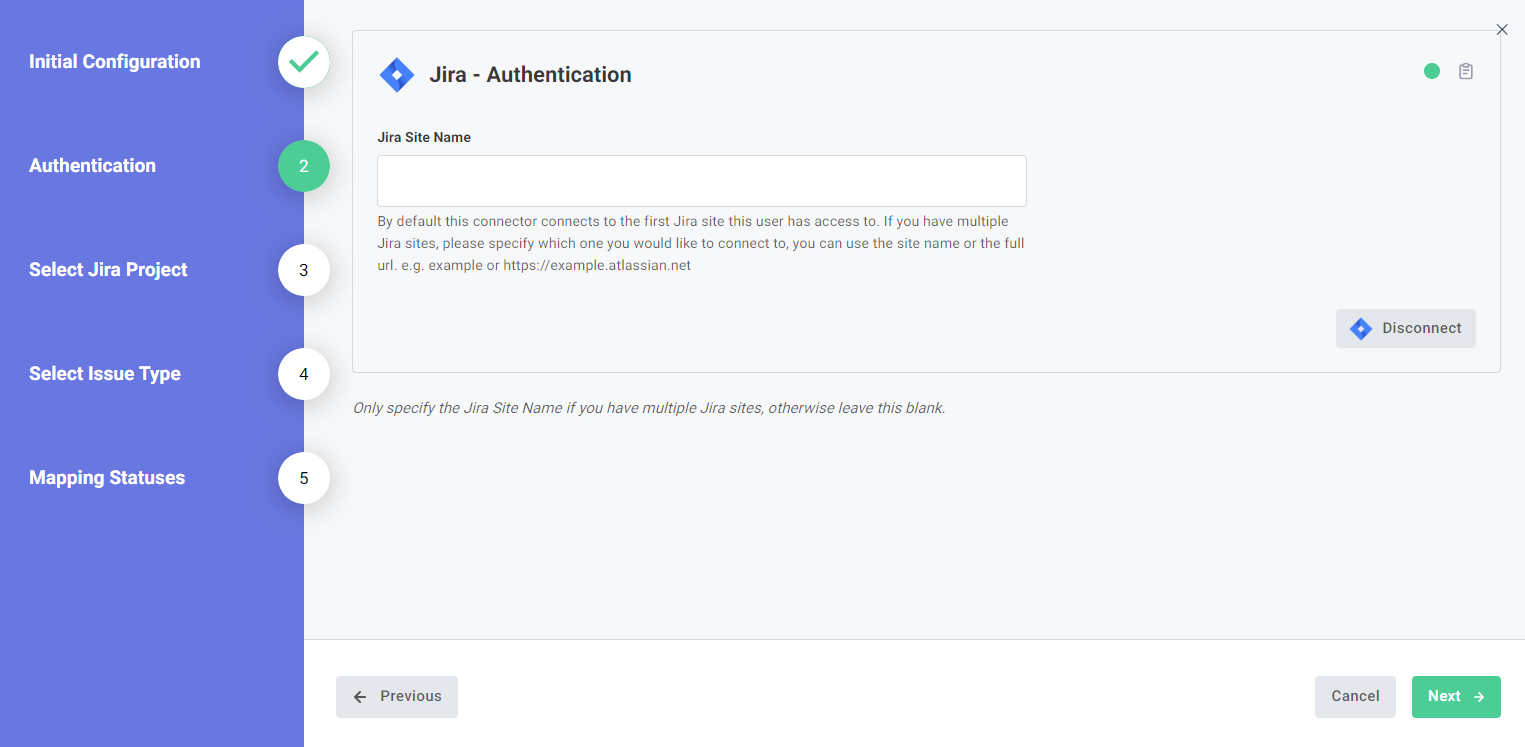
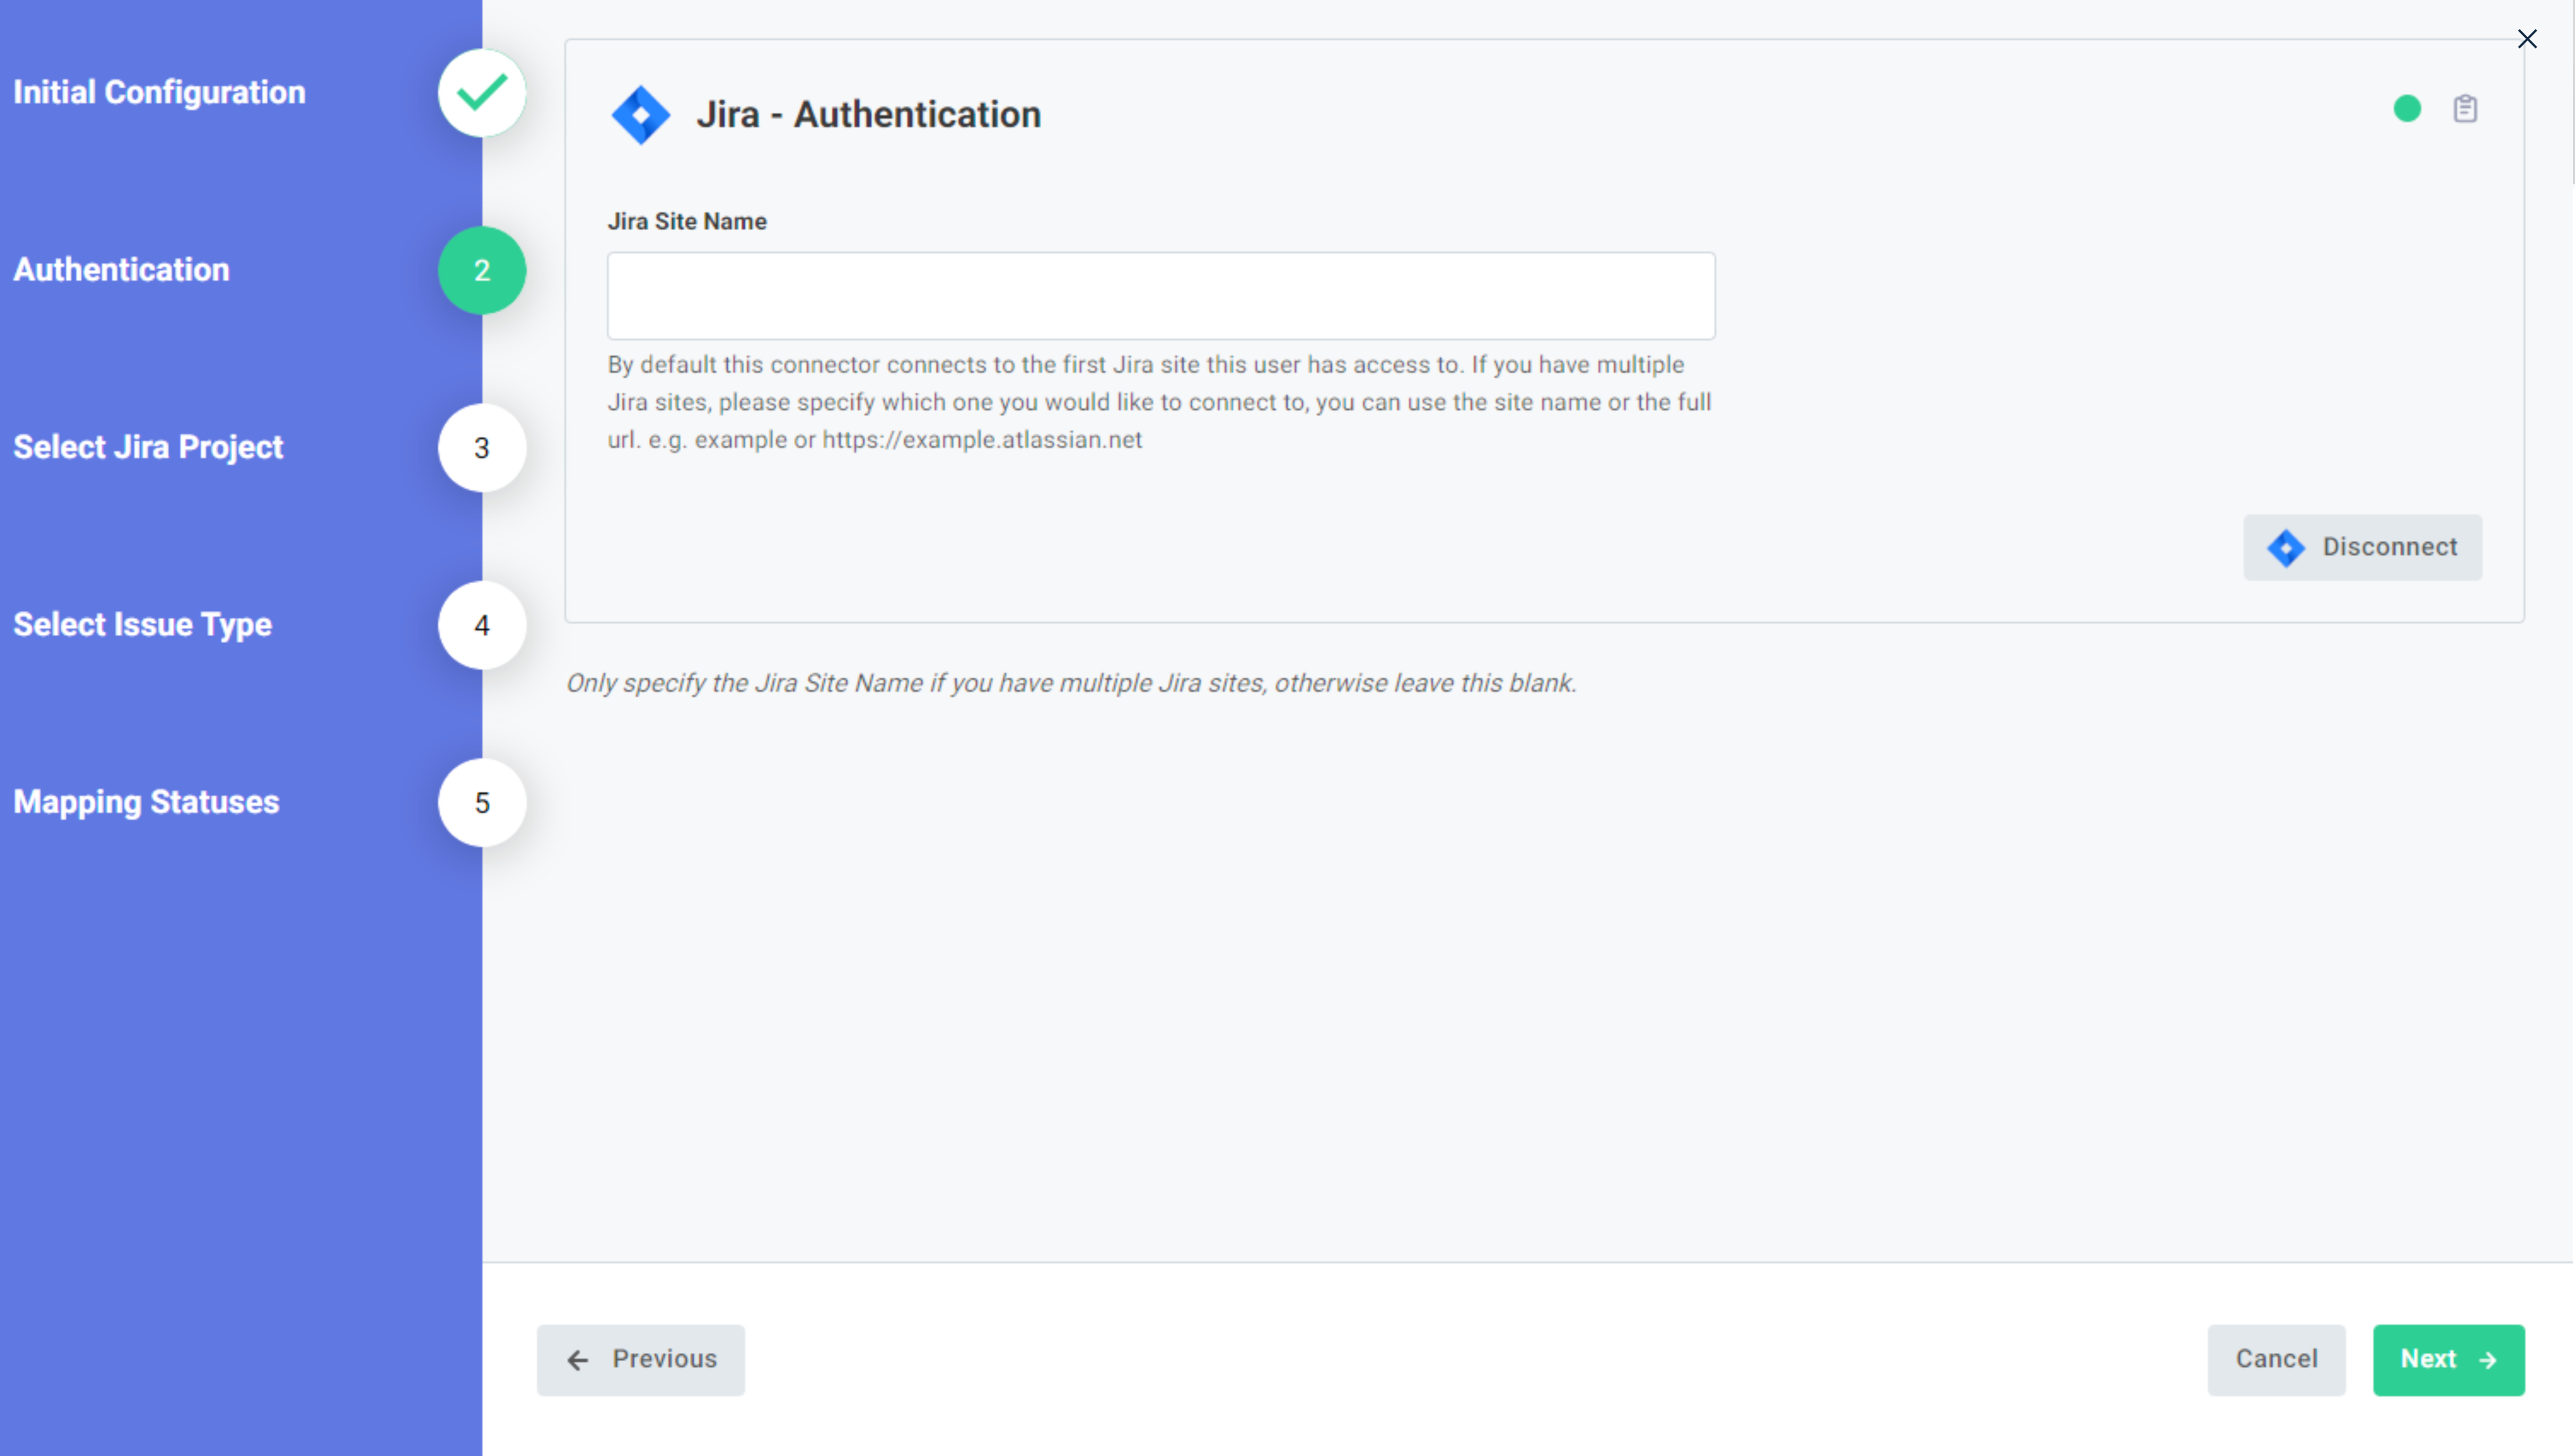
4. In the Jira - Authentication window, only specify the Jira Site Name if you have multiple Jira sites, otherwise leave this blank. Select Connect.

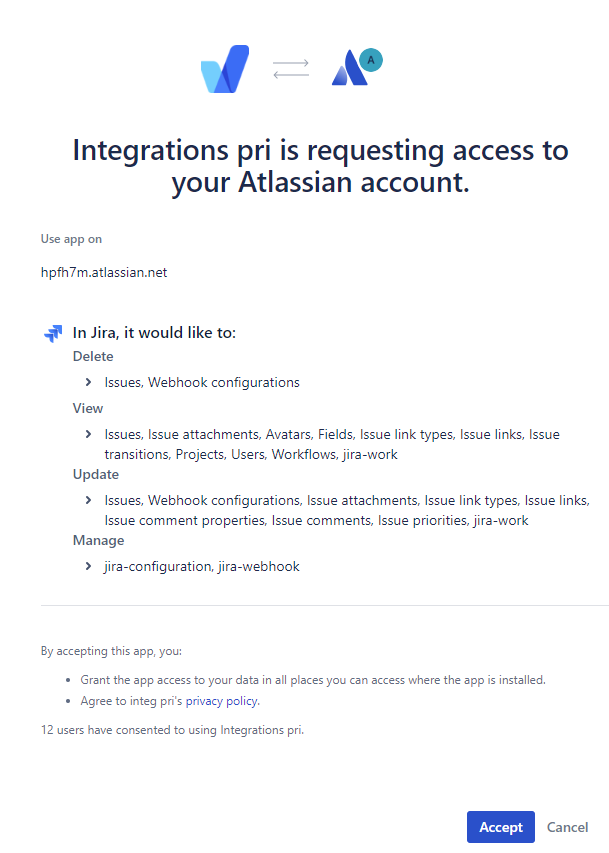
5. In the Atlassian authentication tab select Accept to give access to your Atlassian account.
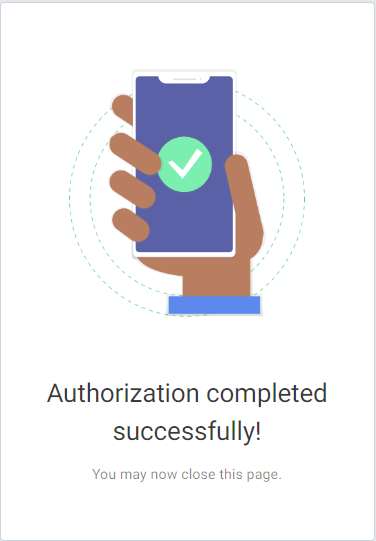
6. Once you see the Authorization completed successfully window, close the tab.
7. In the Jira Auth window select Next.
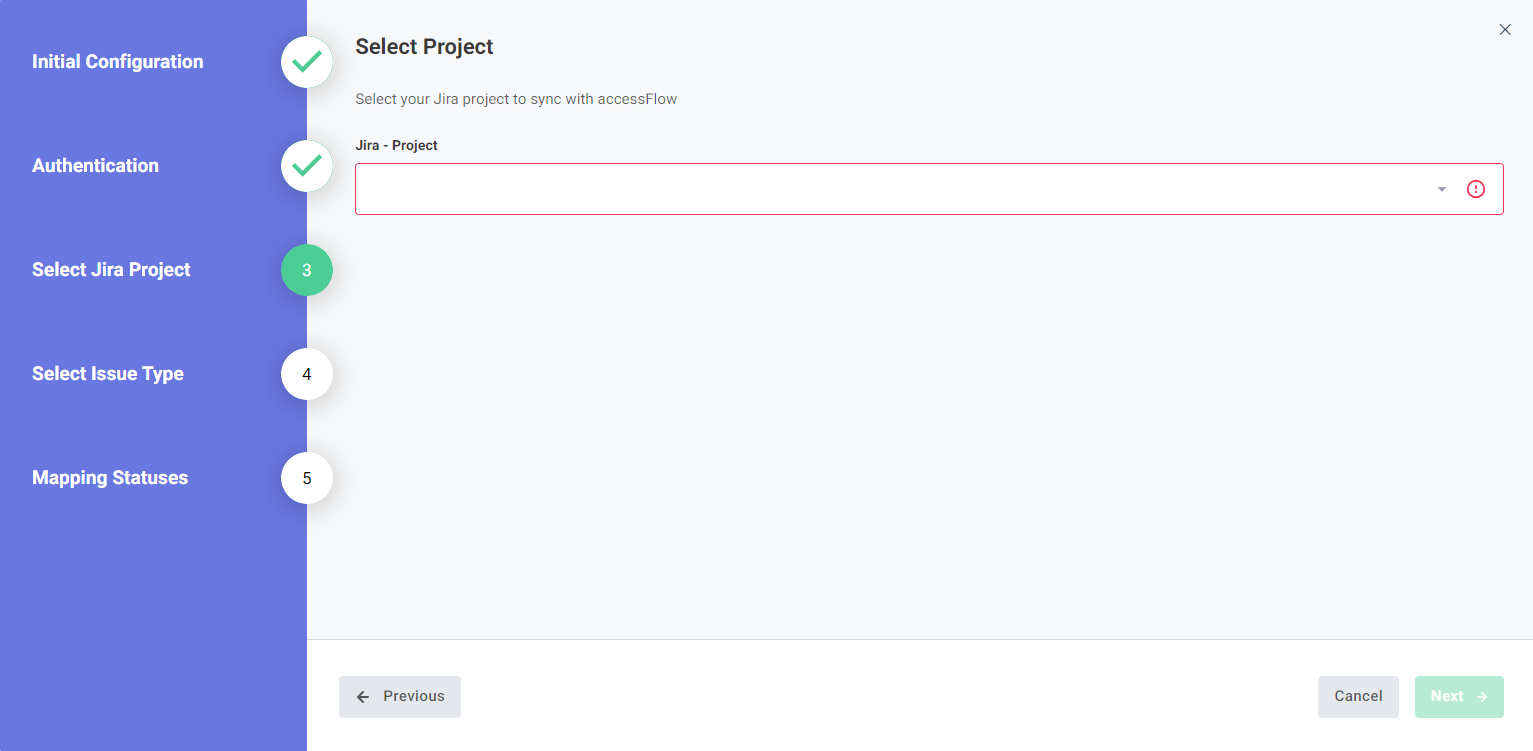
8. Select a Jira project to sync with accessFlow and select Next.
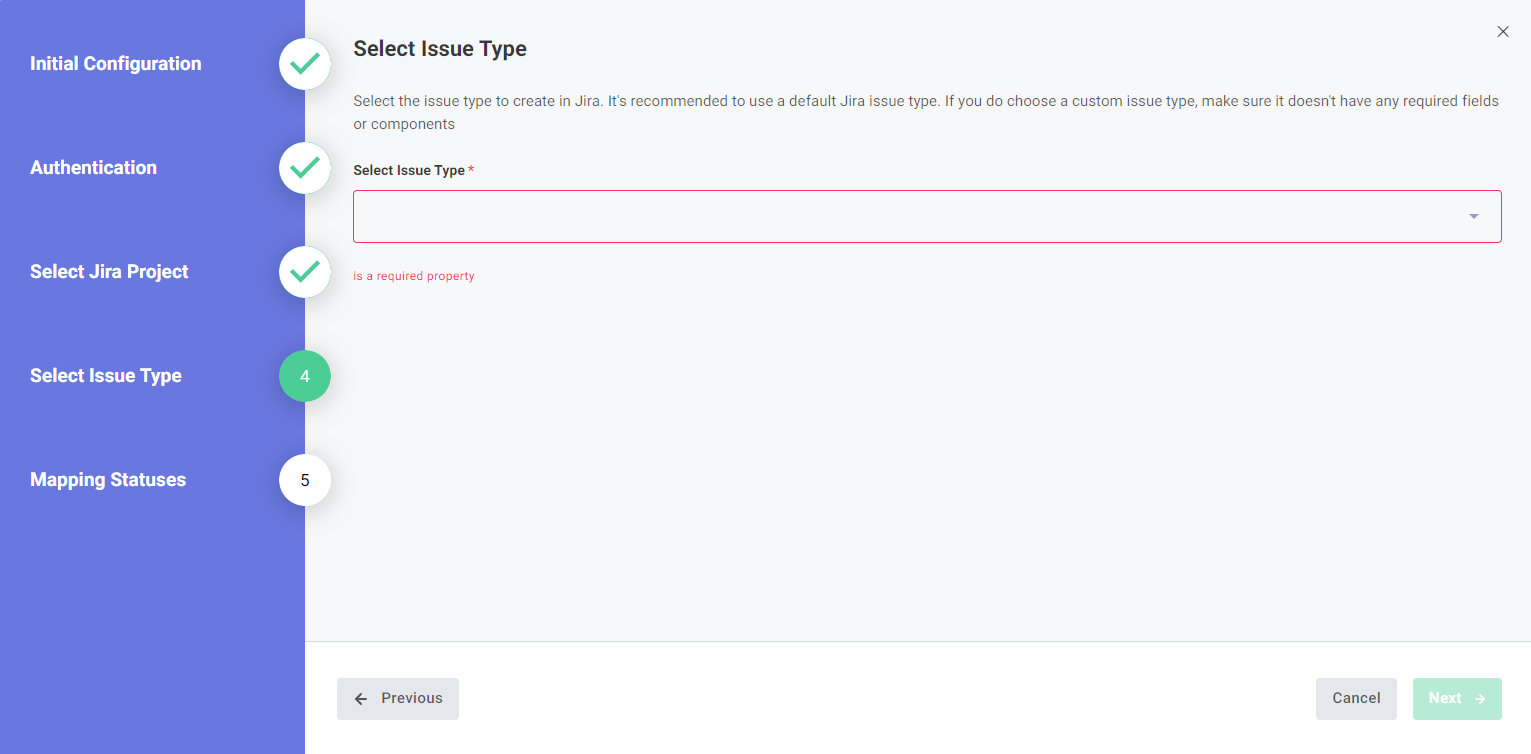
9. Select the type of issue to create in Jira. It's recommended to use a default Jira issue type. If you do choose a custom issue type, make sure it doesn't have any required fields or components.
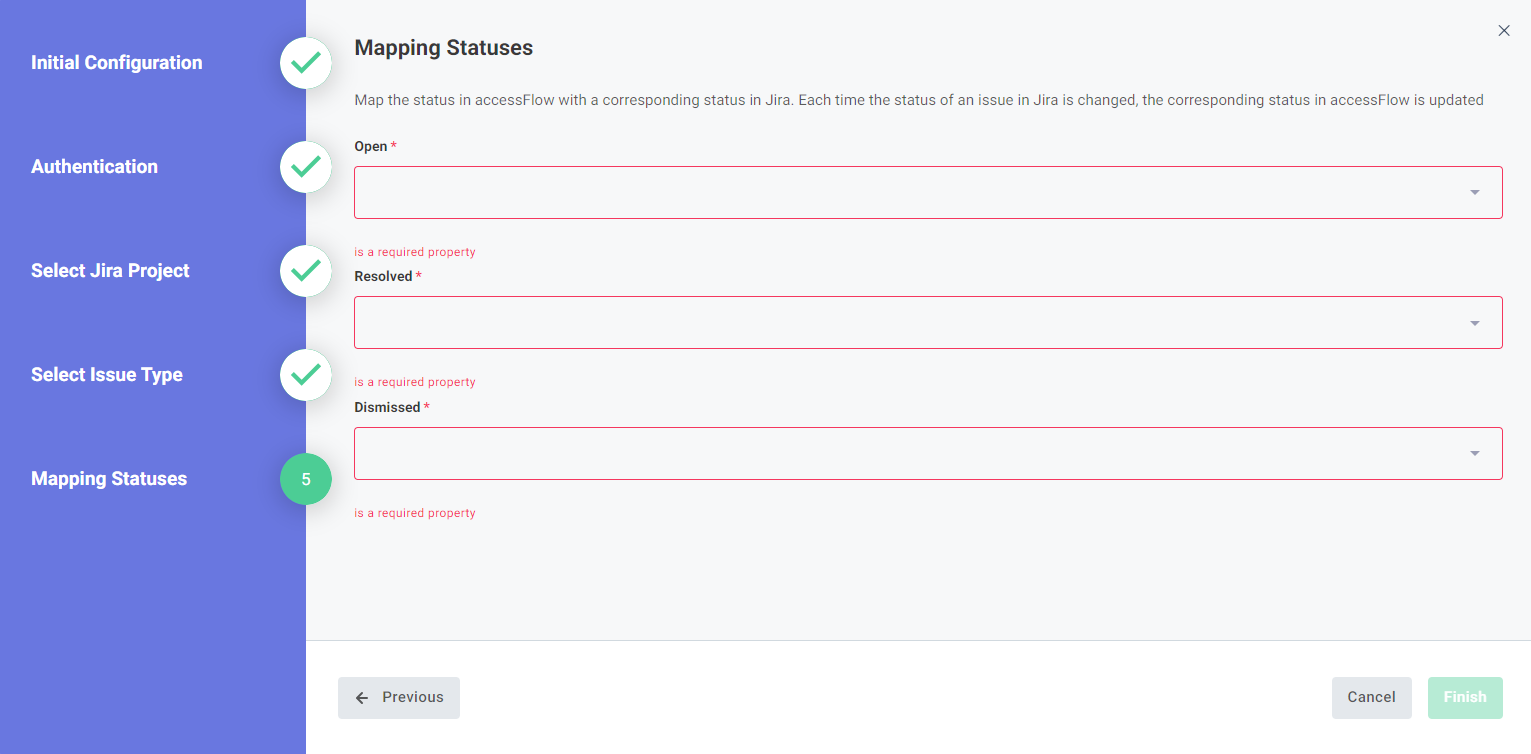
10. Map the status in accessFlow with a corresponding status in Jira. Each time the status of an issue in Jira is changed, the corresponding status in accessFlow is updated.
Note: Workflow transitions between statuses must be configured in Jira. There can't be any validations that prevent transitions between statuses.
11. Select Finish.
Your Jira Cloud project is now synced to accessFlow.
Update the connection settings
You may want to change the Jira Cloud® project for exporting issues or the type of issue to create in Jira.
To update the connection settings
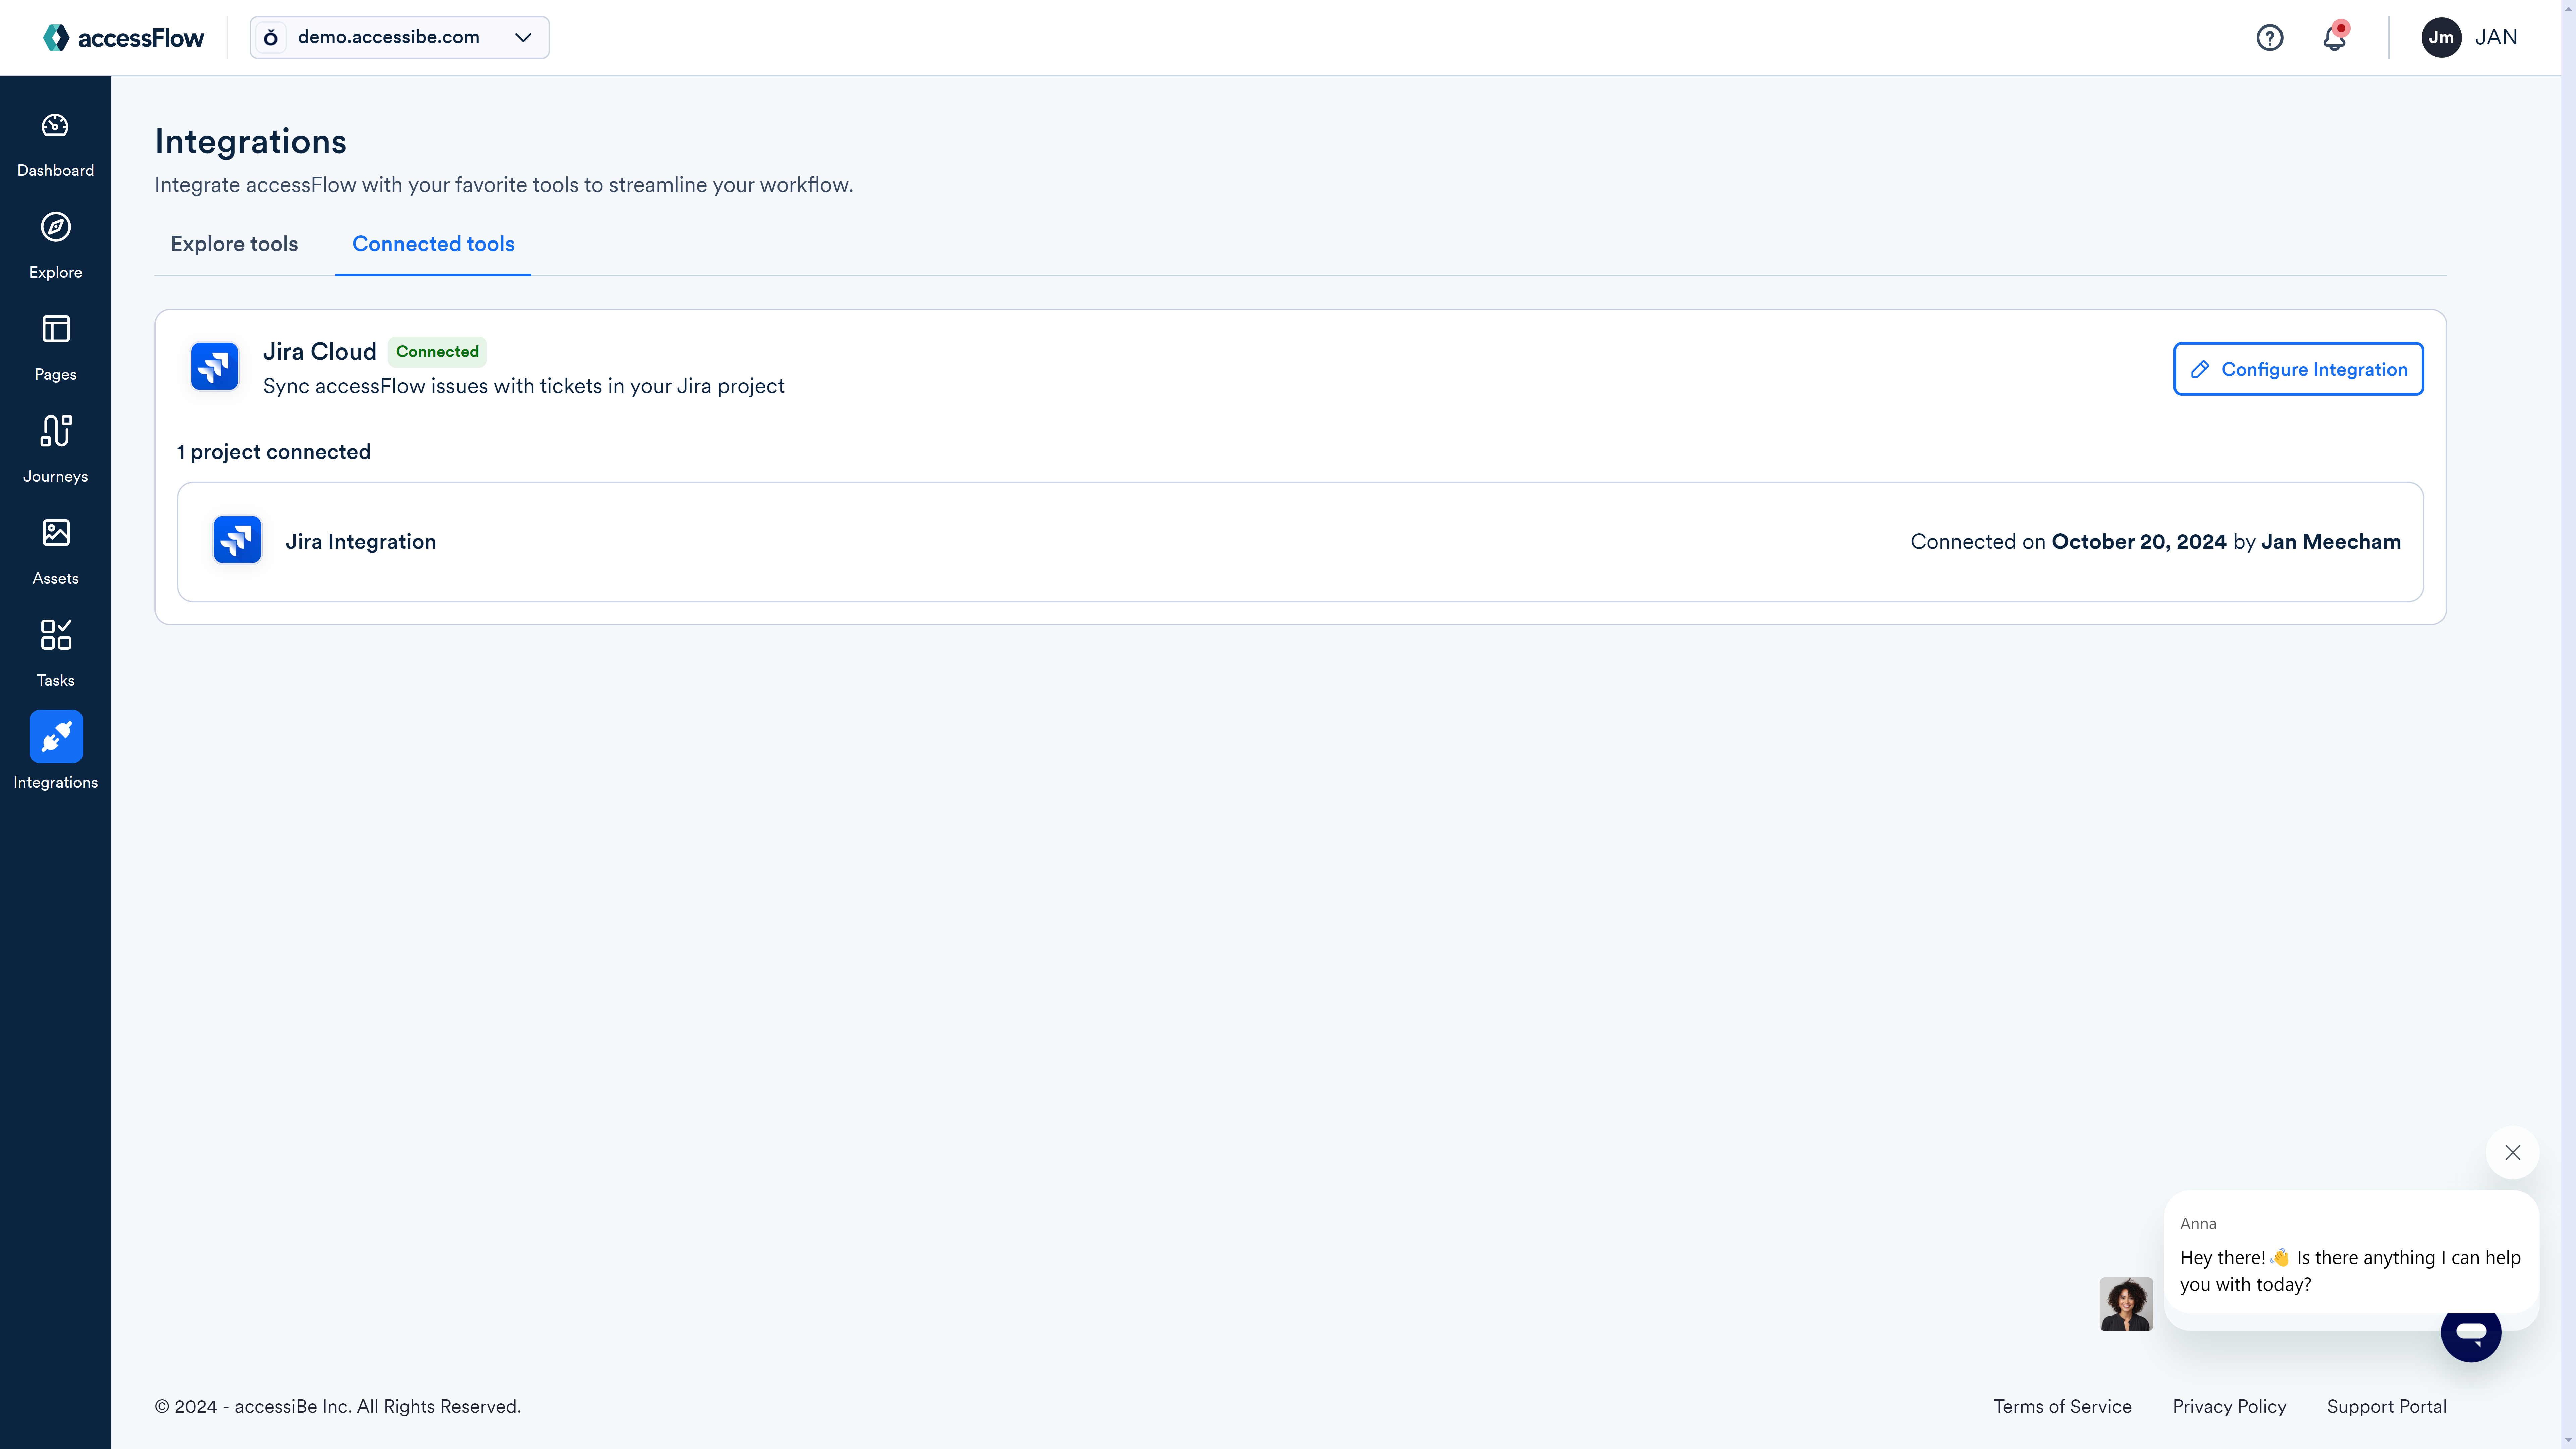
- Go to Integrations and select the Connected tools tab.
- Select Configure Integration on the Jira Cloud card.
- Select Connect to Jira Cloud and then select Reconfigure.

- Follow the wizard and make any changes you need.
Disconnect Jira Cloud
To disconnect Jira from accessFlow
- Go to Integrations and select the Connected tools tab.
- Select Configure Integration on the Jira Cloud card.
- Select Reconfigure.
- In the Initial Configuration window select Next.
- In the Jira - Authentication window select Disconnect.
- Close the wizard.
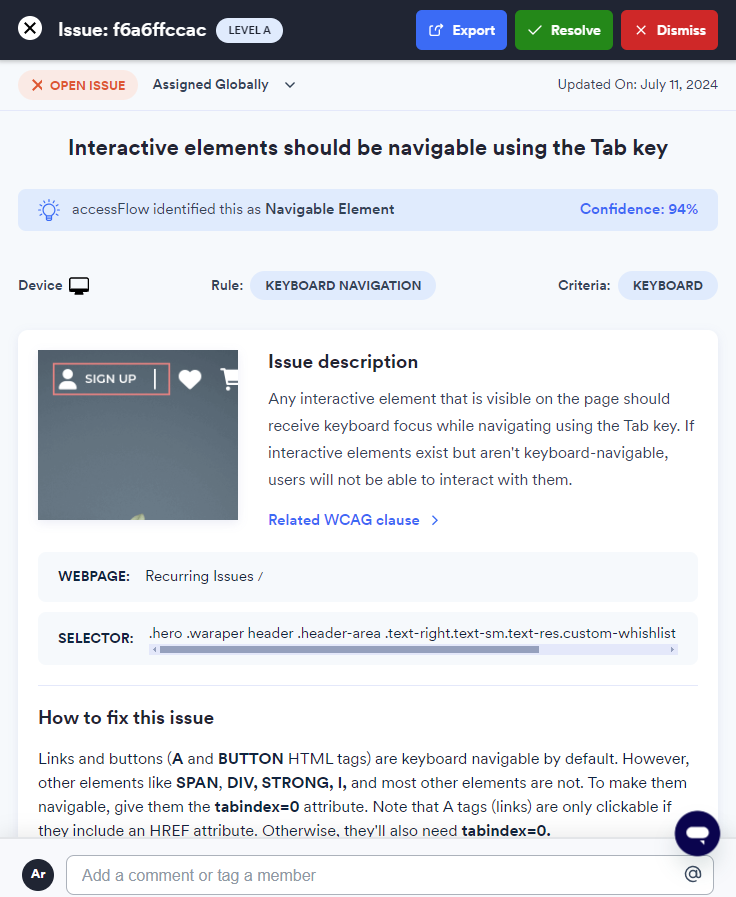
Export an issue
Export an issue from accessFlow into a ticket in your Jira project.
Export an issue to one of the following ticket types in Jira:
- bug
- story
- task
- improvement
Note: Issues can’t be exported to a new feature or sub-task in Jira. While an issue can be exported to an epic, it’s not recommended.
To export an issue
- In the Explore page or in the Pages section, select an issue.
- In the remediation panel, click Export to create an issue in Jira® as specified in the connection.