The importance of document remediation
1.3 billion people, 16% of the global population, live with a disability, but only 3% of websites follow web accessibility standards. The number of websites featuring accessible documents is even smaller. For people with disabilities to be able to access important online documents, they must be remediated.
Document formats that can be made accessible
File formats that can be made accessible include, but aren’t limited to:
- Microsoft Word
- Microsoft Excel
- Microsoft PowerPoint
- Google Suite documents
WCAG and document remediation
For a document to be successfully remediated, it must meet the Web Content Accessibility Guidelines (WCAG) and the PDF/UA-1. WCAG is arguably the most influential protocol shaping web accessibility policy. These guidelines apply to any document, including Word documents and Excel worksheets. However, they most commonly refer to PDF files.
In the U.S., documents appearing within websites that do not meet these guidelines can put their owners at risk of facing legal action. Under the Americans with Disabilities Act (ADA), courts have required those websites, including the online documents appearing within them, to be rendered accessible to people with disabilities. Under Section 508 of the Rehabilitation Act, online documents created and presented by federal bodies, organizations that receive federal funding, and organizations that provide services to such bodies must be accessible to people with disabilities.
Under the Accessibility for Ontarians with Disabities Act (AODA), which applies to most Ontario-registered businesses and organizations, online documents need to be made accessible, as well.
The document remediation process
The document remediation process entails tagging digital elements within an online document, as well as ensuring the correct reading order of a document so that it can be read by assistive technology, such as screen readers (e.g., NVDA).
The most common document elements requiring remediation are images, headings, links, lists, tables, and interactive content.
The process of remediating a document will begin by examining running an accessibility test. Once the test is complete, and, depending on the problems that have been identified, the remediation process will typically include the following steps:
- Providing descriptive and concise alternative text for meaningful images
- Rendering interactive elements so that they are keyboard navigable
- Properly labeled and tagged form fields
- Arranging textual content using headings to facilitate hierarchical document structure
- Properly tagging table content
You can remediate a document manually, or outsource these projects to accessibility experts or document remediation service providers like accessServices.
Testing documents for accessibility
There are a variety of ways in which you can test an online document for accessibility issues. If you choose to, you can use accessibility testers that are built-in to many platforms, including Adobe Acrobat Pro and Microsoft Office applications. It is important to note that while these testers are effective at detecting most accessibility issues, they cannot be relied on to flag all of them. It is therefore best to rely on expert service providers to ensure your online documents are fully-accessible.
Here is how you can test documents for accessibility in a variety of popular platforms:
How to test a PDF for accessibility in PDF Adobe Acrobat Pro
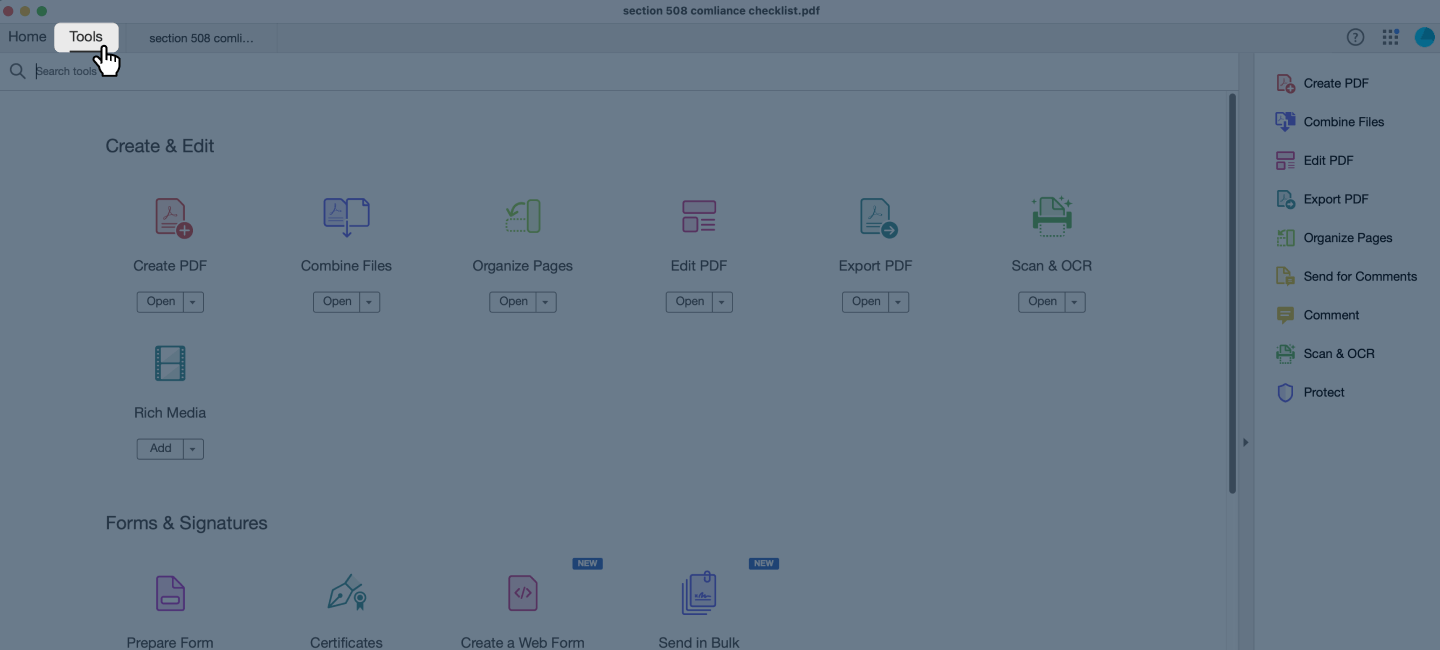
1. Open the PDF file in Adobe Acrobat Pro
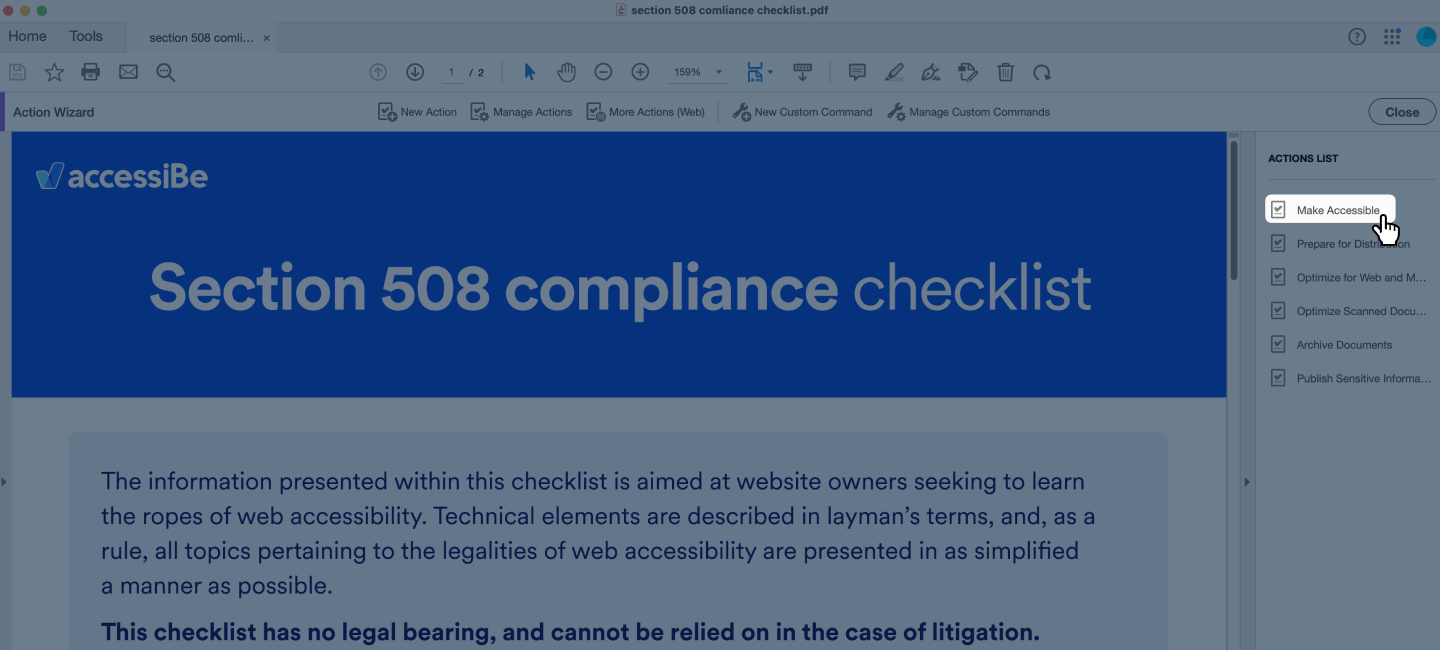
2. Select the Tools tab in the top left
3. Search for Action Wizard, and select Open
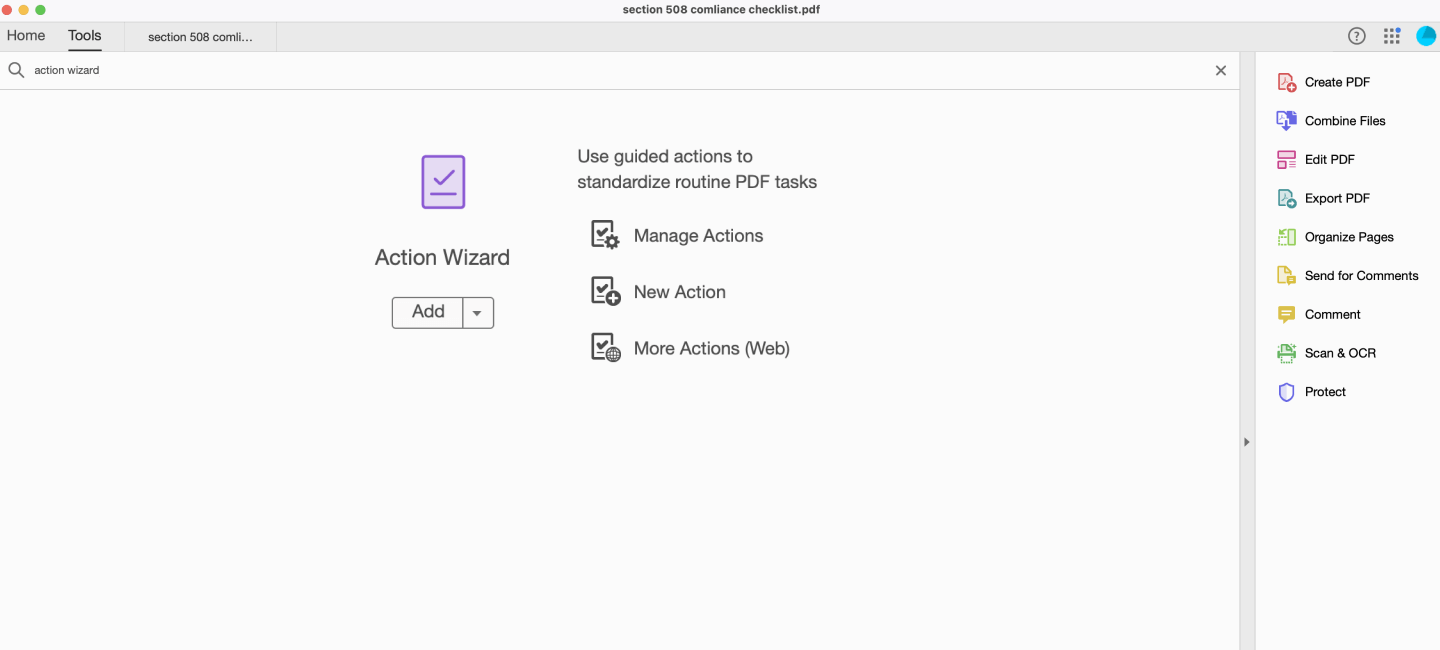
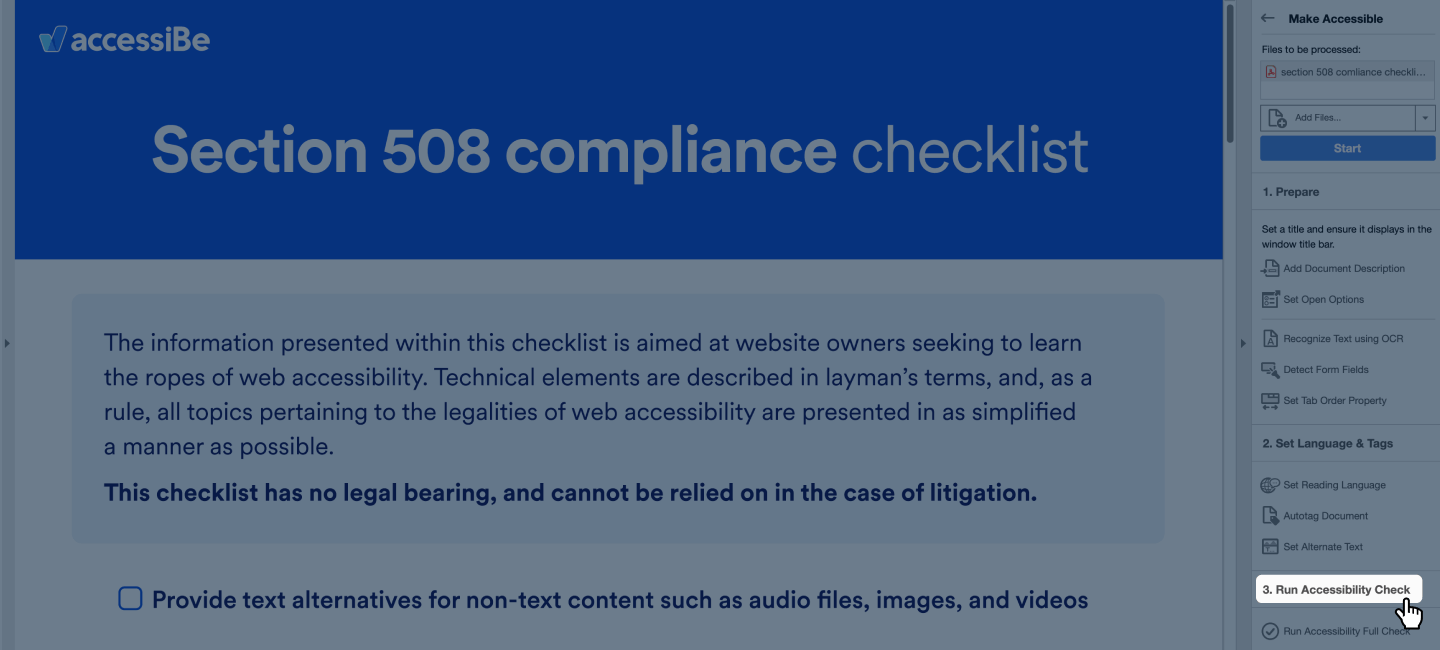
4. Select Make Accessible from the Actions List
5. Navigate back to your PDF tab and select Run Accessibility Full Check. This option is located at the bottom of the panel on the right
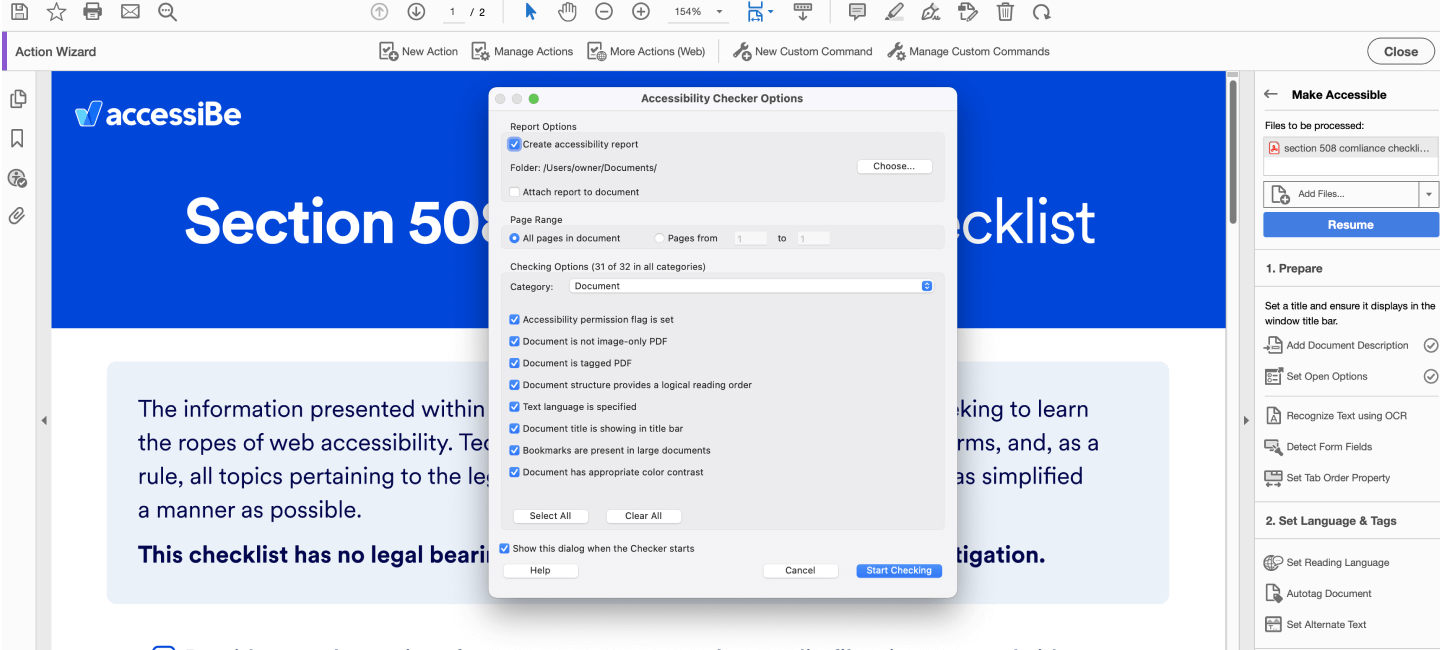
6. Once the Accessibility Checker Options dialog appears, select Start Checking
The results are displayed in the Accessibility Checker panel on the left, which also has helpful links and hints for repairing issues:
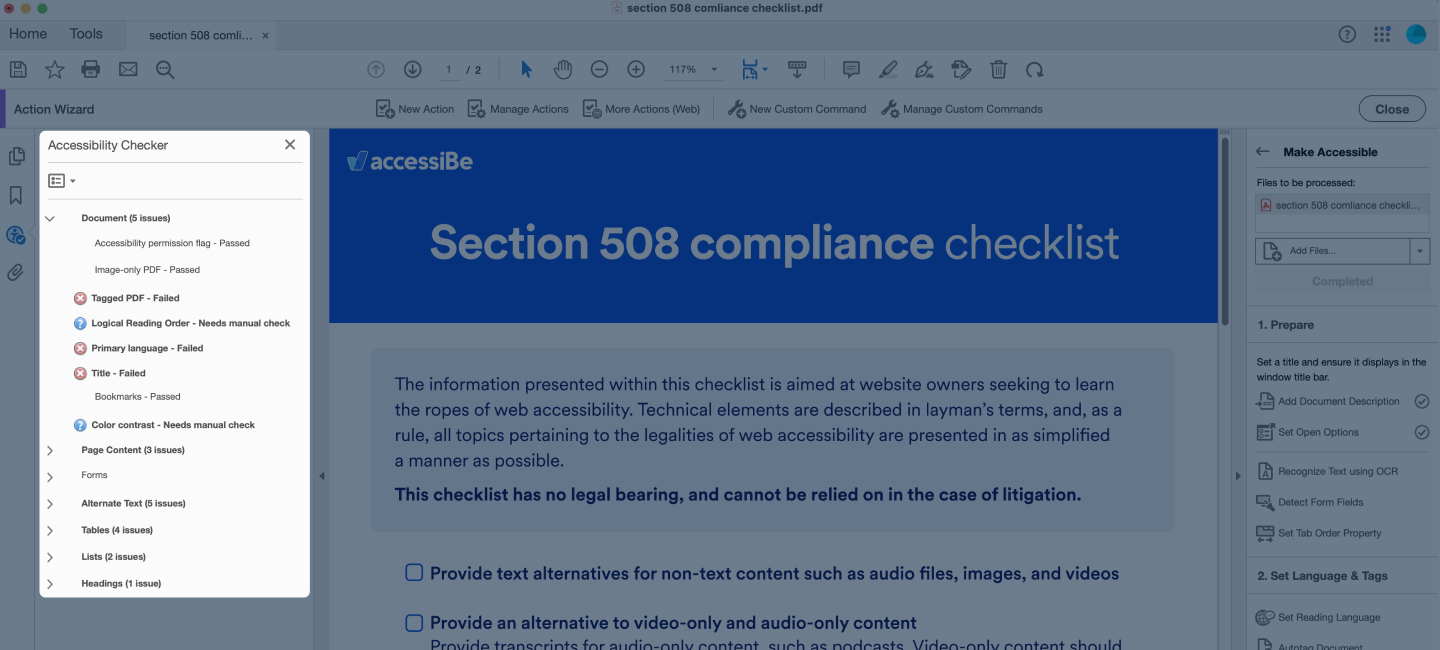
It is important to note that, in some cases, the option of fixing accessibility issues found during the testing process will be provided as well.
It is worth noting that Adobe Acrobat Pro can be used only through paid subscriptions.
How to test a PowerPoint presentation for accessibility
1. Open your presentation and select Review from the top-level tabs

2. Select Check Accessibility

3. Press on Check Accessibility in the drop-down menu.

4. On your right, a window will open, detailing any gaps in accessibility your document is suffering from (if any exist). You will also be presented with ways to activate implementations of said fixes:

How to test a Word document for accessibility
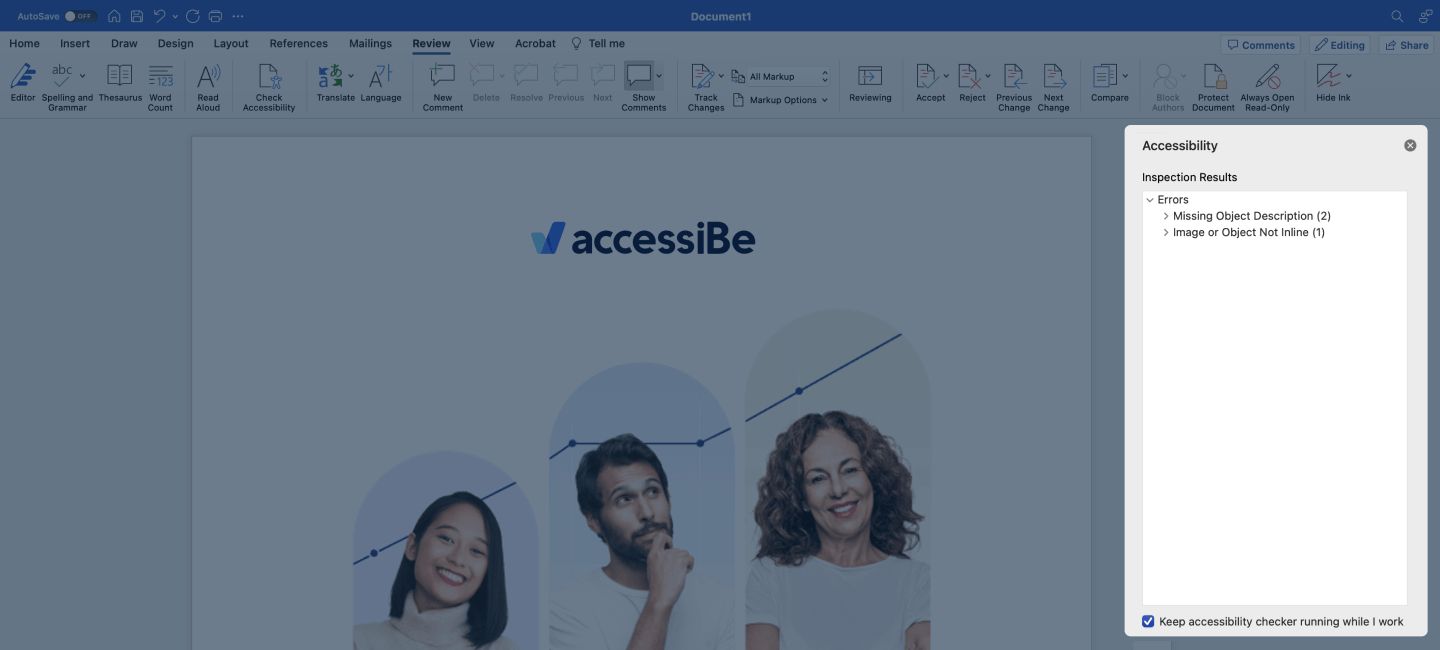
- Open your document and select Review from the top-level tabs

2. Select Check Accessibility

3. On your right, a window will open, detailing any gaps in accessibility your document is suffering from (if any exist). You will also be presented with ways to activate implementations of said fixes:
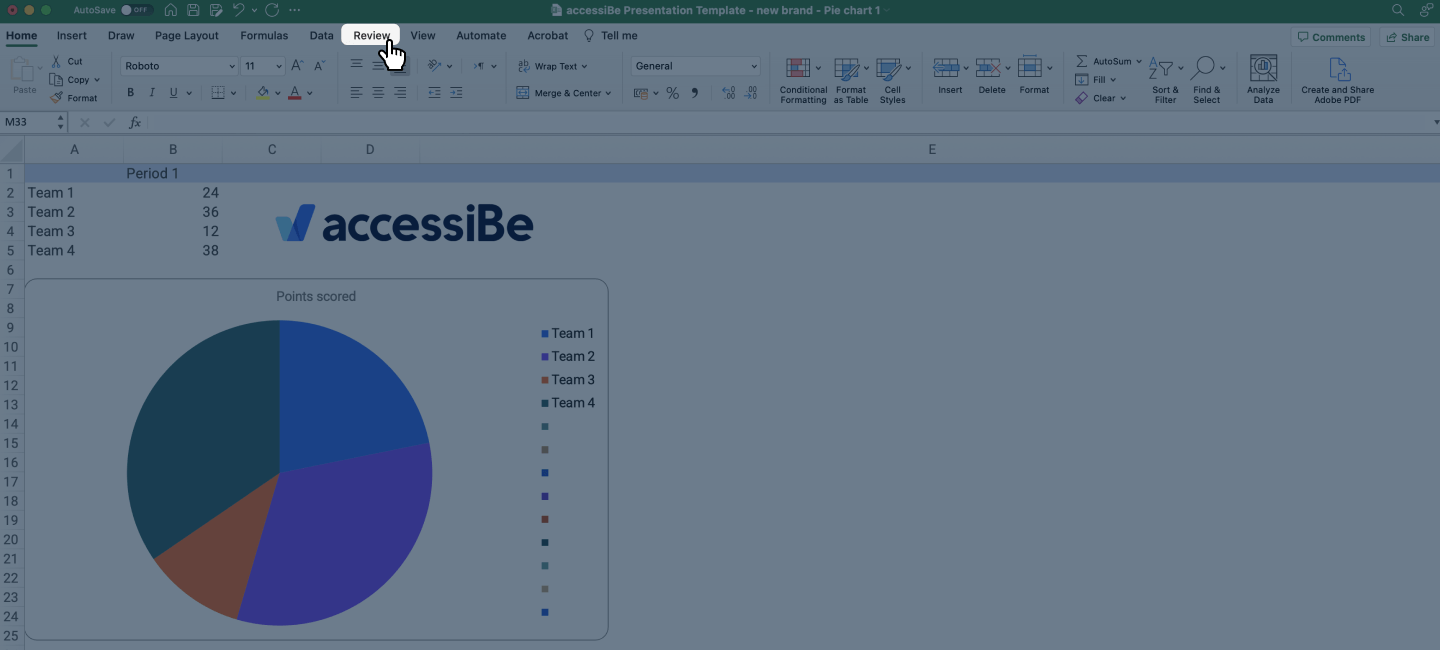
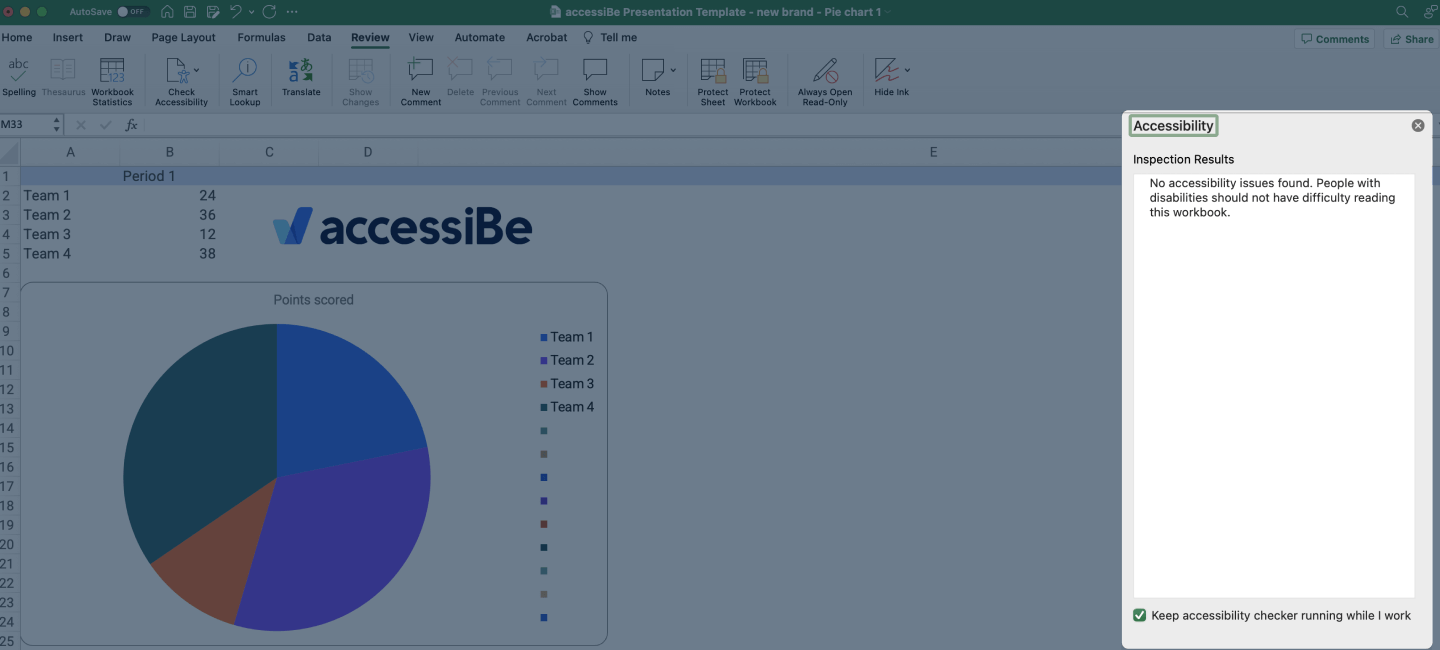
How to test an Excel workbook for accessibility
- Open your workbook and select Review from the top-level tabs
2. Select Check Accessibility
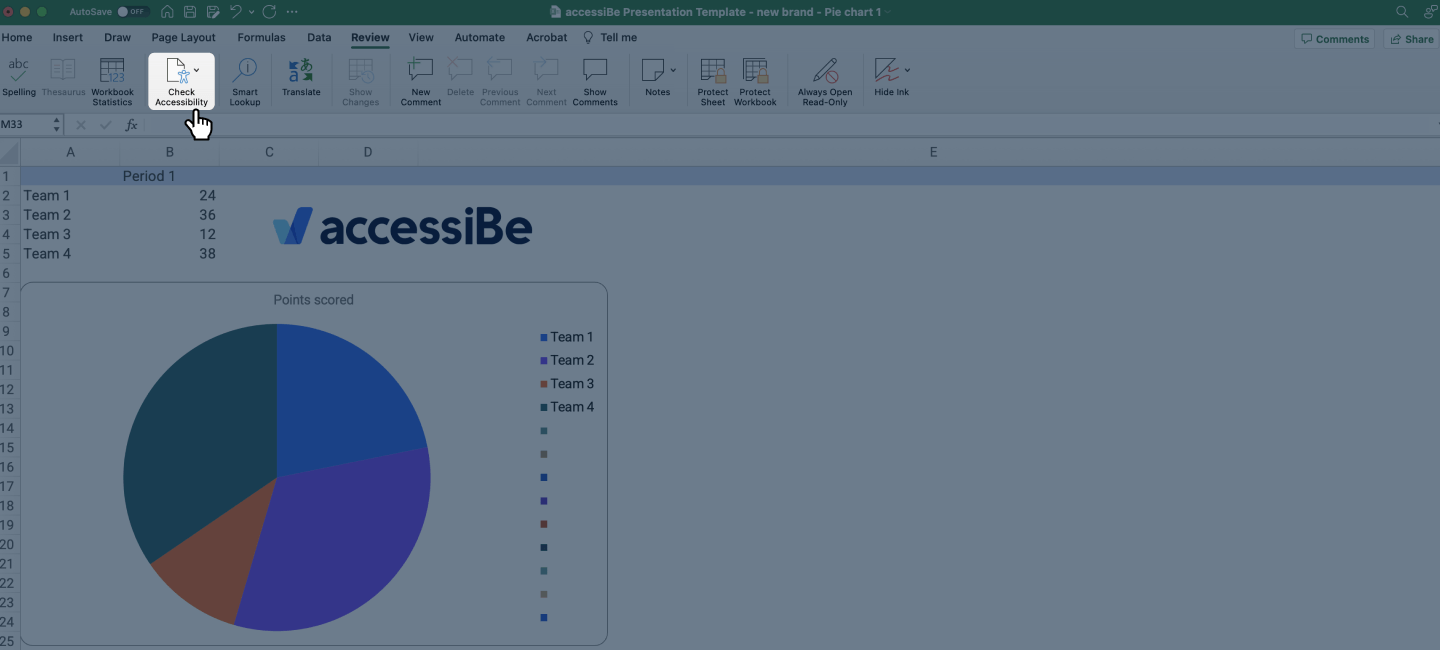
3. Press on Check Accessibility in the drop-down menu
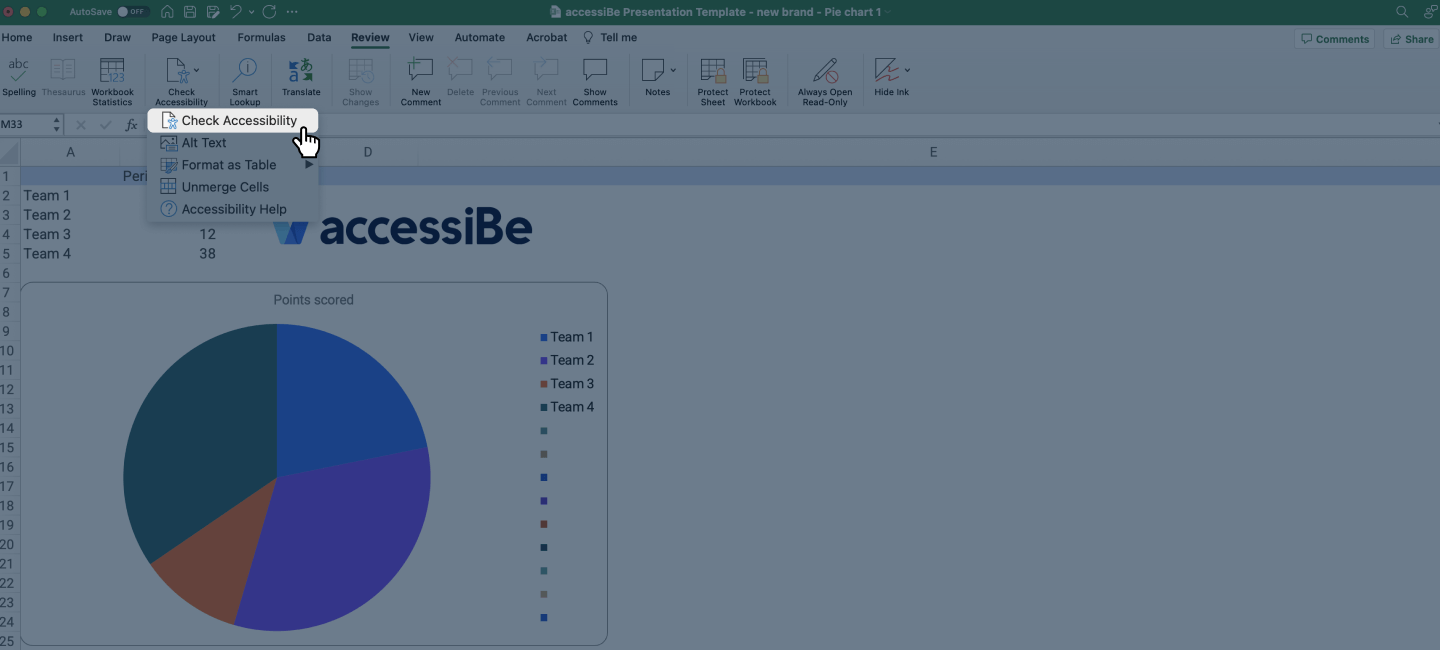
4. On your right, a window will open, detailing any gaps in accessibility your document is suffering from (if any exist). You will also be presented with ways to activate implementations of said fixes:
Document remediation through accessServices
For organizations managing large document libraries or facing compliance obligations under Section 508, the ADA, the EAA, or AODA, manual remediation by qualified experts is often the only reliable path to full accessibility. accessServices provides expert document and PDF remediation covering the full scope of what that requires: PDF tagging, reading order correction, alt text for meaningful images, table structure remediation, and form field labeling. Completed remediations are delivered with Accessibility Validation Reports that document conformance status — giving organizations the evidence trail they need for procurement requirements, legal defensibility, or demonstrating ongoing compliance effort.