Need some help with accessiBe?
Find your answers here!
Journeys: Create a journey
accessFlow lets you create custom journeys for auditing key user flows to help make sure you site is accessible and compliant. These events could include adding an item to a cart or signing up. You can record actions using our session recorder or create your journeys manually.
Journeys are executed in a headless browser and accessibility issues are evaluated at each step. They are executed during the regular audit process and the results are displayed in the dashboard.
Note: If you have configured steps to bypass a login wall, accessFlow automatically executes these steps and logs you in to the site before executing the steps in the funnel. See Bypass a login wall
To create a journey
- Go to Journeys.
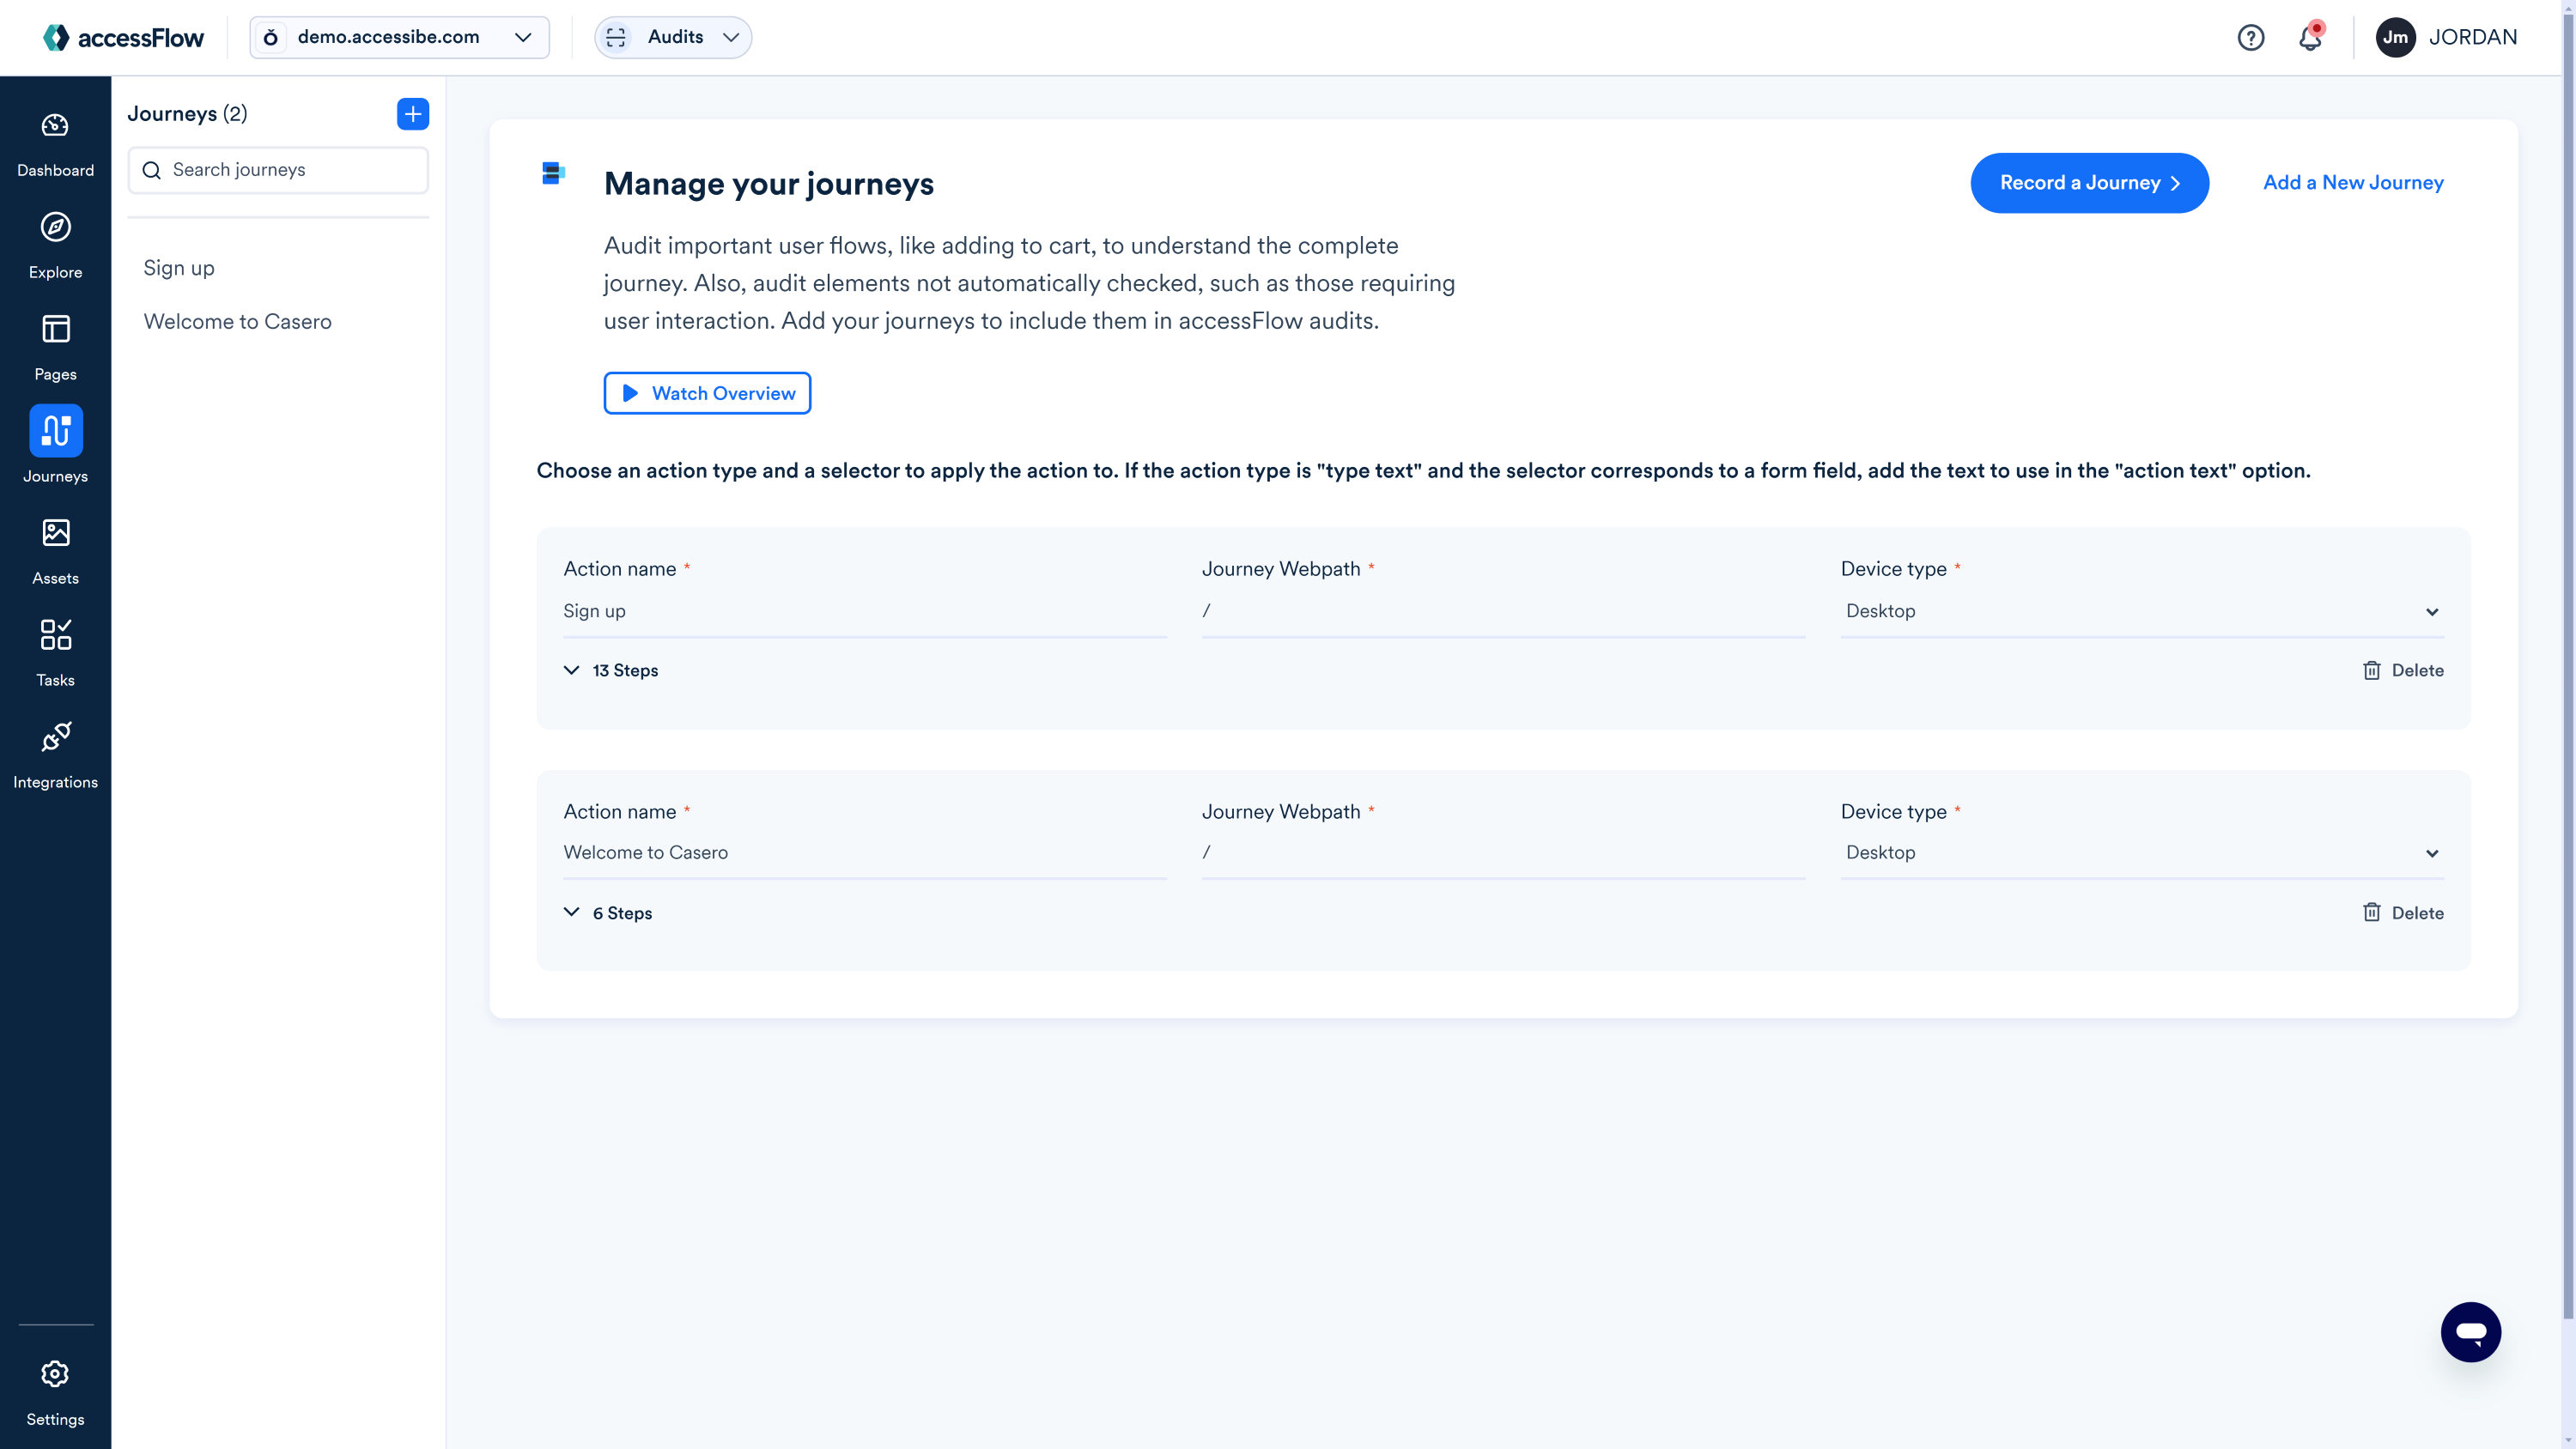
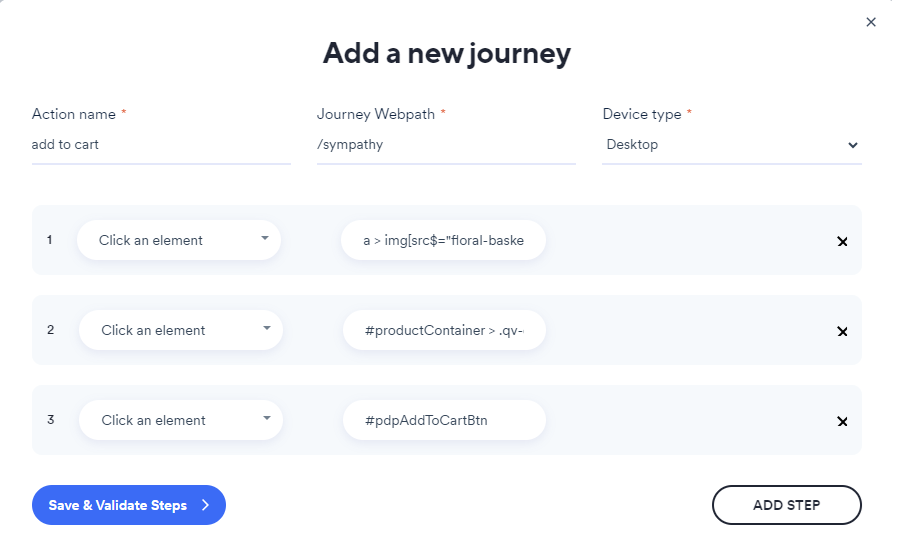
- Select Add a New Journey.
- Enter an Action name. For example, add to cart.
- Enter the Journey webpath of the starting page. For example, /product
- Select the Device type: Desktop or Mobile.
- Select an action type from the following:
- Click an element: Enter the action selector of the element to click.
- Check a checkbox: Enter the action selector of the checkbox to select.
- Set input value: Enter the input selector and value.
- Type text: Enter the action selector of the text box and type the text to appear in the text box.
- Wait 10 seconds: Wait10 seconds before executing the next step.
- Wait for selector: Enter the action selector to wait for.
- Enter the action selector. For example, #detailRight > div.designPrices > div > div:nth-child(2) > label
- In the web page, click on the element.
- Right-click and select Inspect.
- In the developer’s tool pane, right-click and select Copy > Copy selector. See Copy a CSS selector
- Paste the selector into the action selector field in accessFlow.
- Select Add Step to add another step to the journey.
- Select the x icon to delete a step.
- Select Save & Validate Steps.
Each step is executed and validated. If there are errors, select the down arrow next to the error message to view the errors. Fix the errors and select Save & Validate Steps again.
Note: The maximum number of steps allowed in a journey is limited to 25.
See Edit a journey