Need some help with accessiBe?
Find your answers here!
How to install accessWidget on your Solo website
Help make your Solo website inclusive and compliant with accessiBe’s AI-powered accessibility plugin, accessWidget.
To use this integration in Solo, your website must be connected to a custom domain.
Step 1: Get your accessWidget installation code
- Visit accessiBe and create an account.
- Login, go to My Licenses and select the specific license where you want to install accessWidget.
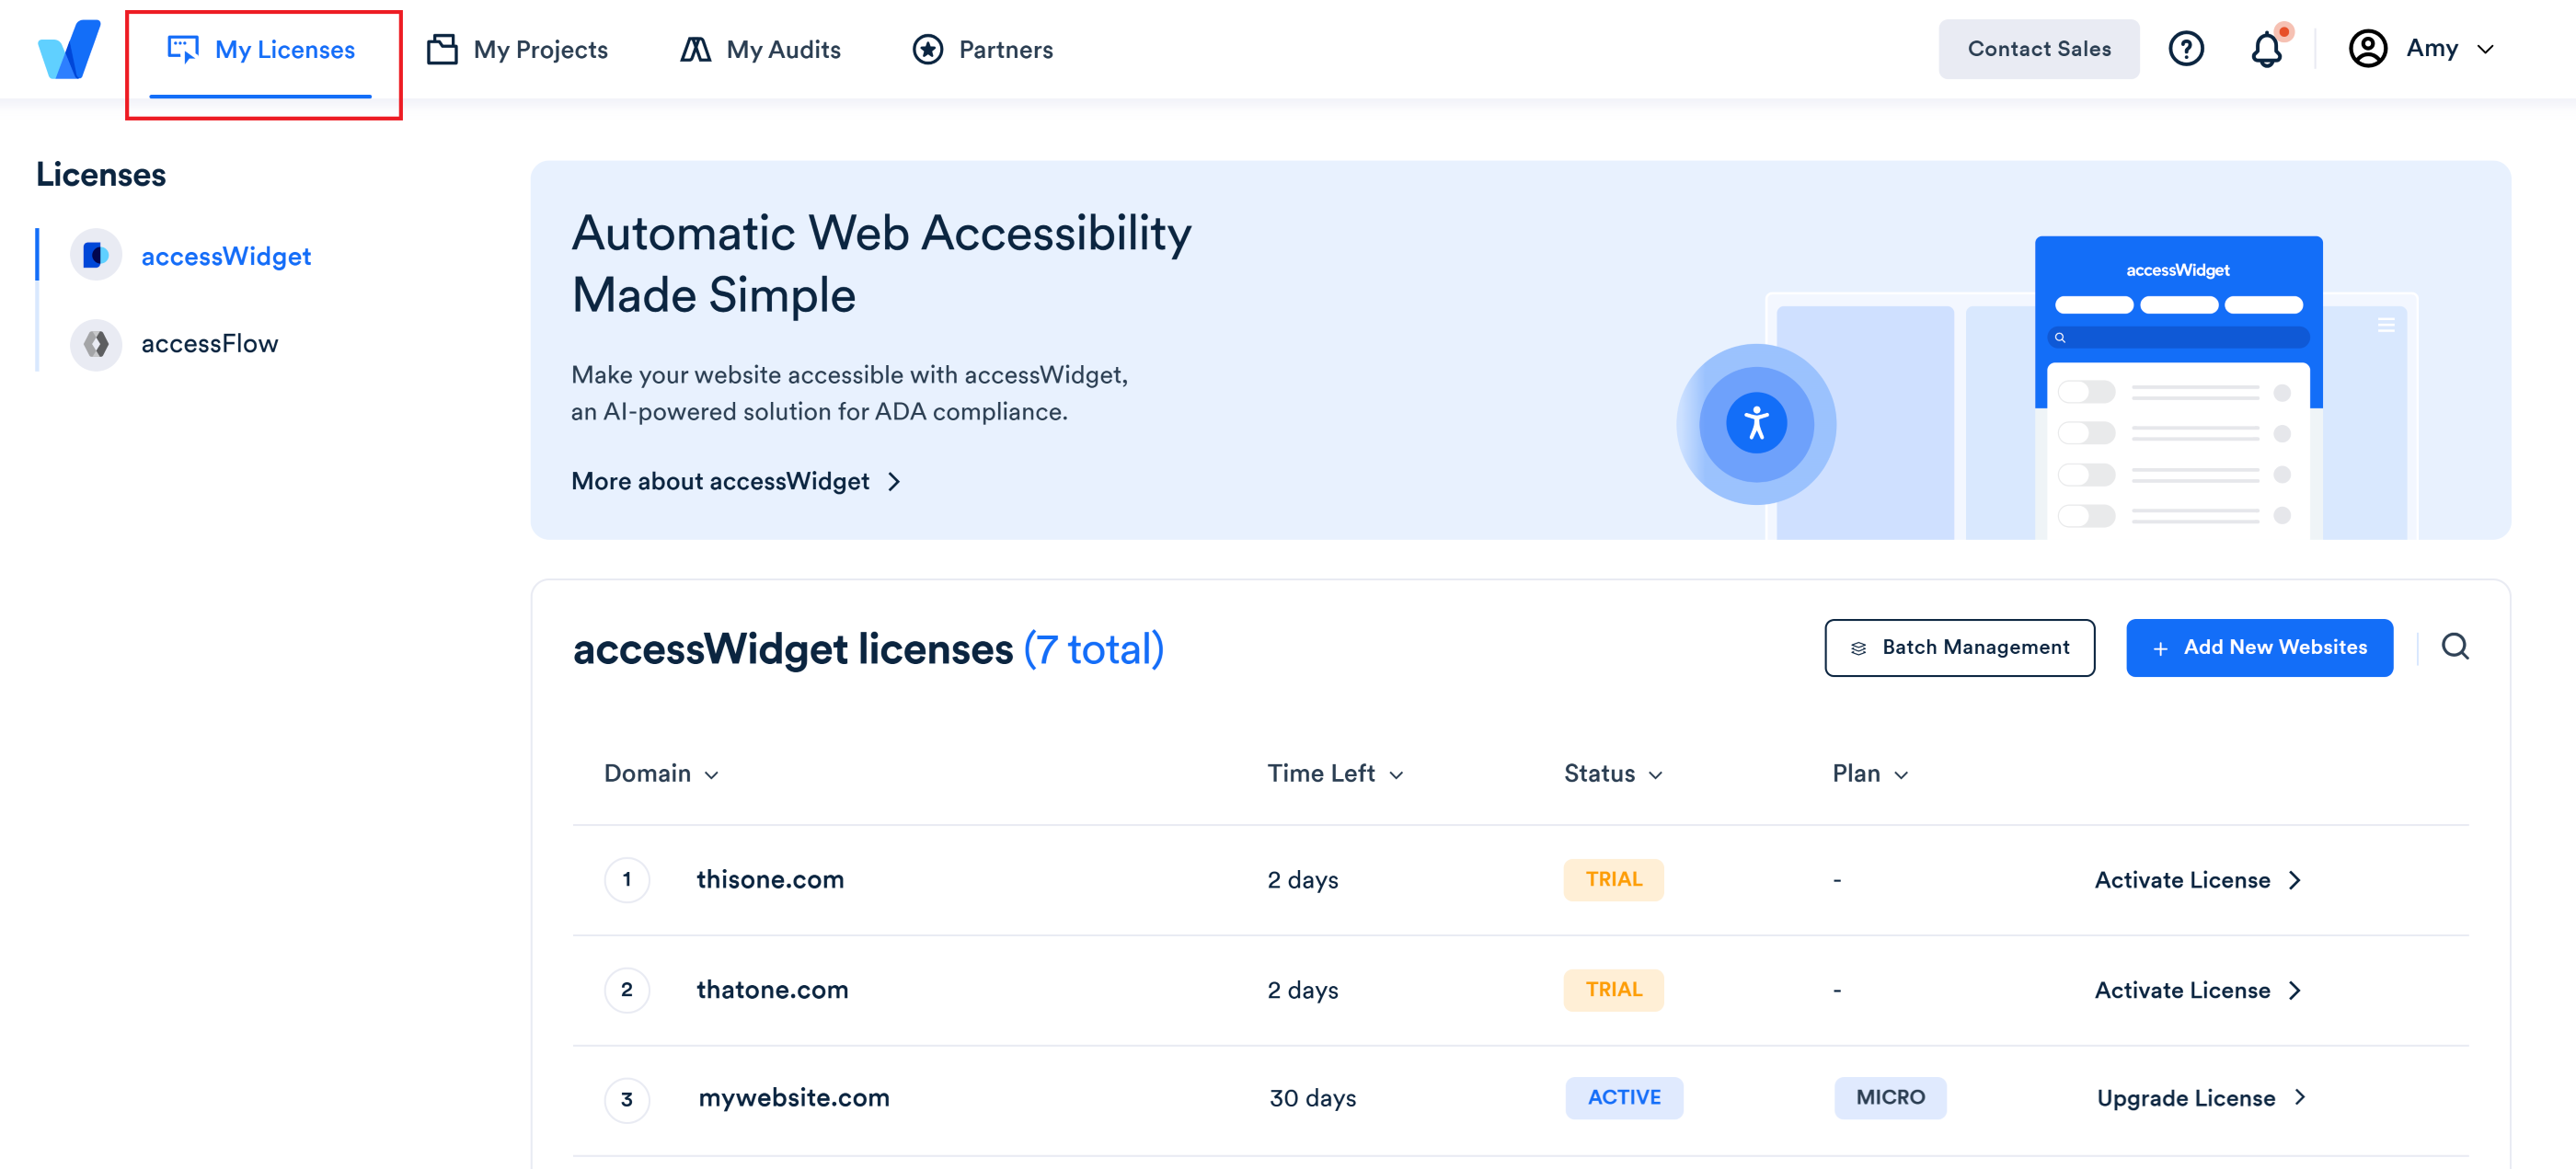
- Select Install and customize widget.
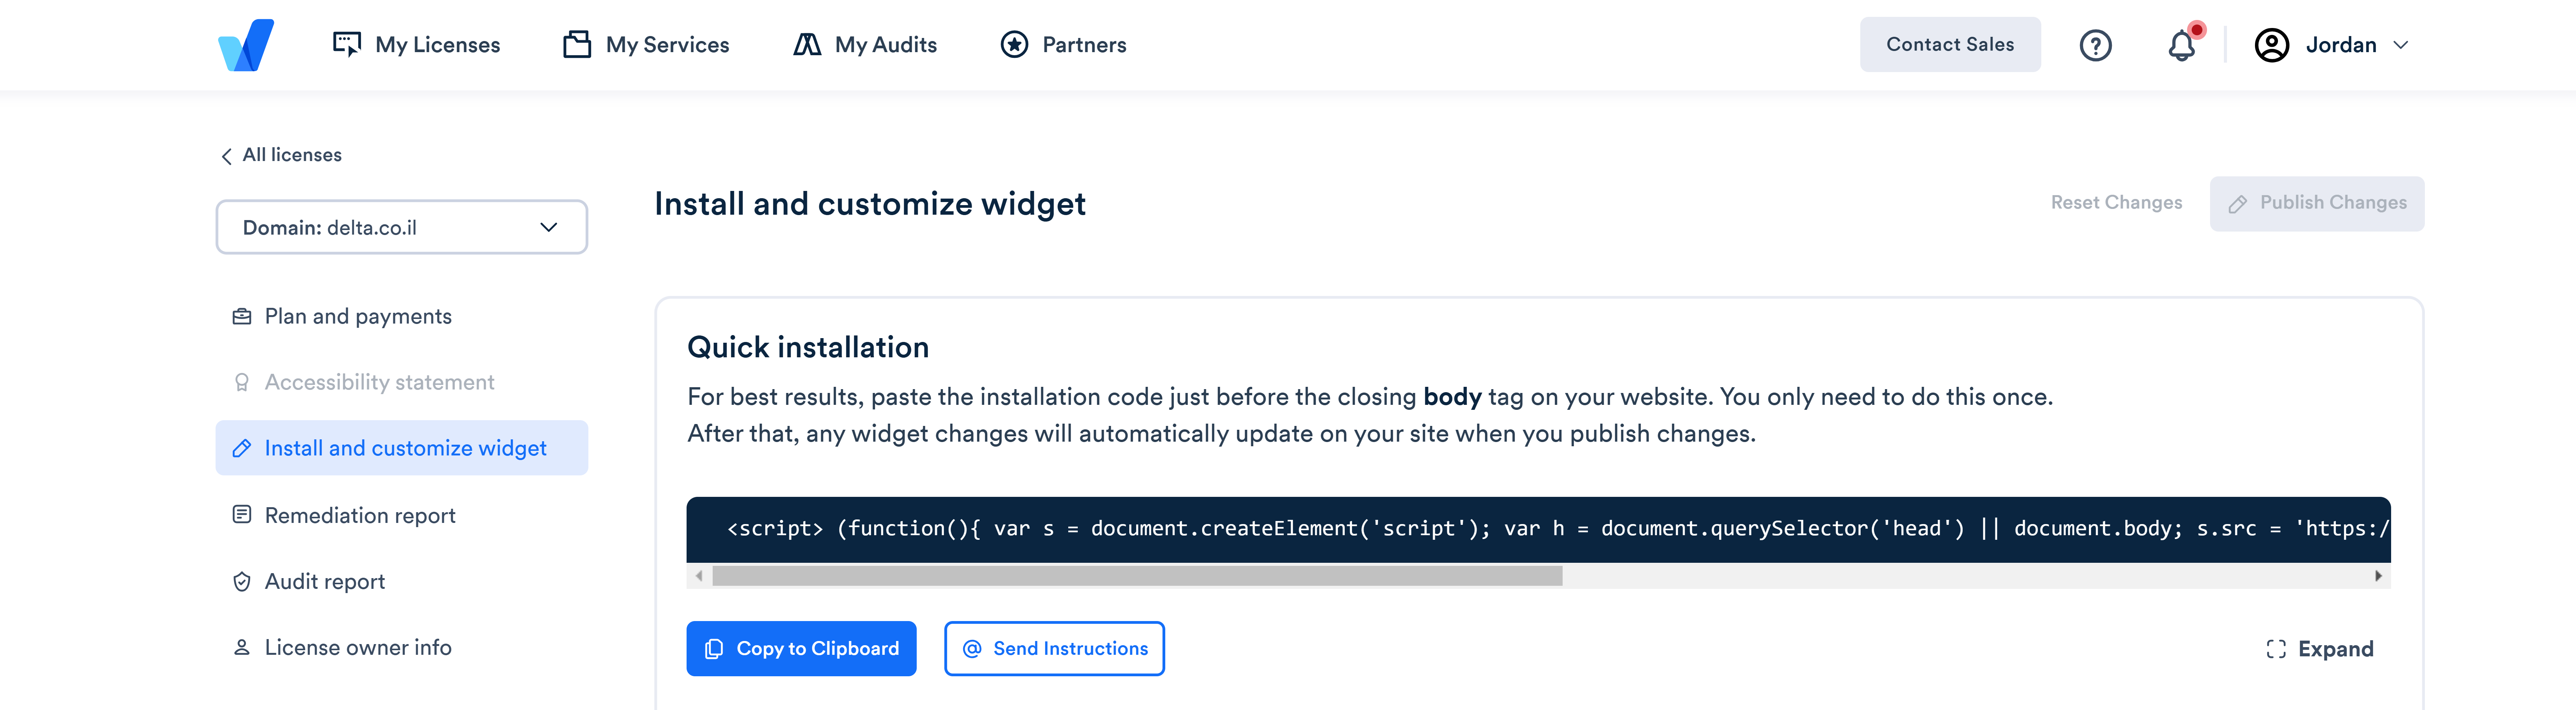
- Under Quick Installation select Copy to Clipboard to copy the installation code or select @Send Instructions to send installation instructions to your developer or webmaster.
Step 2: Add the code to your Solo website
- Go to the Solo designer.
- In the top toolbar, select Settings.
- In the Settings right sidebar, scroll down, and turn on Custom code.
- In the window that appears, paste your installation code. (e.g. <script>)
- Select Save.
- In the top right toolbar, select Publish.
Good work! You've installed accessWidget, making your website accessible.
For more information see our Website Onboarding Guide and follow the instructions to ensure proper installation and performance.