With almost a million subscribers, Divi is one of the most popular paid WordPress themes and page builder plugins out there. Unfortunately, it does not have the best reputation when it comes to web accessibility, making it really important that you learn how to make Divi accessible as a user. This is both to create a more equitable web experience and to avoid potential legal trouble under the Americans with Disabilities Act (ADA).
In this guide, we will go over the necessary steps to create an accessible Divi site from scratch and how to adjust an existing one so that it welcomes all visitors, regardless of ability. You will learn what Divi’s basic accessibility offerings are, and what you’ll need to pay special attention to in order to ensure your website truly is accessible.
How to make your Divi website accessible
- Gain a clear understanding of the Divi theme architecture
- Add a skip-to-content link
- Add outlines for keyboard navigation
- Pick the right Divi modules
- Install the right plugins
- Showcase your site title and tagline
- Apply ARIA roles to your website elements
- Use a proper heading structure
- Add alt text to meaningful images
- Use legible fonts
- Provide sufficient color contrasts
- Make sure forms are accessible
- Use descriptive anchor text
- Make sure your online documents are accessible
- Add captions and transcripts for videos
- Use a Divi accessibility plugin
What does having an accessible Divi website mean?
An accessible Divi website is one that can be fully accessed by all visitors, regardless of their abilities. To achieve this, your website needs to adhere to prominent web accessibility standards. The latter include detailed instructions and guidelines on configuring your Divi website so that it delivers an equal and inclusive user experience to all visitors.
The most prominent web accessibility guidelines are the Web Content Accessibility Guidelines (WCAG). Created and maintained by the World Wide Web Consortium (W3C), WCAG is recognized as the gold standard for web accessibility. These guidelines also have a significant influence on global web accessibility policies, as we’ll explore further in this blog. You can skip straight to that section by pressing here.
To be considerded accessible, your Divi website will need to adhere to WCAG, and we’ll dive deeper into what that entails later in the blog. You can press here to skip straight to that section.
How to make your Divi website accessible and ADA-compliant
Ensuring your Divi website is accessible is a multi-step process. That’s not just because, as we will see, Divi is a bit fickle when it comes to accessibility, but also because you have to account for a variety of disability and impairment categories.
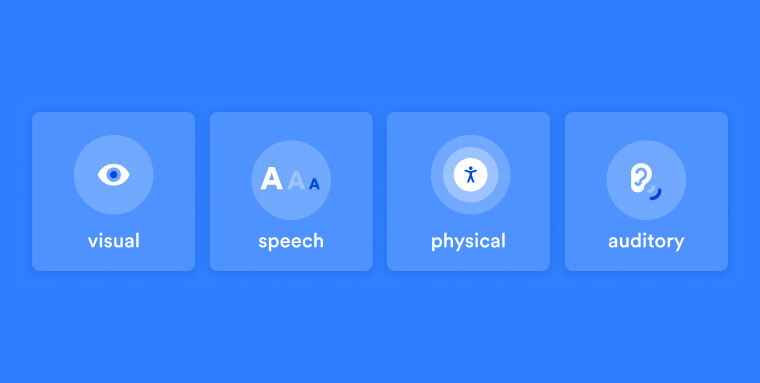
Some of your visitors may have hearing impairments or different vision impairments like blindness, partial blindness, and color blindness. Others live with seizure disorders, limited mobility, neurological conditions, among dozens of other impairments.
Each of these calls for a different approach in making your Divi website accessible.
So, let’s go over them step by step.
1. Gain a clear understanding of the Divi theme architecture
The first thing you need to know is that Divi is both the name of a website builder and a theme. The Divi theme includes the website builder of the same name. However, if you have a Divi subscription, you can also download the website-builder plugin separately, and use it with any other theme.
You can also enhance Divi by using a Divi child theme from the marketplace. These are based on Divi itself but come with additional designs and page layouts.
Then, there are layout packs. These seem similar to themes, but are actually collections of page layouts for different industries or types of websites. They are available within the Divi theme and website builder, and provide design templates to build projects like restaurant, photography, or spa websites more quickly. In the following image, you can find a number of relevant examples.
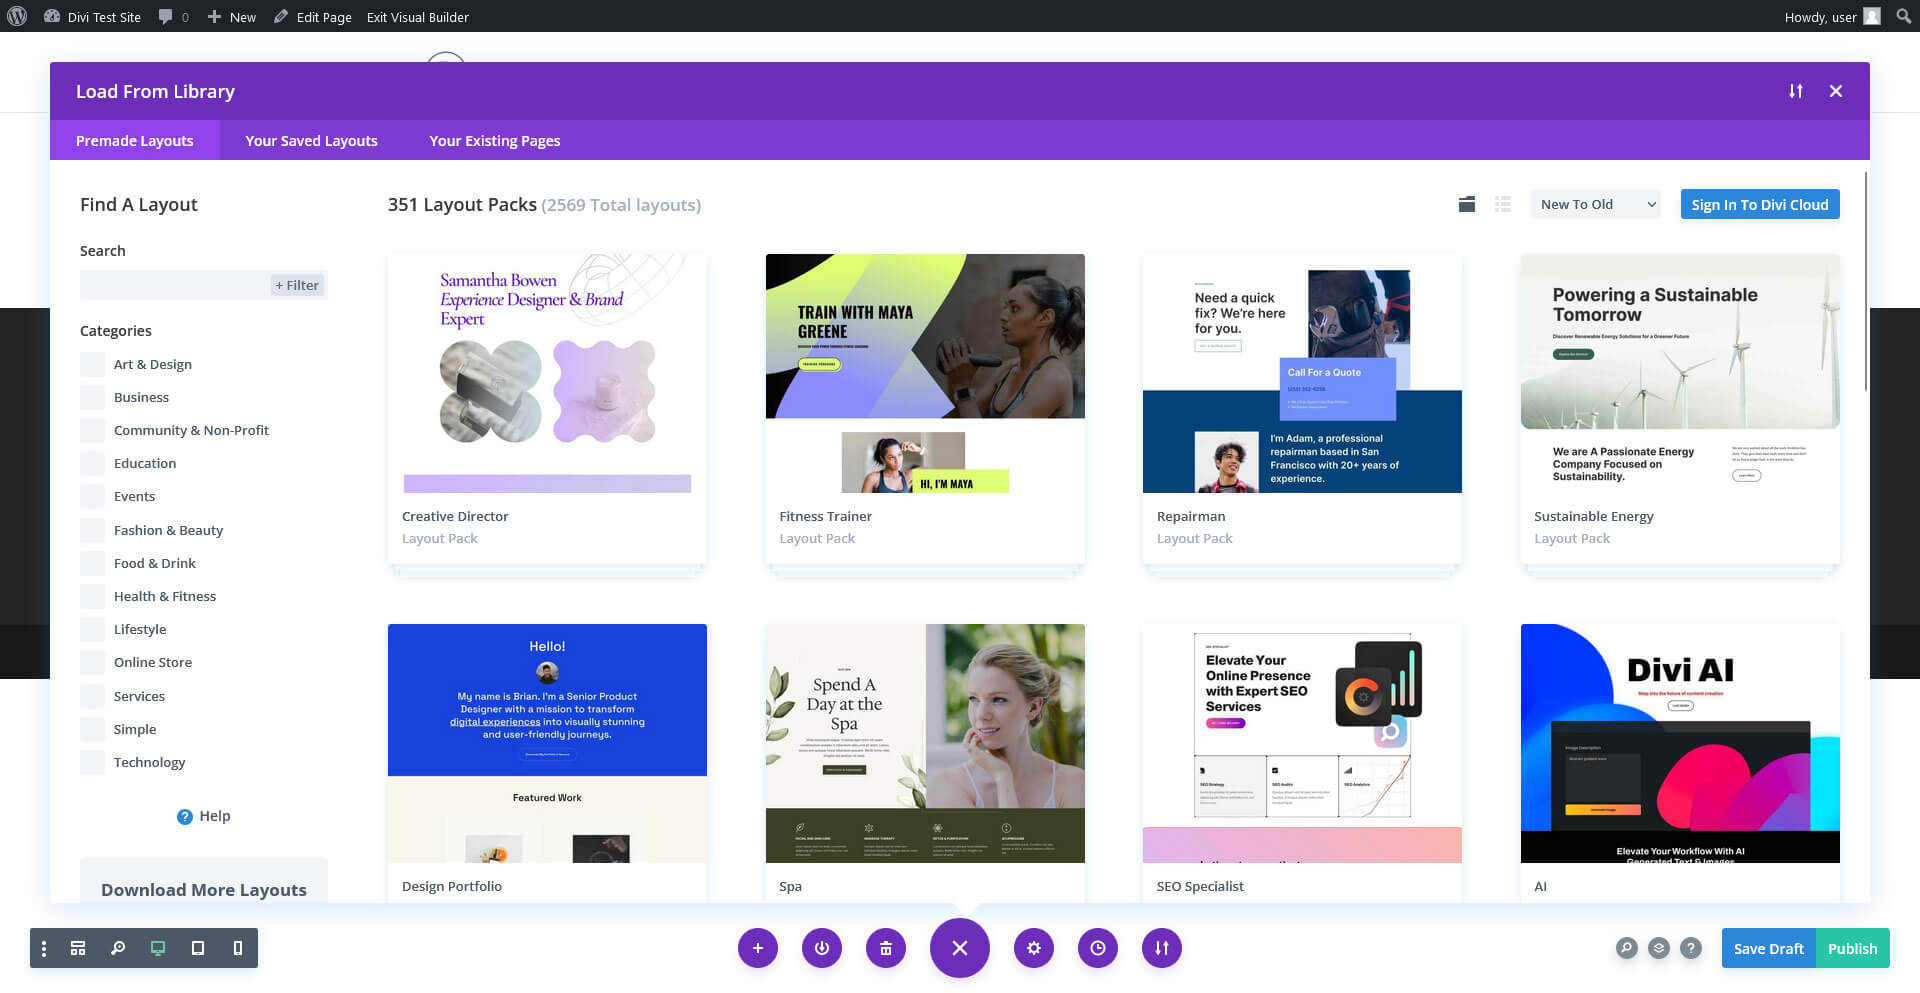
Divi has over 300 of these packs, and you use them all inside the same theme.
But, why does all of this matter?
All of these options come with the same inherent accessibility flaws.
Even if you use a different theme, the page elements created with the same Divi page builder can still be problematic. Only the parts provided by the new theme (e.g. the header and footer) will be more accessible (and there are no guarantees of that).
Bottom line: You will need to address the numerous accessibility issues inherent to all Divi themes. This can be done quickly and efficiently using accessWidget.
2. Add a skip-to-content link
A skip-to-content link is one that appears at the very top of the website document, even before the header or navigation menu. It is critical that the skip links be visible all the time, or appear when focused. For users of this assistive technology, the skip-to-content link fulfills an important function. It allows them to skip over the navigation menu so that, if they visit several pages of the same website, they don’t have to listen to the list of menu items over and over again.
Unfortunately, Divi does not come with a skip-to-content link, so you have to implement it manually. You can find instructions for that in this tutorial.
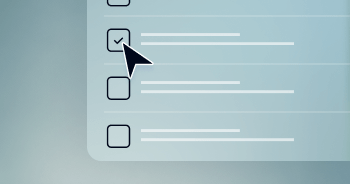
3. Add outlines for keyboard navigation
Another regrettable shortcoming of the Divi theme is that it eliminates outlines from the focus state. That is the code that controls the marking of web page elements when being navigated to with a keyboard. In the following image, you can see an example of a properly focused element.

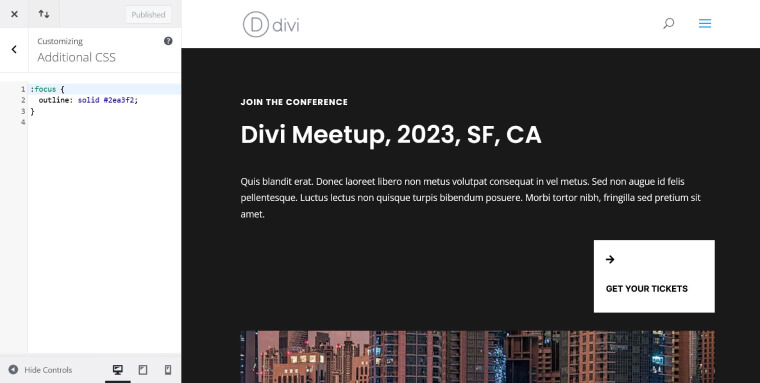
To re-enable outlines, you can use the following CSS:
:focus {

    outline: solid #2ea3f2;

}
Place it in the Additional CSS menu under Divi > Theme Customizer.
4. Pick the right Divi modules
One of the main benefits of Divi is that it comes with a lot of modules, which allow users to create page layouts in a modular fashion.
Unfortunately, however, there is no obvious way to understand which modules are accessible and which are not.
There are no tags or other markings in the shop that allow you to filter them accordingly. Therefore, you have to put them on a page and test them manually, just like themes and plugins.
It is worth noting in this regard that one thing you should try to avoid in order to preserve the accessibility of your website are sliders. Divi has three of them:
- A Normal Slider for images
- A Post Slider showing blog posts on your website
- A Video Slider
You should avoid using these modules.
They are difficult for screen readers to read aloud, they sometimes change too quickly, and they can be distracting and disorienting.
Other examples of modules with limited accessibility are Toggle and Accordion, which are not focusable with keyboard navigation.
5. Install the right plugins
Besides what is already built into Divi, the WordPress ecosystem offers many plugins that allow you to add features and functionality to your website. Divi itself has extensions for all sorts of purposes and plugins for building popups and to provide social sharing. You can find more in the WordPress plugin directory as well.
Any plugin you’re considering using on your Divi website will require examine their accessibility status, as well. This especially applies to extensions that add visual elements to your website, similar to the Divi modules discussed above.
Make sure the plugins are usable with only keyboard navigation and check out support and review forums, as users will often report accessibility issues there. In addition, any functionality you add to your site needs to:
- Provide visitors with the ability to control time limitations, such as automatic logouts
- Not contain elements that flash more than three times per second
- Ensure there is no moving or auto-updating content
Because of the diverse requirements for making a website accessible, you really have to make an effort to ensure any WordPress plugins you use fully conform to WCAG guidelines.
6. Showcase your site title and tagline
Page titles and taglines are important accessibility tools. They express the topic and content of your website pages so they are easier to identify in search results, sitemaps, and when there are multiple pages open in a browser.
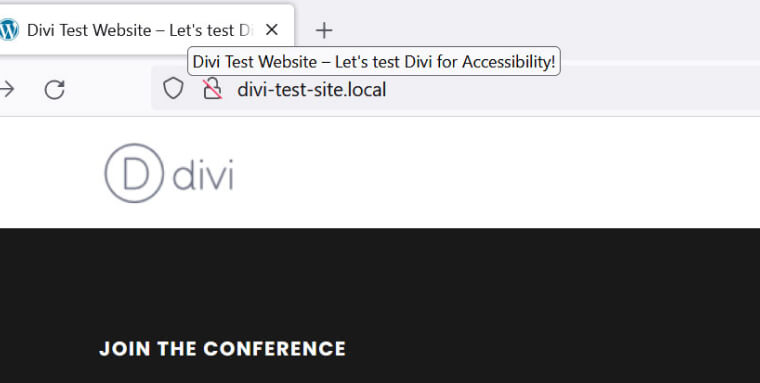
Checking your page titles
The easiest way to find the titles of your website pages is to open them in a browser. When you hover over a browser tab, it will display the title and tagline:
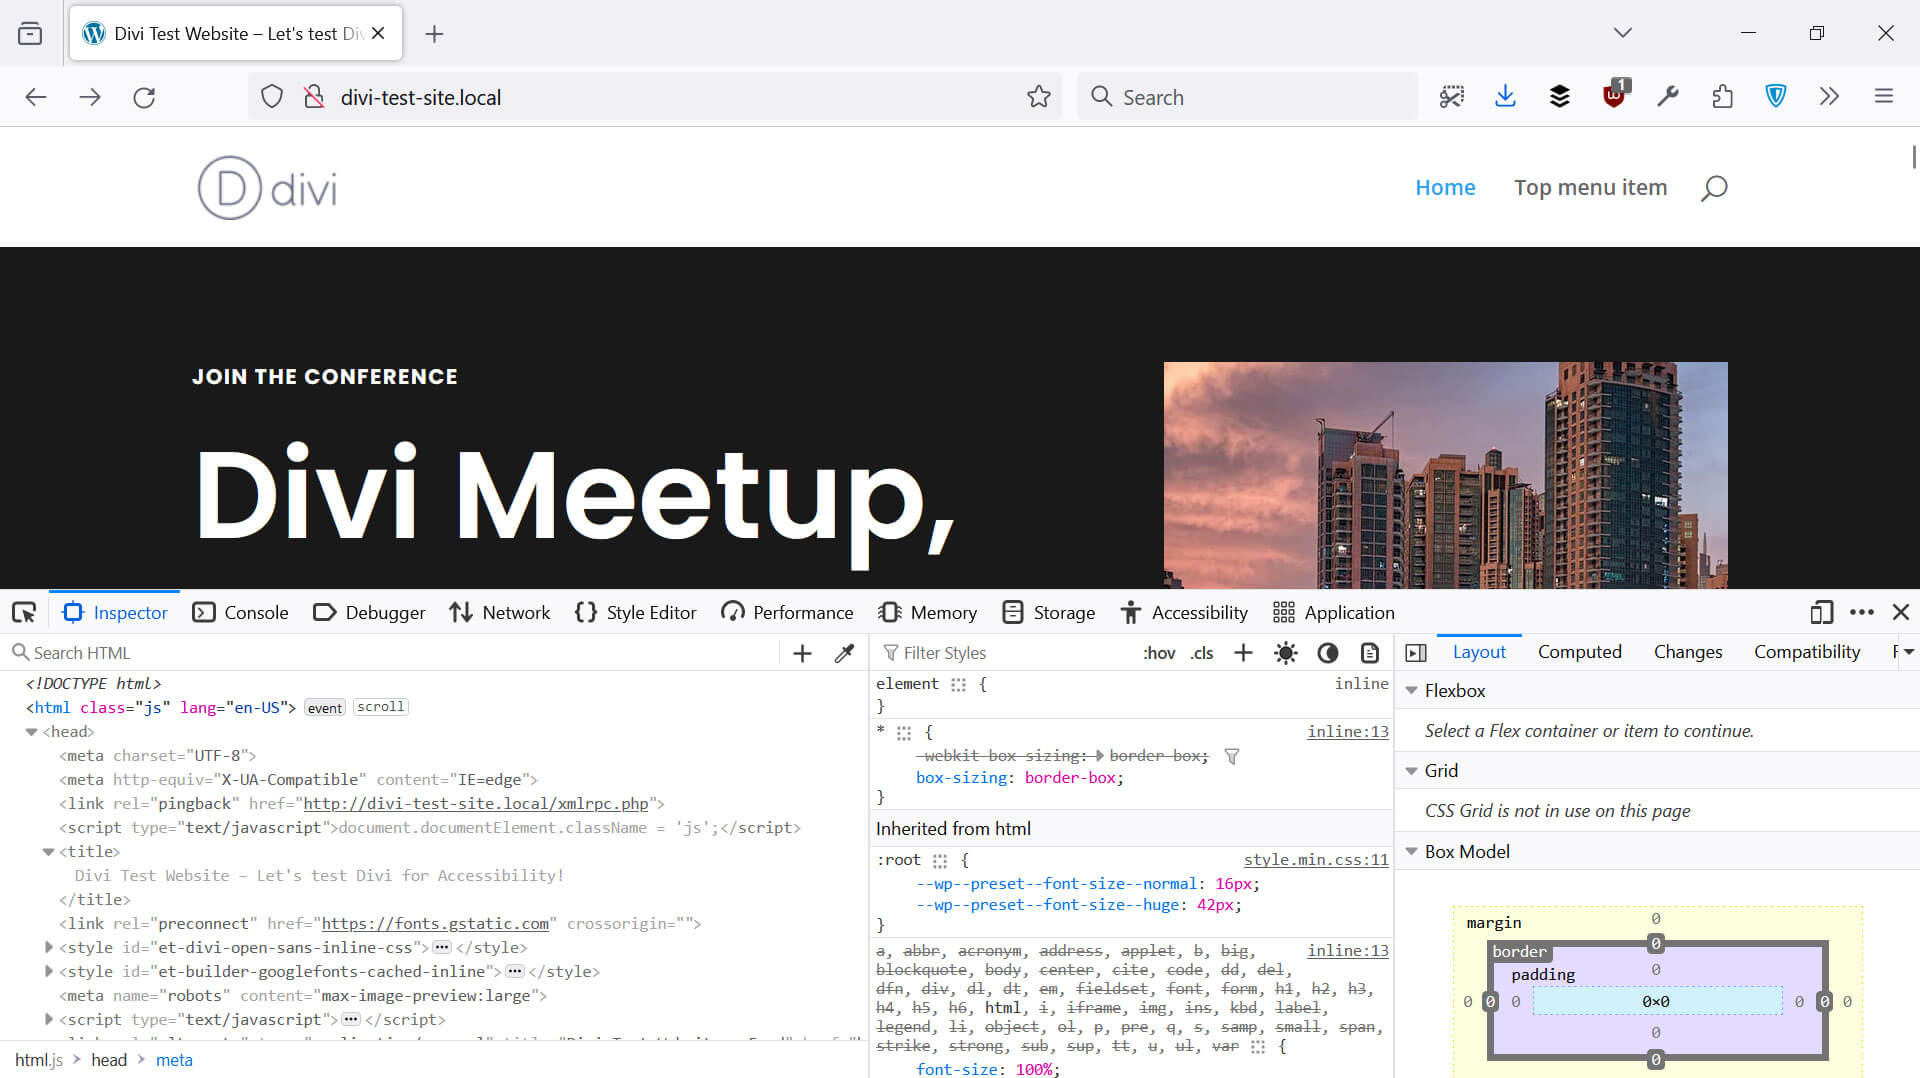
If you prefer, you can also use the browser developer tools. Examine a page and look for the <title> and <meta name=”description”> tags (though some WordPress themes also combine them into a single <title> tag).
For example, this is what it looks like in the Firefox page inspector tool for Divi:
Creating page titles and taglines in Divi
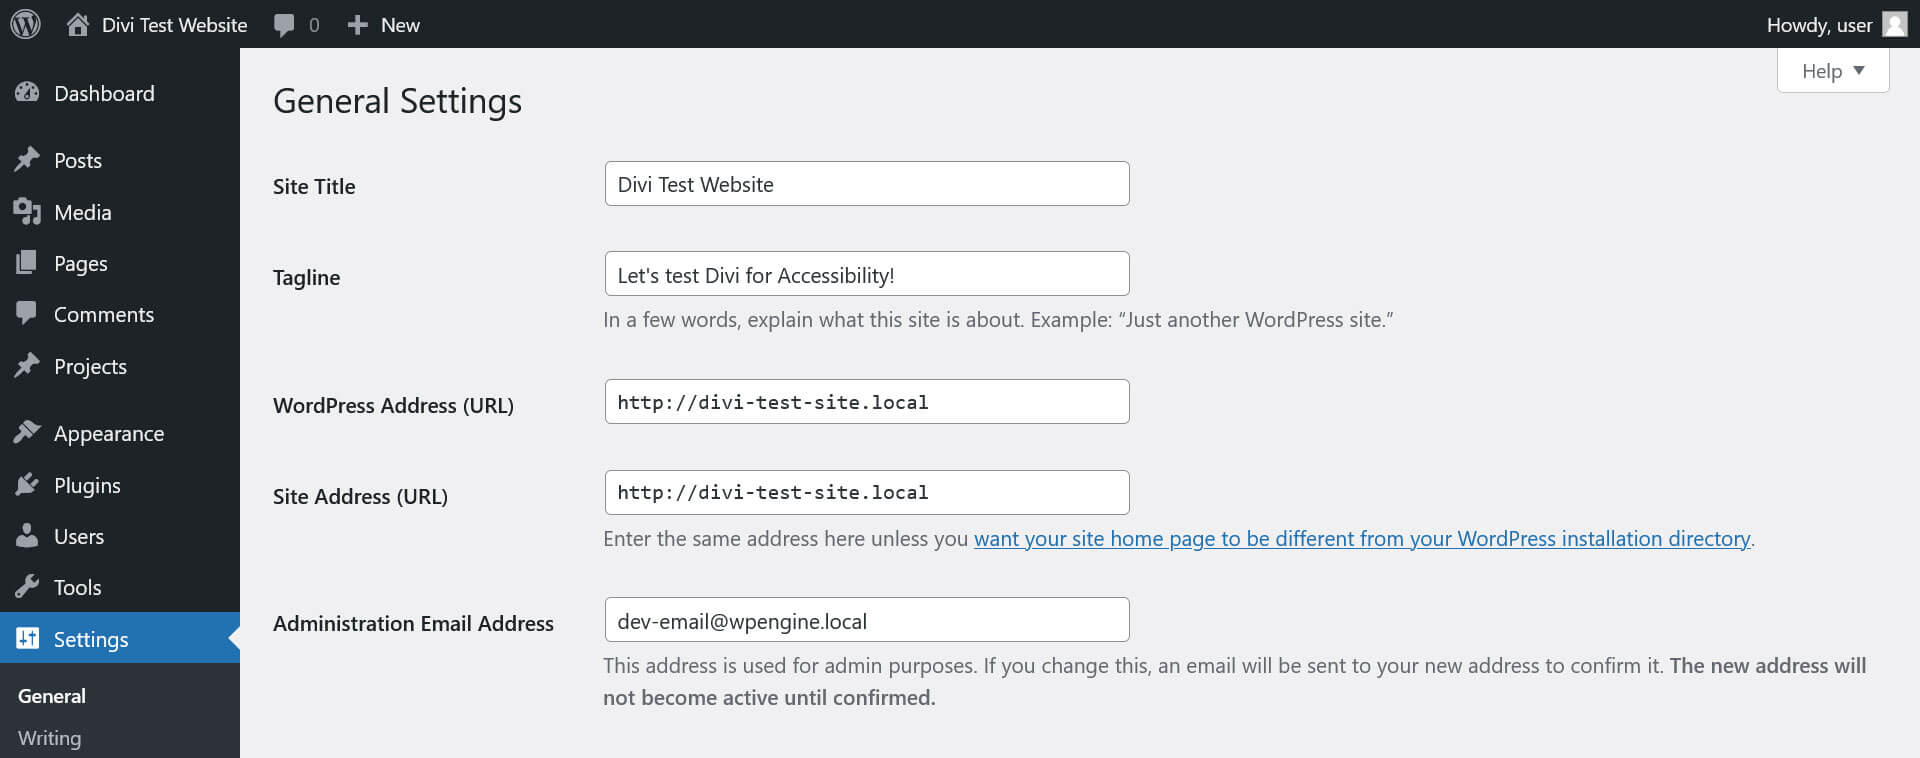
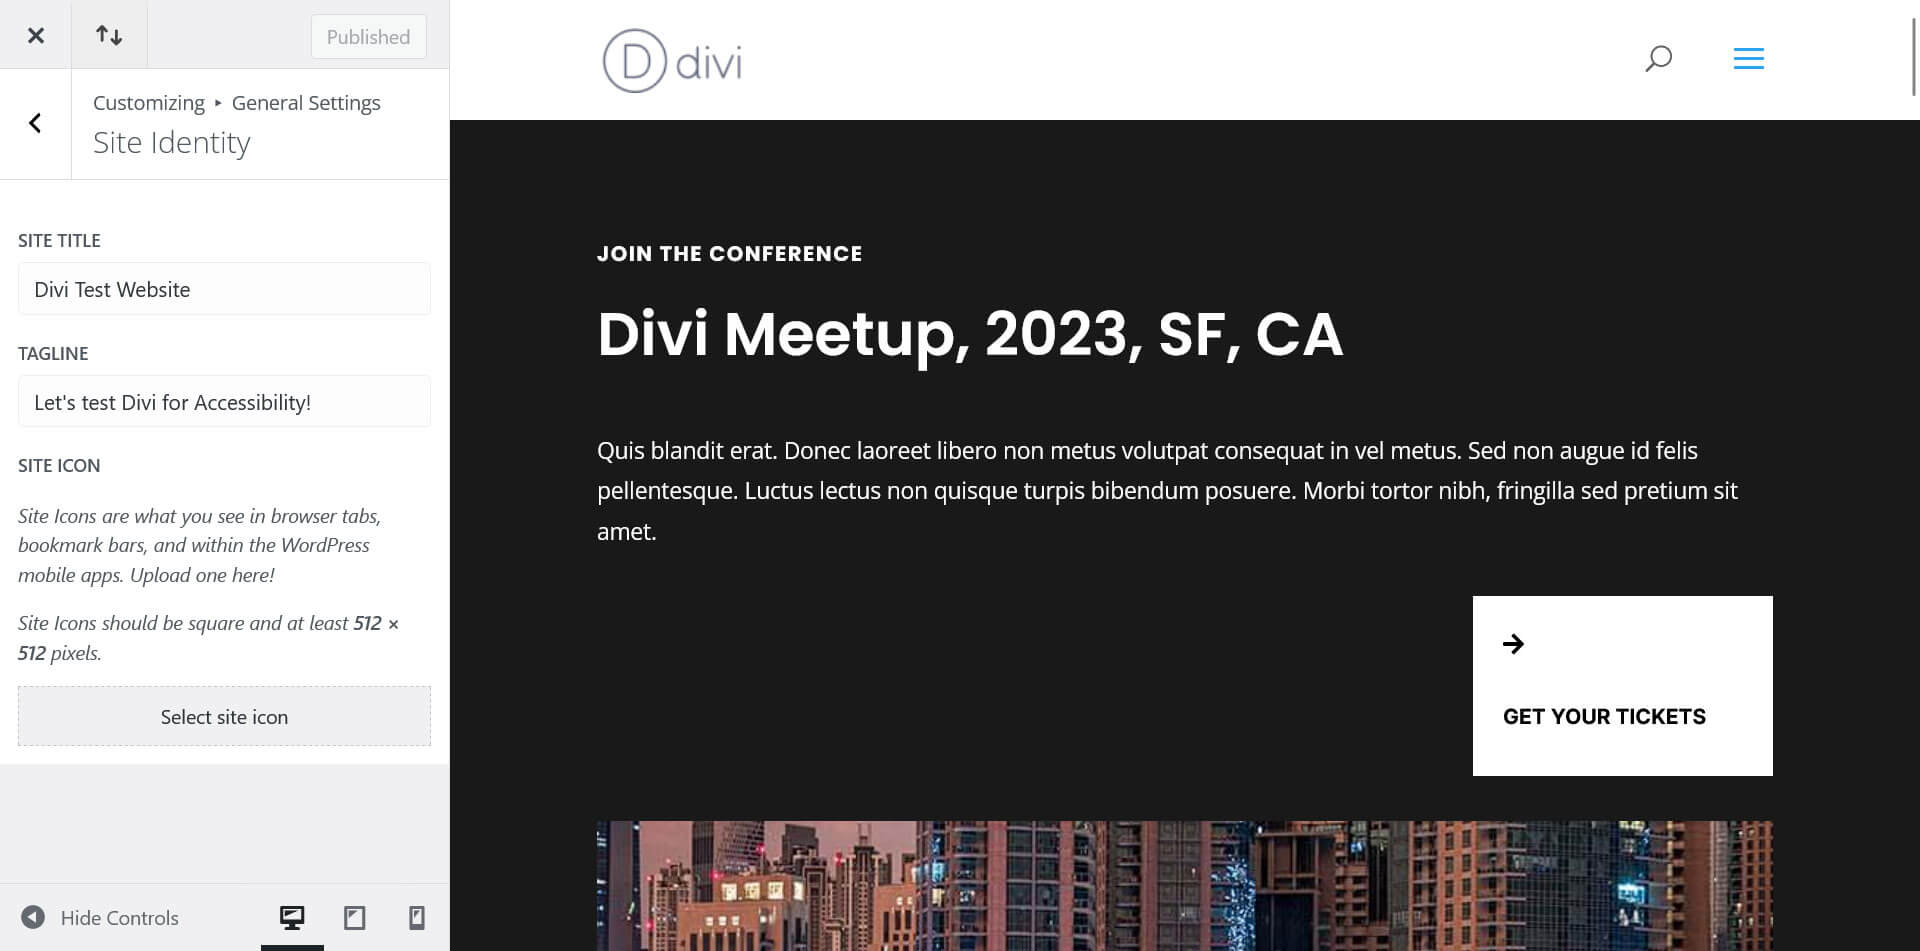
Changing your site title and tagline works the same way in Divi as in WordPress in general. Go to Settings > General in the WordPress backend to find the fields for site title and tagline at the top.
Make changes as needed and save them to update the information. Alternatively, you can also use the theme customizer via Divi > Theme Customizer. Here, you find the same options under General Settings > Site Identity:
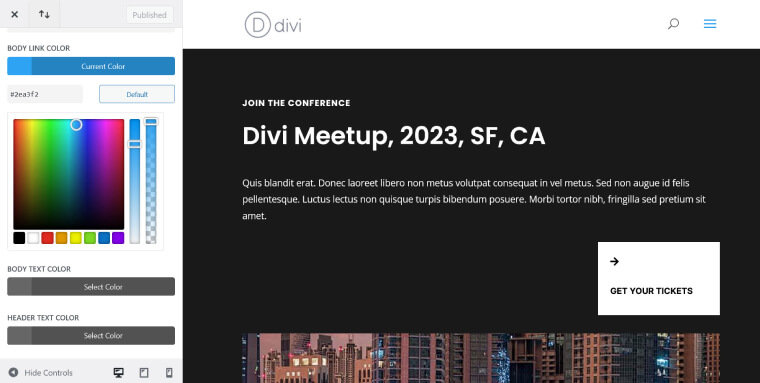
If you want your site title and tagline to also show up on your pages, you can add them via the Call to Action module. You can find instructions for that in this tutorial.
For all other posts and pages, you set the page title at the top of the WordPress editor.
6. Apply ARIA roles to your website elements
ARIA HTML attributes provide extra context for the function of different page and layout elements for screen readers. They help people with vision impairments navigate websites.
ARIA attributes matter, especially for navigation menus.
For example, ARIA attributes enable screen readers to understand whether a drop-down menu is open, what the current page is, where the link to home is, or whether a particular link has a submenu.
ARIA is also critical for for error messages, expandable content (like accordions), for providing information about links and form controls, and many more areas of your website.
In addition to ARIA, there are also native semantic HTML attributes such as <nav>, <button>, or <footer> that fulfill a similar function.
While Divi does use semantic HTML, it is not known for its great use of ARIA attributes and also doesn’t have native functionality for adding them manually.
Therefore, your best bet is an accessibility plugin like accessWidget, that automatically detects missing ARIA and then applies the necessary markup to inaccessible elements.
7. Use a proper heading structure
Headings provide both website visitors and search engines with an overview of the structure and topic of a web page by breaking it down into topical sections. Every page should have one h1 heading at the top with the most important information about the page, with the rest of the content nested below.
Headings are critical for readability. They assist sighted and non-sighted visitors in understanding the content of a web page. However, they are absolutely essential for screen reader users.
Headings allow screen reader users to skip to sections they are interested in. Their order (h1, h2, h3, etc.) also provides information about the significance of each content section, making them an important navigation tool.
It is therefore crucial that you don’t bold text and/or increase its font size to convey headings but use actual heading tags. To screen readers, what matters is not the visual appearance of text elements but the HTML markup.
Using heading tags in Divi
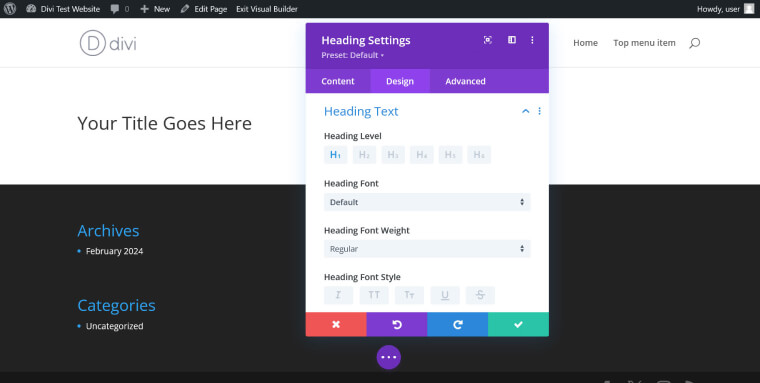
Divi has a Heading module you can use to insert headings into your pages. You can determine what order (h1-h6) they should have in the Design tab.
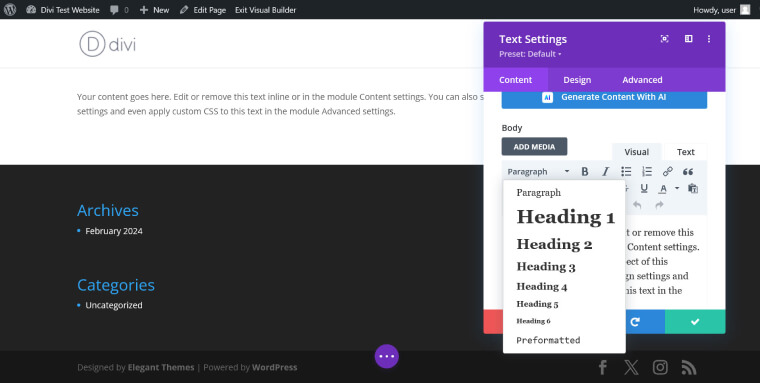
In addition, you can create headings in the Text module. It works like the classic WordPress editor, where you can choose the heading type from the drop-down menu at the top left.
Because Divi is modular, it can be a bit difficult to keep an overview of the heading structure. In addition, there are sometimes problems with certain modules that contain heading tags by default that might not be of the order you need.
For that reason, it’s best to run your pages through accessScan so you can see a breakdown of the heading structure and take corrective action if necessary.

7. Add alt text to meaningful images
Alt text is a text-based description attached to an image inside the HTML source code of a web page.
One of its functions is to appear as a placeholder if the image doesn’t load, however, the alt text is also absolutely crucial for web accessibility. Screen readers announce it aloud so non-sighted visitors understand what kind of image is present on the page.
It is important to note that only meaningful images should have alt text.
Meaningful images are the kind that contain important, useful, and critical information, and aren’t added purely for decorative purposes. Adding alt text to decorative image can distract screen reader users, and you should therefore abstain from doing so.
What to include in alt text
Ideally, alt text transports the same info as the image it is attached to. That means, a clear description of the image’s content.
- Bad alt text: “Asymmetrical One-Shoulder Dress.”
- Good alt text: “Woman in a mid-length sky blue dress, covered neck-to-wrist on the right, with the left arm exposed.”
At the same time, try to be concise. Ideally, keep alt text between 80 – 100 characters. Use a character calculator to keep the length in check.
Adding alt text in Divi
When it comes to using alt text on your Divi site, the most basic step is to include it whenever you upload an image to your media library. That way, the alt text is automatically inserted when you use that image anywhere on your website.
You can either use the Media menu in the dashboard or add alt text when you access the media library from the WordPress editor.

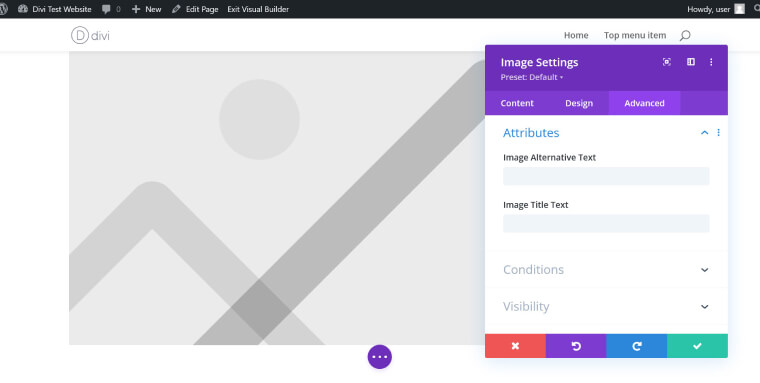
Note that, while Divi pulls in alt text from the WordPress library, it does not update existing images if you add alt text in the library later. For that, you need to change it individually in the Advanced tab of the Image module (Advanced > Attributes > Image Alternative Text).
8. Use legible fonts
Fonts are an important aspect of web accessibility because they strongly influence legibility. Here’s what makes them accessible:
- They are simple and familiar
- Letters and characters are easy to distinguish
- Sufficient spacing between characters and lines
- No excessive decoration or italicization
- Large enough text size
- Sufficient contrast between font and background color
Good choices are Arial, Calibri, Century Gothic, Helvetica, Tahoma, and Verdana. For more details, check our article on accessible fonts.
Selecting fonts in Divi
In Divi, you can control default font settings under Divi > Theme Customizer > General Settings > Typography.
This setting has options for anything from font size and font family, to style and color. Settings you change here apply across your entire website.
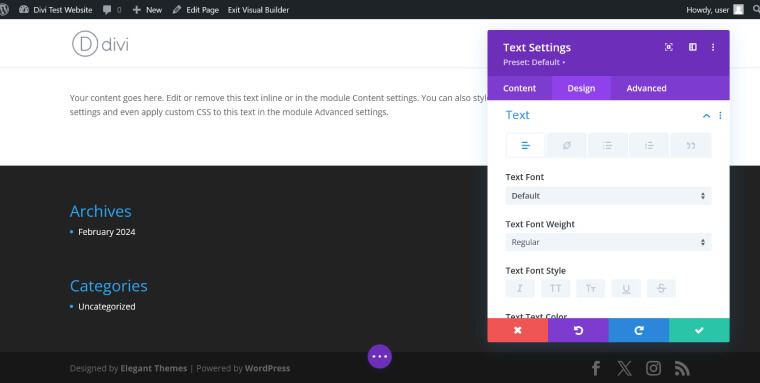
In addition, you have the possibility to make local font adjustments in every Text module on individual pages. For that, go to the Design tab under Text.
9. Provide sufficient color contrasts
As mentioned earlier in the blog, color contrast plays an important role in accessibility. Any text on your Divi website needs to have a minimum contrast ratio of 4.5:1 with the background. For text above 18pt in size, the ratio is 3:1.
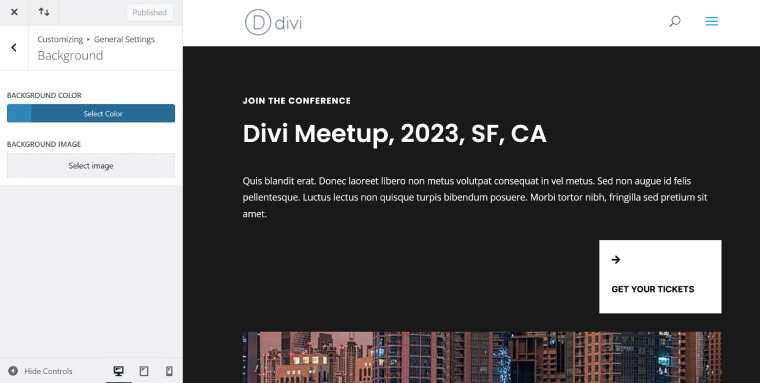
In Divi, you find controls for that in the Theme Customizer under General Settings. Here, go to Typography > Body Text Color and Background > Background Color to make general settings for your entire site.
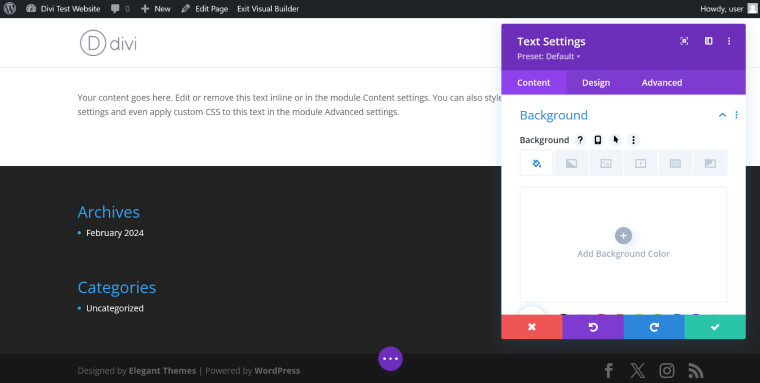
Of course, you can also make these adjustments in singular modules. We have already covered how to adjust fonts in Text modules above. In addition, you find the Background option under the Content tab for adjusting background colors.
Important note: Color contrast requirements apply to meaningful non-text elements as well, such as graphical objects, interface components, and significant icons. Basically, anything essential to navigating and understanding your website and its content. Examples include home icons, menu icons, or input fields for online forms. On the other hand, contrast restrictions do not apply to logos.
10. Make sure forms are accessible
Forms are the main tool to collect contact information, accept payments, and many other essential online experiences. Unfortunately, they are often inaccessible by default through improper markup or using form components the wrong way. Here’s what’s needed to make sure your forms are usable for visitors with disabilities:
- Use correct markup, such as <label> and <fieldset> tags
- Properly label form fields. This is critical for screen readers
- Use placeholders to show how to fill in the form fields (e.g. the correct email format).
- Make your forms keyboard accessible
- Provide the same level of contrast as for text
- Use text, icons, symbols, and cues to present error messages, not just colors
Unfortunately, Divi forms hide their labels by default, making them inaccessible. You can get them to show up with this piece of CSS:
.et_pb_contact_form_label {

display: block;

}
What’s more, there seem to be no built-in options to change the colors and contrast of the Contact Form module, so you would have to do that with custom CSS as well.
If you are not well-versed in using CSS (and, even you are), this is another thing accessWidget can take care of for you.
11. Use descriptive anchor text
Links are the main tool to navigate through websites. They appear in navigation menus and throughout web content to connect different pages to one another.
Since they are such a huge usability factor, you need to ensure links are featured with accessibility in mind. One of the primary steps for that is to use clear anchor text. Anchor text is the visible, clickable piece of text that appears on web pages as the link.
Like headings, screen reader users can utilize links as anchor points to quickly navigate pages. To help facilitate that, it is important that link anchor text makes sense by itself. Just the text alone should make it clear where a link takes you.
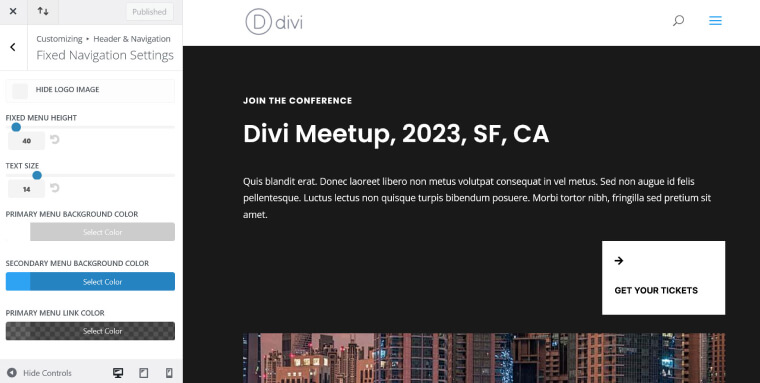
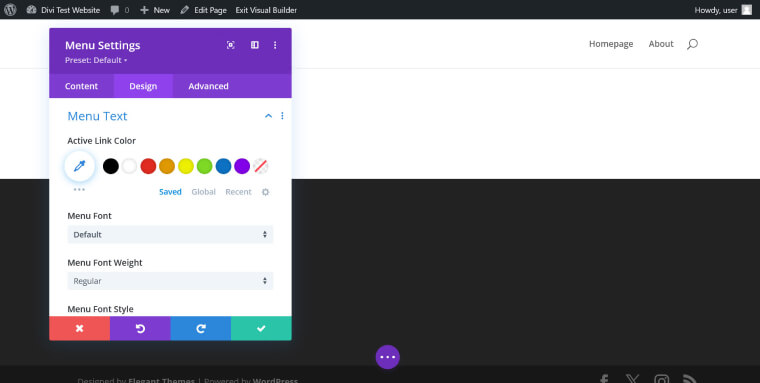
Divi isn’t any different when it comes to creating anchor text than the normal WordPress editor. However, the only thing you should be aware of is where you can customize the look of a link so that it contrasts sufficiently with its background color, and the textsurrounding it. You find the options for that in the Theme Customizer under General Settings > Typography > Body Link Color.
You can also change header link styling in the same place under the Header & Navigation > Fixed Navigation Settings panel.

Finally, there are options for that in singular modules as well, such as the Design panel in the Menu module.
12. Make sure your online documents are accessible
If you feature online documents for viewing and downloading on your website, they need to be accessible, as well. Unfortunately, they often aren’t by default. For the most part, to make documents accessible, you will need to follow the same accessibility guidelines that apply to the rest of your Divi website:
- Expose the structure of elements to screen readers by properly tagging the document
- Ensure logical reading reading and tab order
- Provide enough color contrast between text and background
- Add alt text for meaningful images
- Use descriptive link text
Applications like Adobe Acrobat and Microsoft Office are all capable of creating accessible documents. However, if you already have documents on your website that are not fully accessible, you will need to remediate them.
Dealing with a large volume of documents can be a time-consuming and potentially challenging process. If you need some assistance, you can work with an expert service provider like accessServices. They have intimate knowledge of WCAG and ample experience completing large remediation projects. Find more information about creating ADA-compliant PDFs and PDF accessibility checkers on our blog.
It is worth mentioning that Divi also offers the option to include documents as downloads on your website. One of the main ways to do so is to use the Call to Action module and point its button to a PDF document in your website’s media library. You can do that under Content > Link.

13. Add captions and transcripts for videos
There are a number of Divi modules that can be used to add video content to your web pages; namely, the Video and Video Slider module (however, heed our point about sliders above). You can use them to include video files from your own server or embed videos from sharing services like YouTube or Vimeo.
If the videos you feature include meaningful audio content, meaning they contain critical information and aren’t simply decorative, such as an instructional video or an interview, they require captions.
Captions not only include what people on screen are saying but also describe relevant non-speech elements like sounds and sound effects. You also need to make sure they are accurate and synchronized. This especially applies to auto-generated captions, which are offered by YouTube, for example. However, if you want to rely on automatically-generated captions, you will need to review them and ensure they are fully accurate, according to WCAG.
Another important element for video accessibility are transcripts, which benefit people who are deaf, blind, and deaf-blind.
Transcripts are similar to captions in that they contain what is going on in the video. But instead of appearing in the video, transcripts are provided separately, often below the video itself.
14. Use a web accessibility tool
Admittedly, implementing all of the accessibility guidelines mentioned above on your Divi site takes considerable effort. And, even if you do your best to apply them, your website might still not be fully accessible.
To be on the safe side, it is highly recommended to integrate with a web accessibility plugin like accessWidget. Its AI-powered code audit can identify problematic areas from an accessibility standpoint and automatically apply adjustments, such as adding descriptive alt text and ARIA attributes where needed.
As mentioned, the plugin also provides visitors with an interface to adjust design elements to fit their own abilities, including the possibility to adjust color contrasts, increase font size, and stop animations.
A deeper dive into WCAG
Despite being a fairly long and complex document, WCAG is ultimately built on four fundamental principles:
- Perceivable: The content on your Divi website should be accessible through sound, sight, and touch
- Operable: Your Divi website must be operable by all, regardless of their abilities. To that end, it should be navigable using a keyboard, assistive technologies for sight-assisted navigation, or alternative input methods
- Understandable: The content of your Divi website needs to be easy to comprehend. It should be devoid of technical jargon, complex terminology, and complicated instructions that people with certain cognitive impairments may find difficult to follow
- Robust: An accessible Divi website should adhere to HTML and CSS specifications and be compatible with the assistive technologies
The three versions and conformance levels of WCAG
Over the years, WCAG has seen several iterations:
- WCAG 2.0, introduced in 2008
- WCAG 2.1, an updated version of the guidelines, was released in 2018
- WCAG 2.2 which was officially published on October 5th, 2023
All three versions of WCAG include three levels of conformance:
- Level A: The lowest level of conformance
- Level AA: The conformance level referenced in most accessibility regulations worldwide
- Level AAA: The most challenging level of conformance to accomplish
It is highly recommended that your Divi website conforms to WCAG 2.1 or 2.2 at Level AA.
To achieve this, your Divi website will need to meet a number of technical and design requirements. These include, but certainly are not limited to:
- Keyboard-only navigation
- Compatibility with assistive technology like screen readers
- Mobile-responsive design
- Proper color contrasts
- Captions for meaningful video content
- Alt text for meaningful images
- Accessible online documents
For further reading on the topic of WCAG, we recommend you check out the following guides and articles:
What does Divi offer in terms of accessibility?
The Divi theme and page builder are not known as being very accessible, though they are based on the WordPress platform, which does make an effort to be accessible (including having a dedicated accessibility team).
Divi itself, however, appears to be lacking in this area.
Its main shortcomings are:
- Missing outlines for web page elements to help with keyboard navigation
- Drop-down menus are inaccessible for keyboard navigation
- A skip-to-content link is not available by default
- Occasionally insufficient contrast for readability
Additionally, there are a number of Divi modules, like sliders, that have more inherent accessibility issues.
Thankfully, these issues can be properly addressed and remediated when using an accessibility plugin like accessWidget.
accessiBe’s flagship tool seamlessly integrates into any WordPress website. It automatically audits your website’s code to detect accessibility issues and fix (or remediate) any problematic code. accessWidget integrates with website-builder plugins as well, so you can integrate it with your Divi website.
Additionally, accessWidget empowers visitors to adjust Divi websites on their own. People with various disabilities can use its interface to adjust design and UI elements according to their own unique needs. Website visitors can change font types and sizes, stop animations, adjust color contrasts, and enable a text-only mode, among other useful options.
Learn more about how accessWidget can help make your Divi website accessible.
Tips for creating an accessible navigation menu in Divi
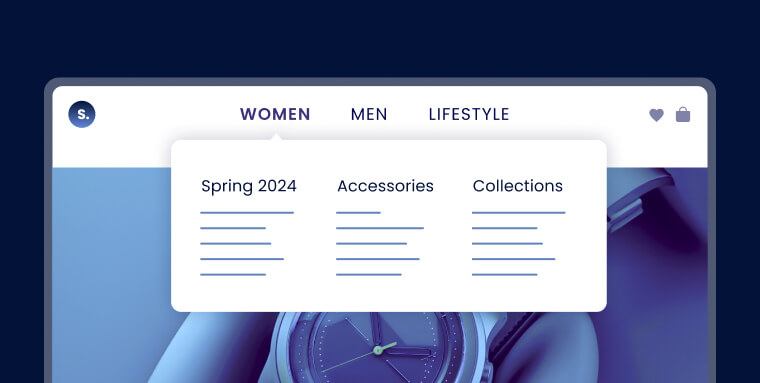
Divi’s most glaring accessibility shortcomings are on display when it comes to navigation menus. Out of the box, Divi’s drop-down menus are not compatible with keyboard navigation. Couple that with the outline problem we mentioned at the beginning of this guide, and it’s easy to see why so much effort must be given to ensure navigation menu accessibility on Divi.
To offset these less-than-ideal default capabilities, you will need to be proactive.
Firstly, follow the best practices above. Use descriptive anchor texts and take advantage of the settings the Menu module offers to adjust how it looks. That means, use appropriate text and background colors to ensure proper contrast as well as text size, style, etc. In addition, add sufficient padding and spacing around each menu item, so people with motor impairments can easily click on the desired link.
Aside from that, however, there isn’t much that Divi offers in terms of a fix for its issues. So, you can either spend the time and money to hire a developer and have them add ARIA roles and fix keyboard navigation for drop-down menus or use accessWidget, which will take care of these problems for you automatically.
How to test your Divi website for accessibility
There are a few approaches to test your Divi website’s level of accessibility:
You can use automated testing tools like accessScan, and rely on web accessibility experts like accessServices.
To use accessScan, you’ll simply need to submit your website URL. accessScan will then conduct a quick, automated audit of your web page to determine if it conforms to WCAG 2.1 Level AA. Once the audit is completed, you’ll be presented with a detailed report highlighting any non-accessible areas within your website.
As we mentioned, you can also test your website for accessibility with the assistance of web accessibility expert service providers, such as accessServices. Many Divi website owners turn to accessServices to conduct a thorough audit of their website and to then implement necessary adjustments to ensure full accessibility.
Blending both testing approaches is considered best practice.
Website owners commonly start with an automated tool for an initial accessibility test. Then, they turn toward expert service providers to analyze and remediate any identified issues.
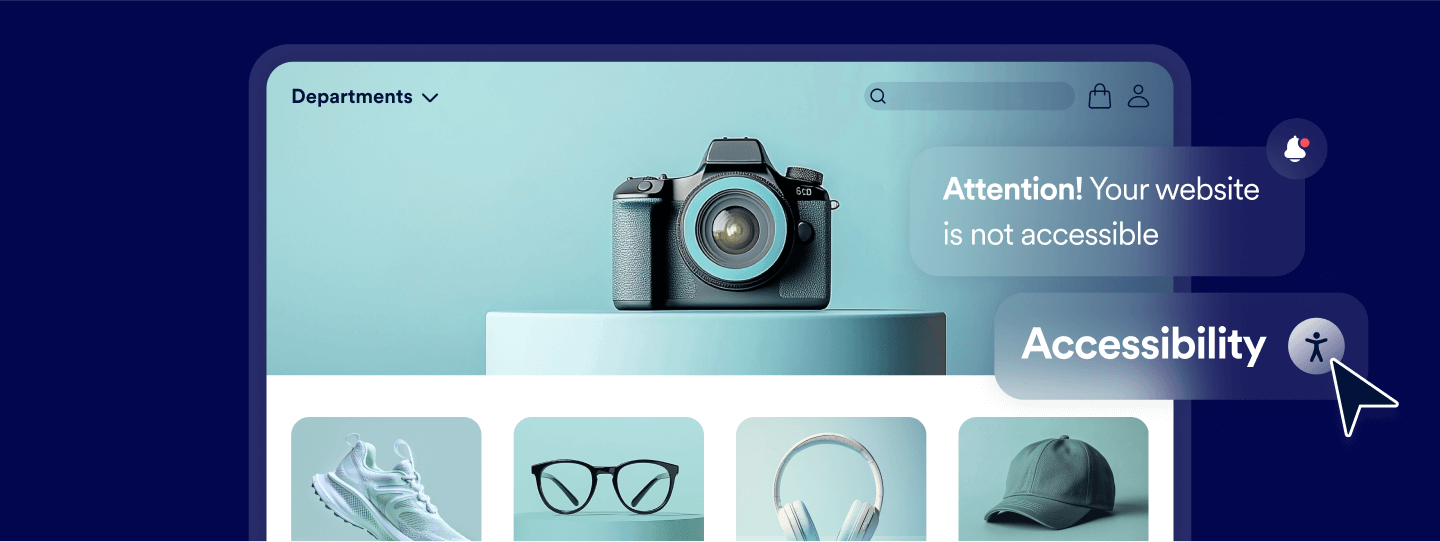
The critical importance of ensuring your website is accessible

There are more than 1.3 billion people who live with some form of disability. Despite that, websites (and online environments in general) are still partially or fully inaccessible to members of the various disability communities around the world.
It is an ethical and moral imperative that we, as website owners, provide all visitors with a fair and inclusive browsing experience, regardless of their unique abilities.
Additionally, when you allow people with disabilities to access your website, you allow them to potentially spend their hard-earned money on your goods and services. It is worth noting that members of the various disability communities command more than $13 trillion in expendable income.
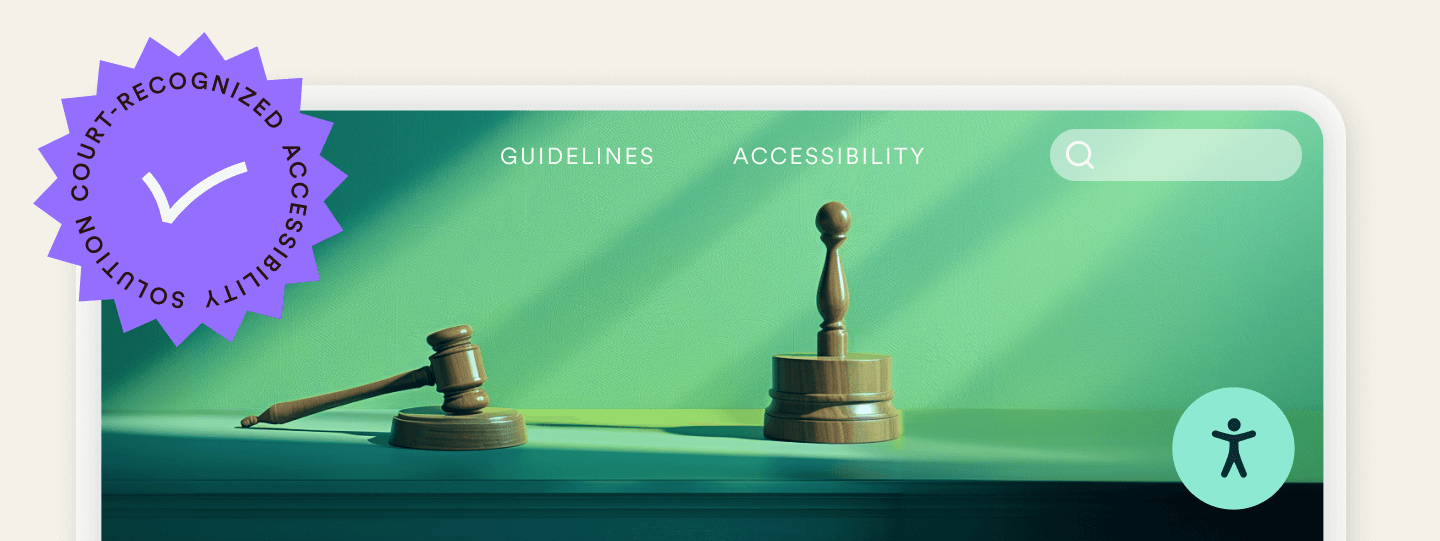
Ensuring your Divi website is accessible in the eyes of the law
Businesses operating within the United States, Canada, or the European Union may be legally mandated to ensure their websites are accessible.
The Americans with Disabilities Act (ADA) is now applied to the digital realm by many federal and state courts. These cases reference the Web Content Accessibility Guidelines (WCAG) as the standard websites need to meet under the law. You can find additional information in our ADA website compliance checklist.
Additionally, under Section 508 of the Rehabilitation Act, governmental bodies, organizations receiving federal funding, and service providers to such organizations need to guarantee that their websites conform to WCAG 2.0 Level AA. You can learn more about that in our Section 508 website compliance checklist.
Businesses registered in Ontario, Canada, typically need to comply with the Accessibility for Ontarians with Disabilities Act (AODA). This law mandates that your website conforms to WCAG 2.0 Level AA. If this law applies to you, you might want to check out our AODA website compliance checklist.
Divi and accessibility: closing thoughts
Divi is one of the most popular WordPress themes and page builders out there. Unfortunately, it does leave a lot to be desired when it comes to building accessible websites. The theme comes with a number of inherent flaws that make Divi websites inaccessible by default.
Fortunately, this is not something you have to accept. Above, we have gone over a number of practical steps you can take to remedy some of Divi’s main accessibility shortcomings and also how to prepare your online content with accessibility in mind. However, there are still several elements that are hard to correct without extensive development experience. Therefore, we highly recommend that you use a Divi accessibility plugin to help make you Divi website accessible in adherence with WCAG.
Frequently asked questions about Divi website accessibility
Q1. What does it mean for a Divi website to be accessible?
A1. It means the site built with the Divi theme and page builder supports users of all abilities — including keyboard‐only users, screen‐reader users, and people with low vision. This requires adherence to standards like WCAG 2.1 Level AA. Accessibility isn’t automatic with Divi; you must configure modules, markup, navigation and media carefully.
Q2. Why is making a Divi site accessible important?
A2. Beyond inclusivity, accessibility helps mitigate legal risk under laws such as the Americans with Disabilities Act (ADA) and other jurisdictions. Since Divi is widely used, failing to address accessibility can expose the site owner to complaints, barriers for users, and potential brand harm.
Q3. What known accessibility gaps exist in Divi out of the box?
A3. Some common issues include missing “skip to content” links, lack of visible focus outlines for keyboard users, non-semantic module markup, color contrast problems, improperly labelled form elements, and navigation menus or custom modules that don’t support keyboard or screen-reader operation.
Q4. What practical steps can you take to make a Divi website accessible?
A4. Key steps: add a skip-to-content link; ensure proper heading hierarchy (H1 → H2 → etc.); add alt text to meaningful images; make sure form fields are labelled; check and improve colour contrast; ensure keyboard navigation works sensibly; use ARIA roles where needed; tag documents and video content. Each module and custom layout must be assessed.
Q5. Can you rely solely on Divi’s default settings?
A5. No. While Divi provides certain accessibility features or compatibility plugins, those alone don’t guarantee full compliance. You still need to test with keyboard and screen reader users, review custom modules, and maintain accessibility as updates and changes occur.
Q6. How does accessiBe support accessibility for Divi websites?
A6. accessiBe offers a WordPress plugin that integrates with Divi sites, automating many accessibility adjustments and supporting ongoing remediation. The plugin helps scan for barriers, apply fixes aligned with WCAG 2.2 Level AA, and monitor the site for changes that might reintroduce accessibility issues.
Q7. What ongoing maintenance should Divi site owners plan for?
A7. Accessibility is not a one-and-done task. You should include accessibility checks in every update (theme, plugin or content); monitor newly added modules or layouts; run periodic audits with assistive technologies; document your remediation efforts; and train your team in accessible content creation.